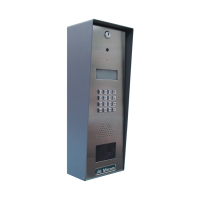
TX3 Nano Settings
TX3 Nano Configuration Manual 39
Copyright 2019
2. Click the Sync button at the top of the window.
Attention: The Sync button copies schedules and residents from the selected
TX3 Nano to the other discovered TX3 Nanos. Any previous
schedules and residents in the other TX3 Nanos are deleted.
Synchronization Example
Consider an installation with 3 unconfigured TX3 Nanos on the same network.
1. Sign into the Configuration page of the first TX3 Nano and add residents
and schedules.
2. Configure the inputs and outputs of the first TX3 Nano.
3. On the Settings page of the first TX3 Nano, discover the other 2 TX3
Nanos (as described in section 3.16.1 on page 37).
4. Select the first TX3 Nano in the Panels section, then click Sync.
The residents and schedules are copied from the selected TX3 Nano to the
other 2 TX3 Nanos.
5. Select the second TX3 Nano and configure its inputs and outputs.
6. Select the third TX3 Nano and configure its inputs and outputs.
Now all 3 TX3 Nanos have differently configured inputs and outputs but
the same residents and schedules. If you synchronize again, the residents
and schedules will be updated for all 3 TX3 Nanos, but the inputs and
outputs will not change.
 Loading...