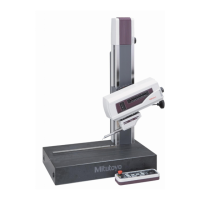
2. Basic Knowledge
3.4 System Start Up
3.4.1 Power up
1. Turn on the power switch of the controller.
2. Turn the power supply of the printer to “ON”.
3. Turn on the power switch of the display unit.
4. Turn on the power switch of the computer.
Make sure that Windows is normally initiated.
3.4.2 Initiating the Analysis Software
1. Double-click on the icon of the analysis software displayed in the desktop of the
personal computer monitor screen.
2. The “Origin Setup” message will be displayed on the monitor screen.
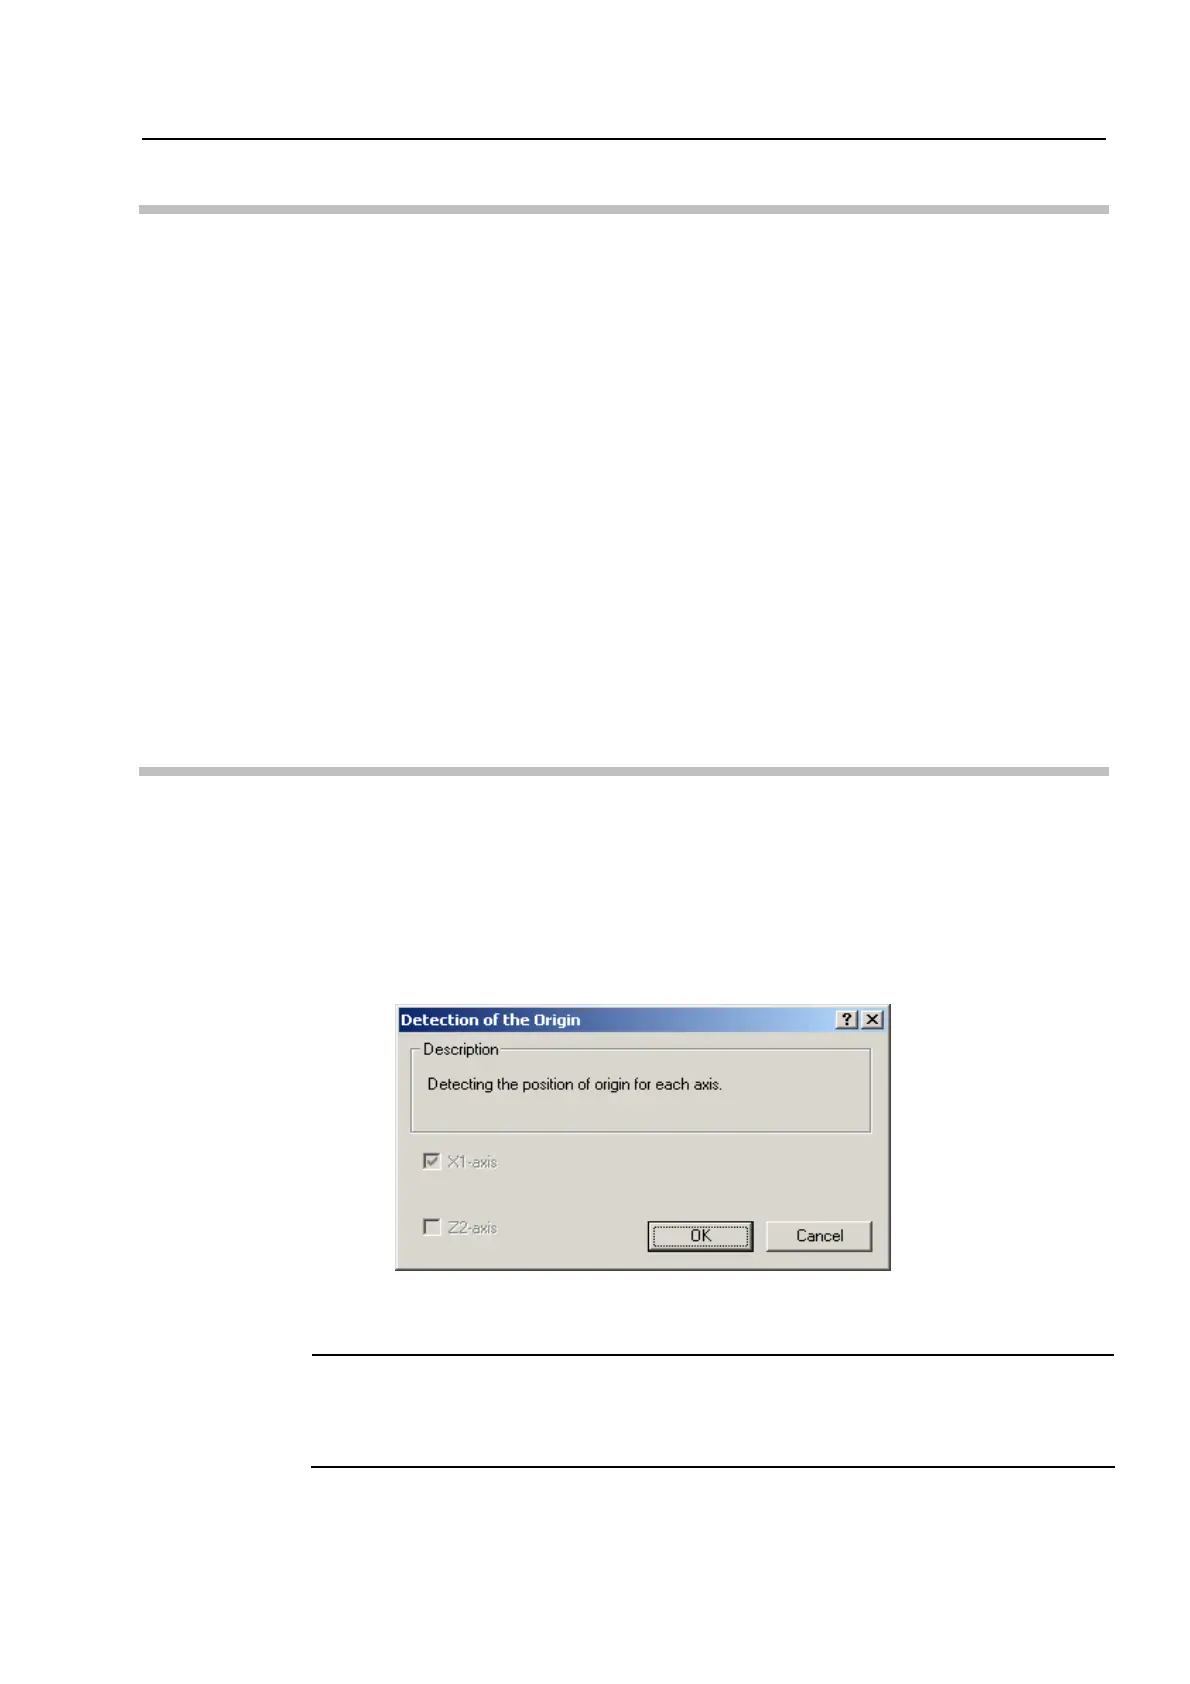
3.5 Detecting the Position of Origin for Each Axis
This operation restores the coordinate system of each axis to the given position.
Press the [OK] button after making sure that no obstacles are present on the
measuring unit.
This section explains the origin setup of each axis.
1. After making sure that no obstacles are present on the measuring unit, click on
the [OK] button.
2. Each axis moves toward the origin.
TIP
• The position of origin for the X axis is approximately the 75-mm position on the X-axis
scale for the 100-mm stroke type, and approximately the 175-mm position for the
200-mm stroke type.
No. 99MBA040A
3-3
Artisan Technology Group - Quality Instrumentation ... Guaranteed | (888) 88-SOURCE | www.artisantg.com
 Loading...