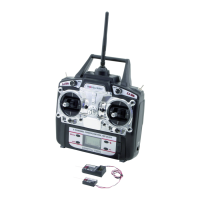
86
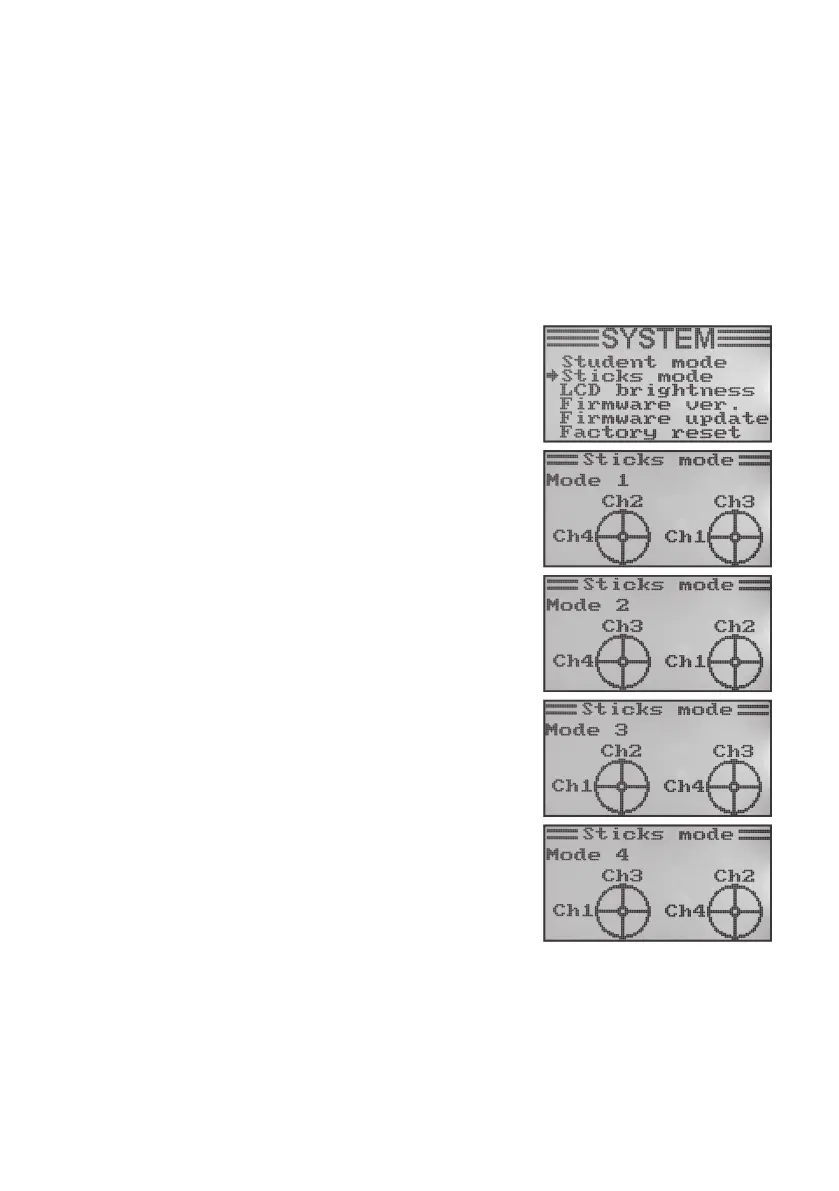
h) Control stick Assignment “Sticks mode”
As described previously for the receiver connection, the individual receiver outlets (channels) have specific functions
or servos assigned to them. The first four outputs are assigned as follows:
CH1 = channel 1 (aileron/roll servo)
CH2 = channel 2 (elevator/nod servo)
CH3 = channel 3 (throttle servo/flight controller)
CH4 = channel 4 (rudder/tail servo)
When setting the control stick assignment, you can exactly determine the control stick you want to use to control
outputs 1 - 4.
Setting the Control stick Assignment
• Switch on the transmitter and call the system setting menu.
• Move the cursor arrow to the menu item “Sticks mode” with the scroll
wheel.
• Briefly confirm the scroll wheel button or the button “OK” to activate the
menu item.
The display shows the currently used control stick assignment. The two
circles with the lines offset by 90° are the two control sticks. Additionally, the
control functions are displayed according to the control stick assignment.
• Turning the scroll wheel permits setting the desired control stick assignment
“Mode 1” to “Mode 4”.
• Push the button “OK” to save the settings. The display then shows the
system setup menu again.
• Push the button “CANCEL” repeatedly until you get back to the operating
display.
Figure 22