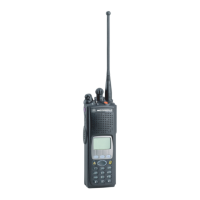
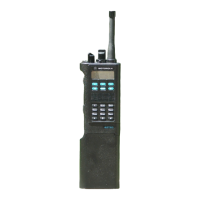
Disassembly/Assembly
61
5. Place the radio on a flat surface with the casting facing upward. Place two or
three drops of water on each slot of the Label Seal that protects the Seal Port
on the casting. This will ensure that no air goes through the seal.
6. Operating the pump a few times until the gauge indicates 5 in. Hg; do not pull
more that 7 in. Hg of vacuum on the radio.
7. Operate the pump again until the gauge indicates 6 in. Hg.
8. Observe the gauge for approximately 1 minute.
- If the needle falls 1 in. Hg or less (for example, from 6 in. Hg to 5 in. Hg),
then the radio has passed the vacuum test and is approved for
immersibility. No additional testing will be required.
- If the needle falls more than 1 in. Hg (for example, from 6 in. Hg to leas
than 5 in. Hg), then the radio has failed the vacuum test and the radio
might leak if immersed. Additional troubleshooting of the radio will be
required; complete this procedure, then go to the “Pressure Test” section
of this manual.
9. Dry the water from the slots on the Label Seal that protests the Seal Port to
allow the radio to equalize. The pressure should drop slowly to “0”.
10. Remove the vacuum hose and adapter from the radio.
11. Install a new Base Plate Seal by using a pair of needle-nosed tweezer, and
then screw the Hex Nut. Ensuring that the Hex Nut sits flat all around the
edges and it is flushed with (or below) the casting.
Pressure Test Pressure testing the radio is necessary only if the radio has failed the vacuum test.
Do not perform the pressure test until the vacuum test has been completed.
Pressure testing involves creating a positive pressure condition inside the radio,
immersing the radio in water, and observing the radio for a stream of bubbles
(leak). Since all areas of the radio are being checked, observe the entire unit
carefully for the possibility of multiple leaks before completing this test.
To conduct the pressure test:
1. Unscrew the nut on the chassis for leak test. Remove the Base Plate Seal
using needle-nose tweezer; discard the old Base Plate Seal.
2. Screw the adapter (with gasket) into the tapped hole in the casting.
3. Attach one end of the pressure hose to the adapter and the other end to
pressure pump.
4. Operate the pump until the gauge reads approximately 1 psig.
5. Maintain the pressure at 1 psig and immerse the radio into a water-filled
container.
6. Watch for any continuous series of bubbles. A stream of bubbles indicates a
sign of leakage.
NOTE: • Some air entrapment may cause the
accumulation of bubbles, especially in the grille
area, but the bubbles should not be continuous.
Pressure any greater than 1 psig might push air around the
main seal.
C a u t i o n
 Loading...