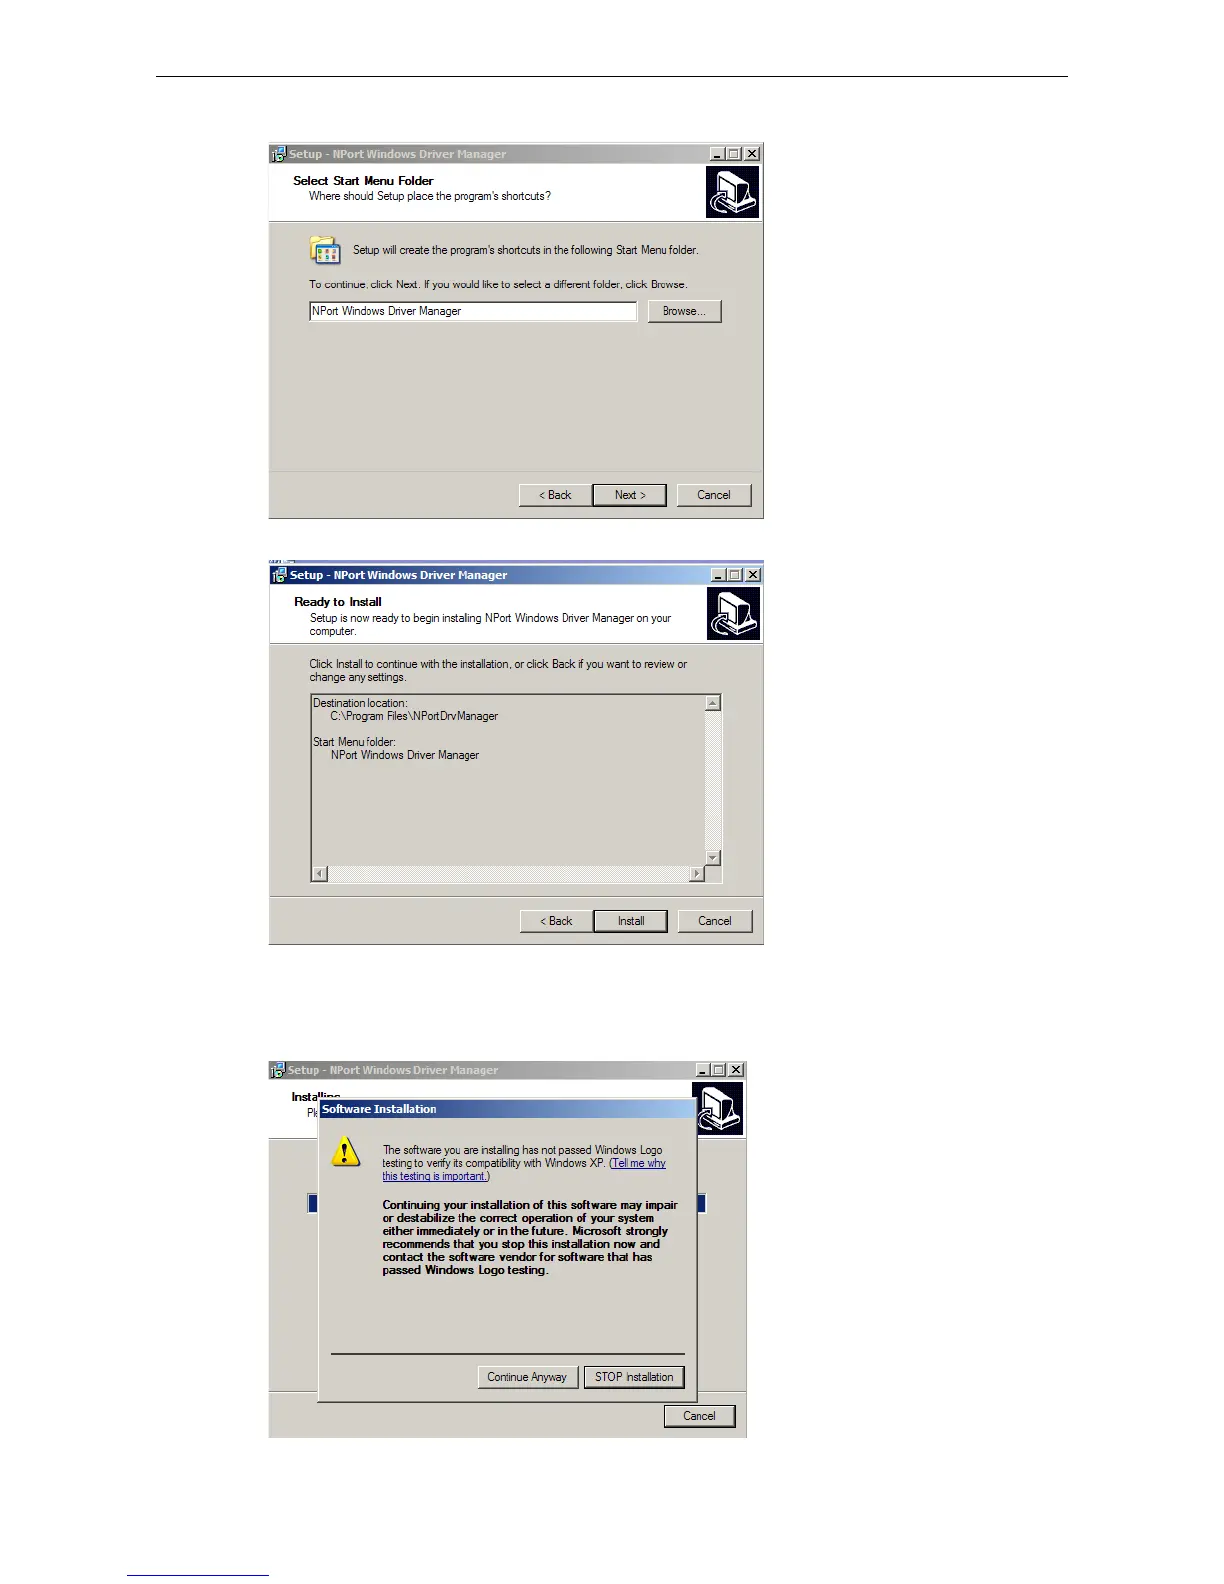
3. Click Next to install the program’s shortcuts in the appropriate Start Menu folder.
4. Click Next to proceed with the installation. The installer then displays a summary of the installation options.
5. Click Install to begin the installation. The setup window will report the progress of the installation. To
change the installation settings, click Back and navigate to the previous screen. On Windows XP, the
installer will display a message that the software has not passed Windows Logo testing. This is shown as
follows:
Click Continue Anyway to finish the installation.

 Loading...