NPort 6000 Series Getting Started
Connecting the Hardware
This section describes how to connect the NPort 6000 to serial devices for the first time.
Wiring Requirements
ATTENTION
Disconnect the power before installing and wiring
Disconnect the power cord before installing
and/or wiring your NPort 6000.
Do not exceed the maximum current for the wiring
Determine the maximum possible current for each power wire and common wire. Observe all electrical codes
dictating the maximum current allowable for each wire size.
current exceeds the maximum rating, the wiring could overheat, causing serious damage to your
Server may get hot, use caution when handling
when handling the NPort 6000 after it has been plugged in. The internal components generate
eat and the casing may be hot to the touch.
You should also heed the following guidelines:
• Use separate paths to route wiring for power and devices. If power wiring and device wiring paths must
cross, make sure the wires are perpendicular at the intersection point.
NOTE: Do not run signal or communication wiring and power wiring in the same wire conduit. To avoid
interference, wires with different signal characteristics should be routed separately.
• The type of signal transmitted through a wire should determine which wires should be kept separate. The
rule of thumb is that wires sharing similar electrical characteristics may be bundled together.
• Keep input wiring and output wiring separate.
• It is good practice to label the wiring to all devices in the system.
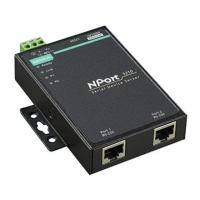
Connecting the NPort 6600-32/16/8-48V’s Power
To connect the NPort 6600-32/16/8-48V’s power cord with its terminal block, follow the steps given below:
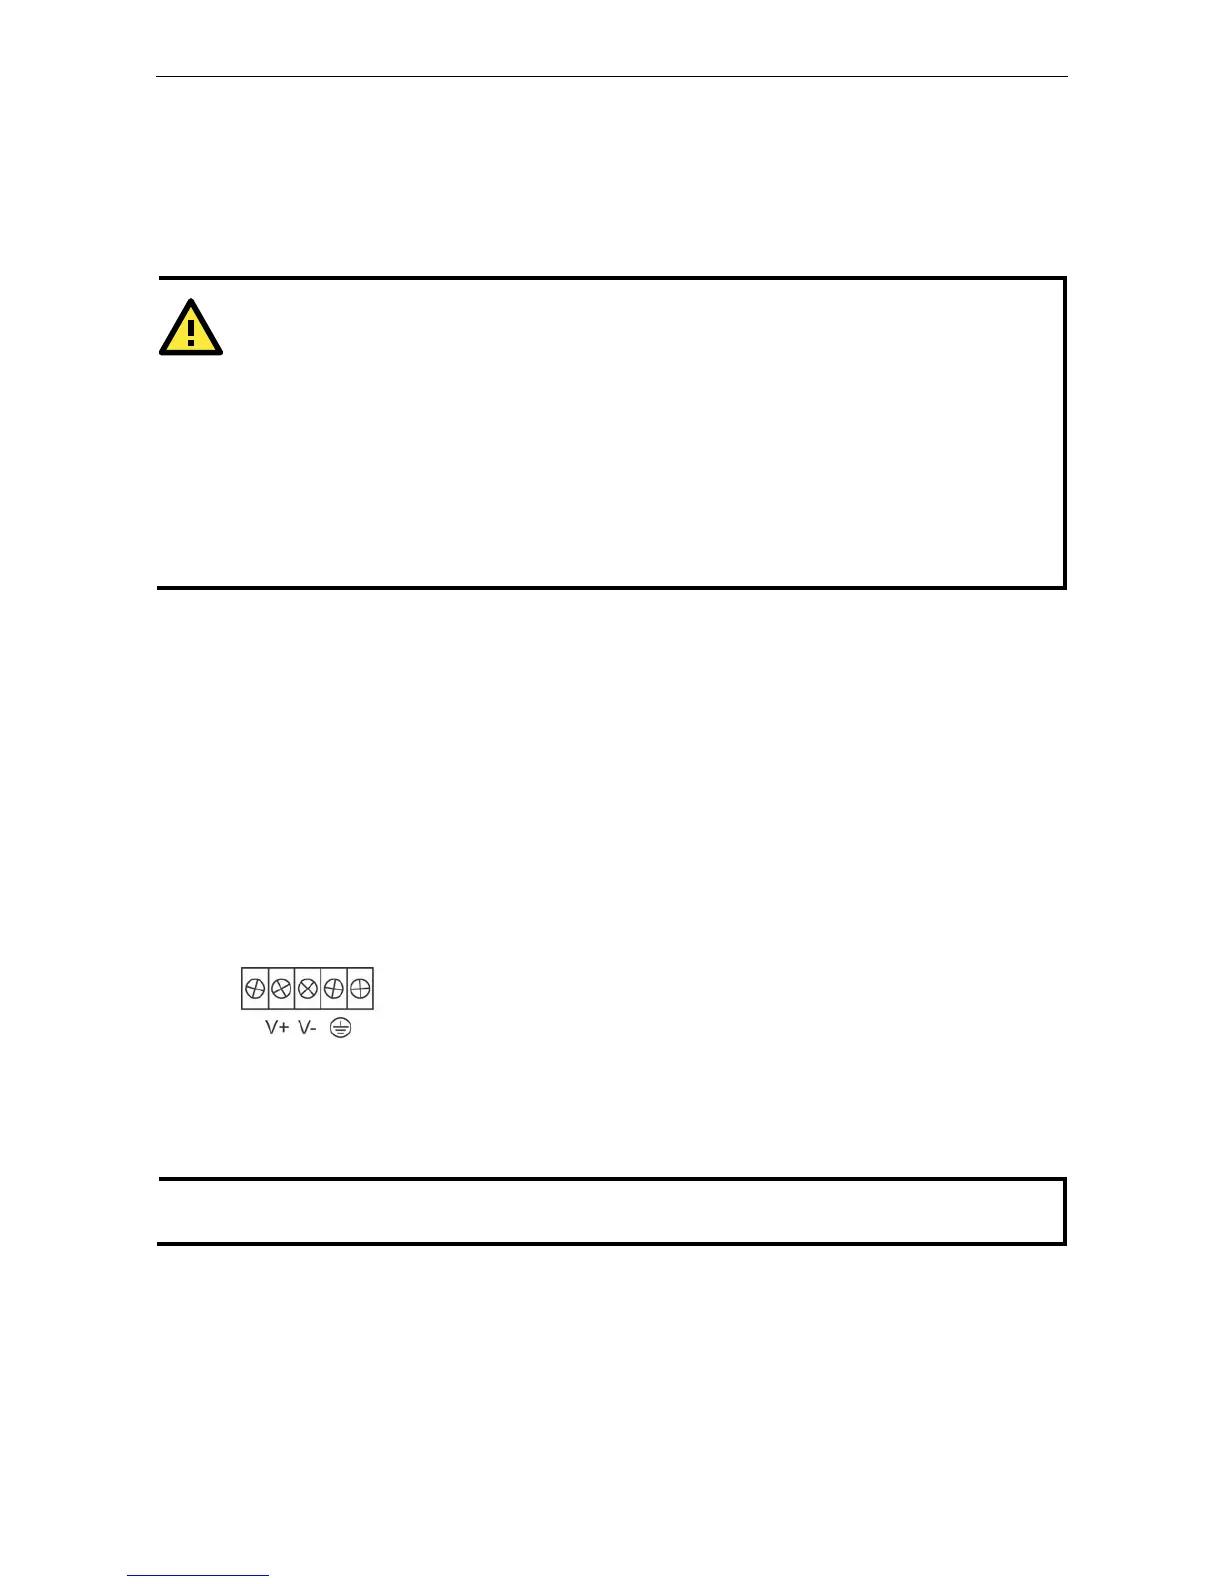
Loosen the screws on the V+ and V- terminals of the NPort 6600-32/16/8-48V’s
terminal block.
Connect the power cord’s 48 VDC wire to the terminal block’s V+ terminal, and the
power cord’s DC Power Ground wire to the terminal block’s V- terminal, and then
tighten the terminal block screws. (Note: The NPort 6600-32/16/8-48V can still
operate even if the DC 48V and DC Power Ground are reversed.)
If the power is properly supplied, the “Ready” LED will show a solid red color until the system is ready, at which
time the “Ready” LED will change to a green color.
-cm of screw torque and 22-14 AWG of suitable electric wire to connect the NPort
-32/16/8-48V’s power cord to its terminal block.
Grounding the NPort 6600-32/16/8-48V
Grounding and wire routing help limit the effects of noise due to electromagnetic interference (EMI). Run the
ground connection from the ground screw to the grounding surface prior to connecting devices.
 Loading...