Bolt X Quick Start Guide
57
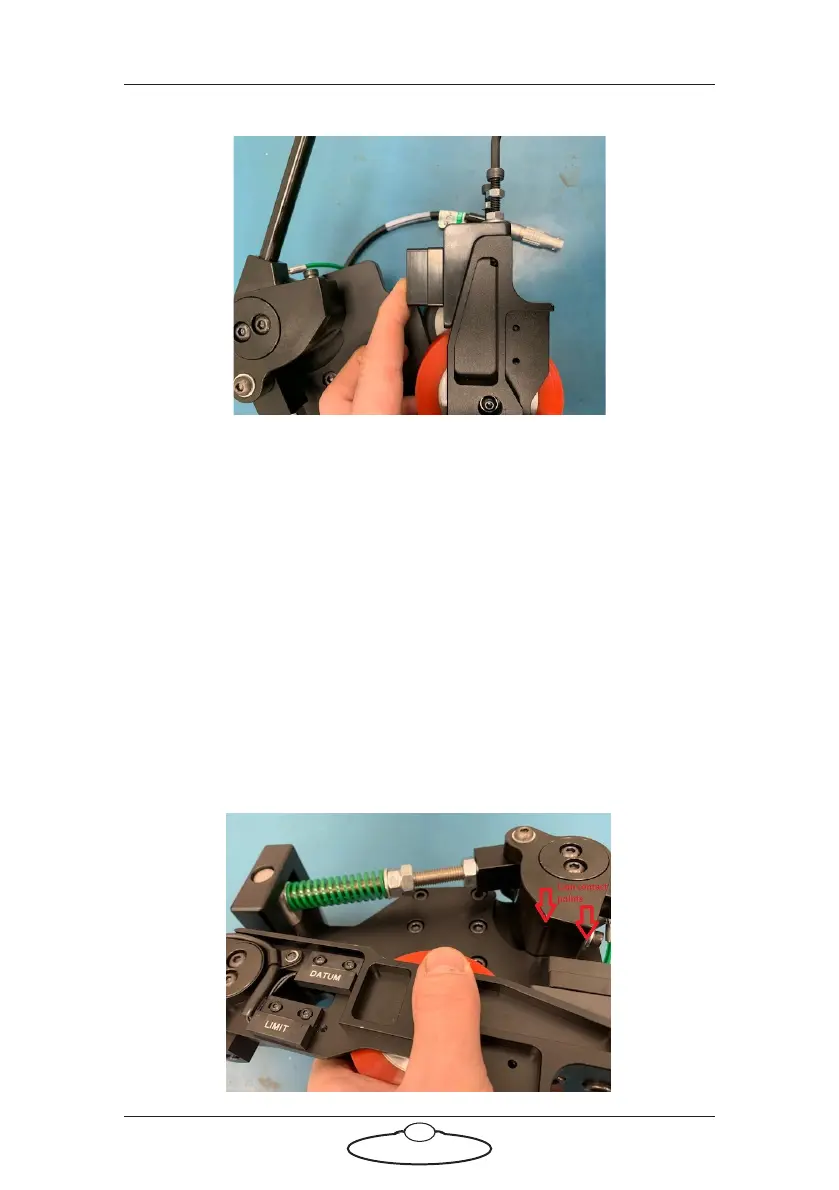
This can be done on the robot, with the pinch wheel assy. attached,
locking pin in, close the engagement bar, check tightness of mesh (Too
loose - the pinch wheel should not be able to be turned by hand. Too tight
– the pinch wheel should not be bulging out), unengage, adjust nut,
re-engage, check tightness of mesh. Continue until at the optimum
pressure.
1.4 Once at the correct pressure, tighten down the locking nuts
against the adjustment nuts and re-tighten the securing cap
head bolts (reverse of points 1.1 and 1.2).
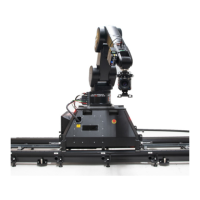
2. Adjusting the engagement bar and cam:
2.1 The adjustment bar and cam angle are adjusted by the nuts on
the threaded bar that runs through to the outer edge of the
assembly. The two raised edges of the cam should be in contact
with the engagement block, when engaged.