Supplement to the manual
MULTIPLEX Modellsport GmbH & Co.KG • Westliche Gewerbestraße 1 • D-75015 Bretten (Gölshausen) • www.multiplex-rc.de Page 27
Receiver output 5:
= Aileron: AI->S5
= Elevator: EL->S5
= Rudder: EU->S5
= Throttle: TH->S5
= Spoiler: SP->S5
= Flap: F-->S5
= Flight phase switch: PH->S5
Note: the flight phase switch PH can be used to select
three positions of the servo.
A brief press (r) confirms your selected assignment.
Turn the rotary control to the left (4)toEXIT and
return to the MIXER menu with a brief press (r).
15. Setting up a new model
Model type: ACRO
15.9. Activating flight phases
What is possible with flight phases?
New:
C
OCKPIT SX M-LINK transmitters allow you to set the
value for Expo (EXP) separately for each flight
phase. The value is set using the same method as for
Dual-Rate (Î 15.8.1. and 15.8.2.).
18. Managing model memories
Menu: MEMO
New:
Two additional menus:
x Transmitting FAIL-SAFE settings to the receiver
Menu: SENDFS (Î 18.6.)
x Activating / disabling Fast Response
(14 ms frame rate)
Menu: F-RESP (Î 18.7.)
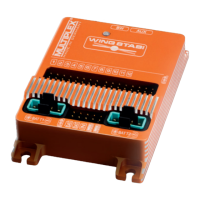
18.6. Transmitting FAIL-SAFE
positions to the receiver
Menu: (MEMO) SENDFS
All M-LINK receivers feature FAIL-SAFE.
If no valid signal is picked up, the servos, speed con-
troller etc. move to user-programmable positions after a
certain waiting time (HOLD period). The following
methods of determining these positions are available:
1. The SET button on the receiver
Use the transmitter to move all the servos to the
desired positions, then briefly press the SET button
on the receiver
(Î see receiver instructions).
2. C
OCKPIT SX M-LINK SENDFS menu
How to access the SENDFS menu:
4 to MENU, r (SETUP appears),
3 to MEMO, r (GO TO appears),
3 to SENDFS:
Now briefly press the 3-D digi-adjuster (r).
The number 0 on the screen flashes.
Use the transmitter to move all the receiver outputs
(servos, speed controller) to the desired positions, and
hold them there.
Now turn the 3-D digi-adjuster to the right 3.
It makes no difference whether you turn it by one or
more clicks. The number in the bottom line now runs
through the range 0 to7, indicating the transmission of
the seven FAIL-SAFE positions to the receiver. When
the process is complete, the 0 appears again, this time
not flashing.
You can now quit the menu by turning the 3-D rotary
control to the left 4 via EXIT, or with a long press (ª)
on the 3-D digi-adjuster.
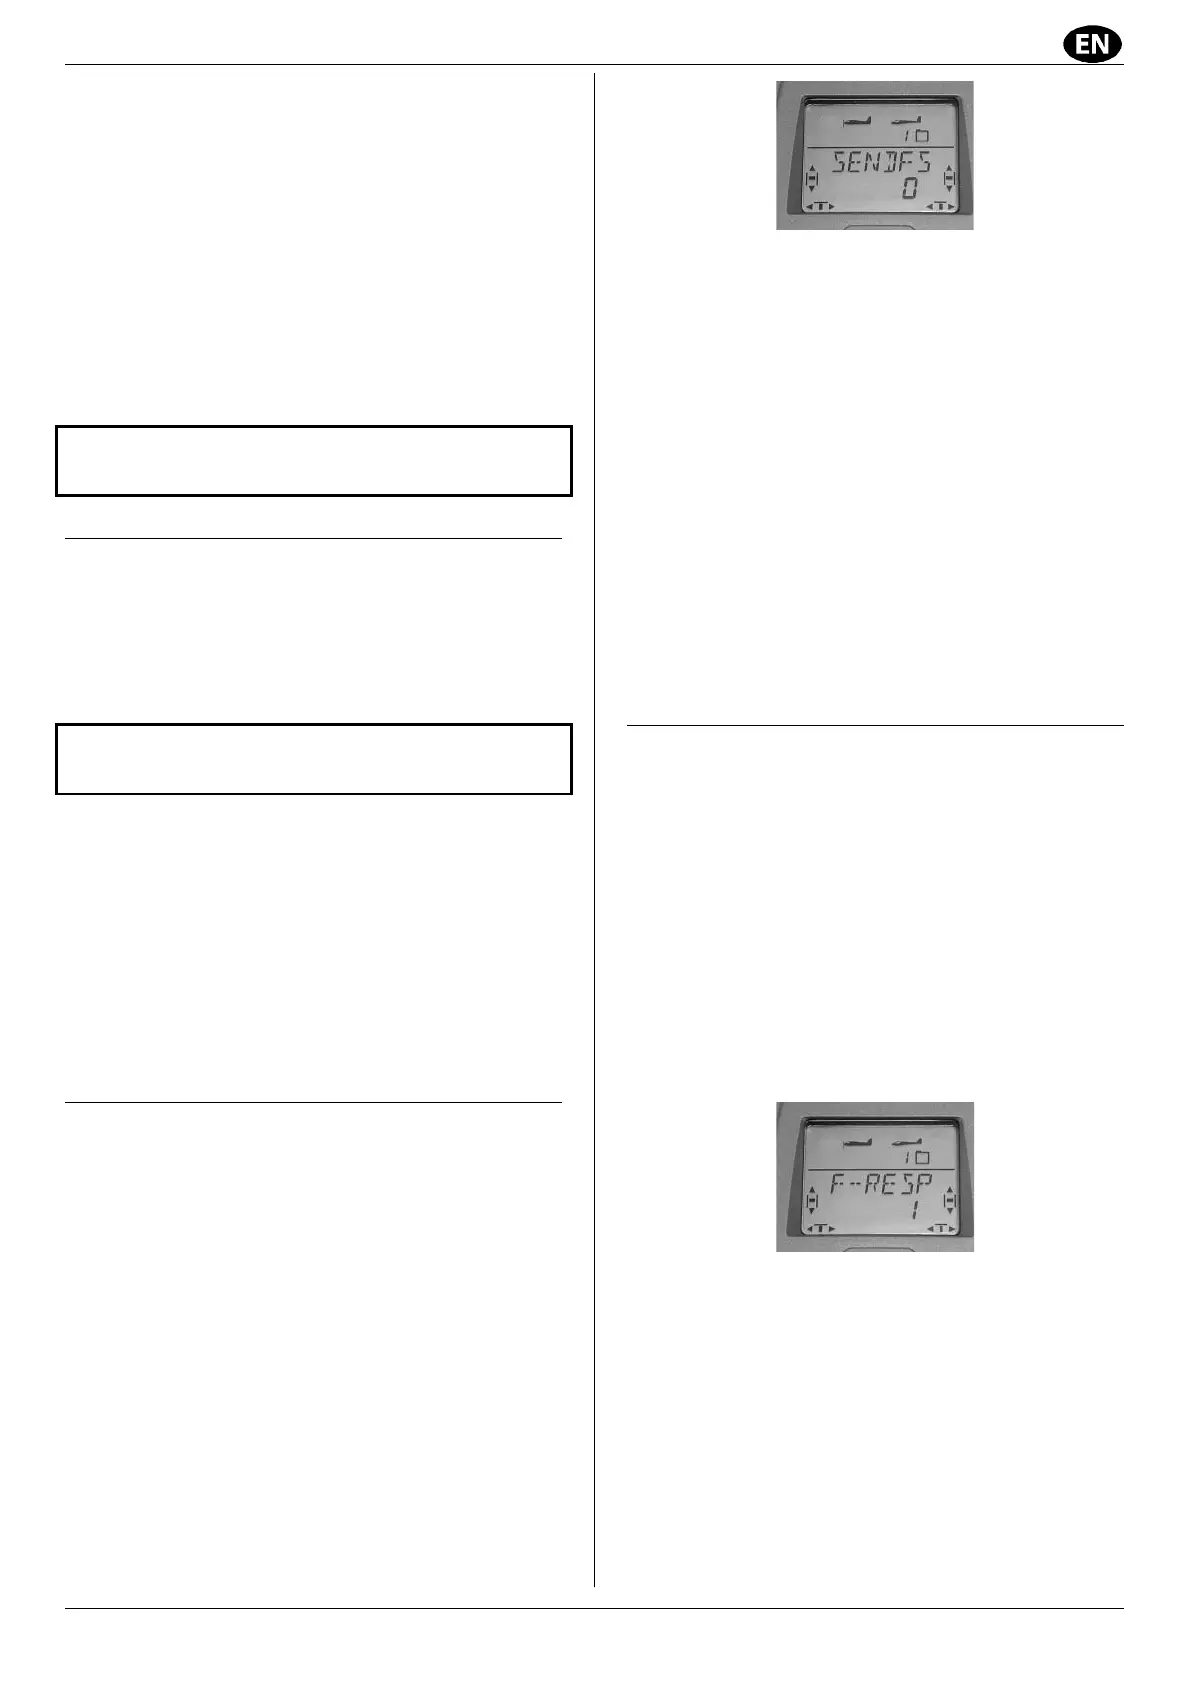
18.7. Activating / disabling
Fast Response (fast frame rate)
Menu: (MEMO) F-RESP
The COCKPIT SX M-LINK can generate servo signals
with two different frame rates:
x 14 ms (Fast Response ON = 1), default setting
x 21 ms (Fast Response OFF = 0)
The servo signals are repeated every 14 / 21 ms.
! Note:
The faster frame rate (14 ms) may cause analogue ser-
vos to run jerkily or oscillate. At the 21 ms frame rate all
servos should work without problem. F-RESP can be
set separately for each model memory.
How to access the menu F-RESP:
4 to MENU, r (SETUP appears),
3 to MEMO, r (GO TO appears),
3 to F-RESP:
Press the 3-D digi-adjuster (r) briefly.
The number (0 or1) on the screen flashes.
You can now use the 3-D digi-adjuster to select your
preferred servo frame rate:
x 1 = Fast Response ON = 14 ms
x 0 = Fast Response OFF = 21 ms
Press the 3-D digi-adjuster briefly (r) in order to confirm
your choice.
The number on the screen ceases to flash.
You can quit the menu by turning the rotary control to
the left 4 via EXIT, or with a long press (ª) on the
3-D digi-adjuster.