SECTION 3
OPERATING THE PRINTER
51
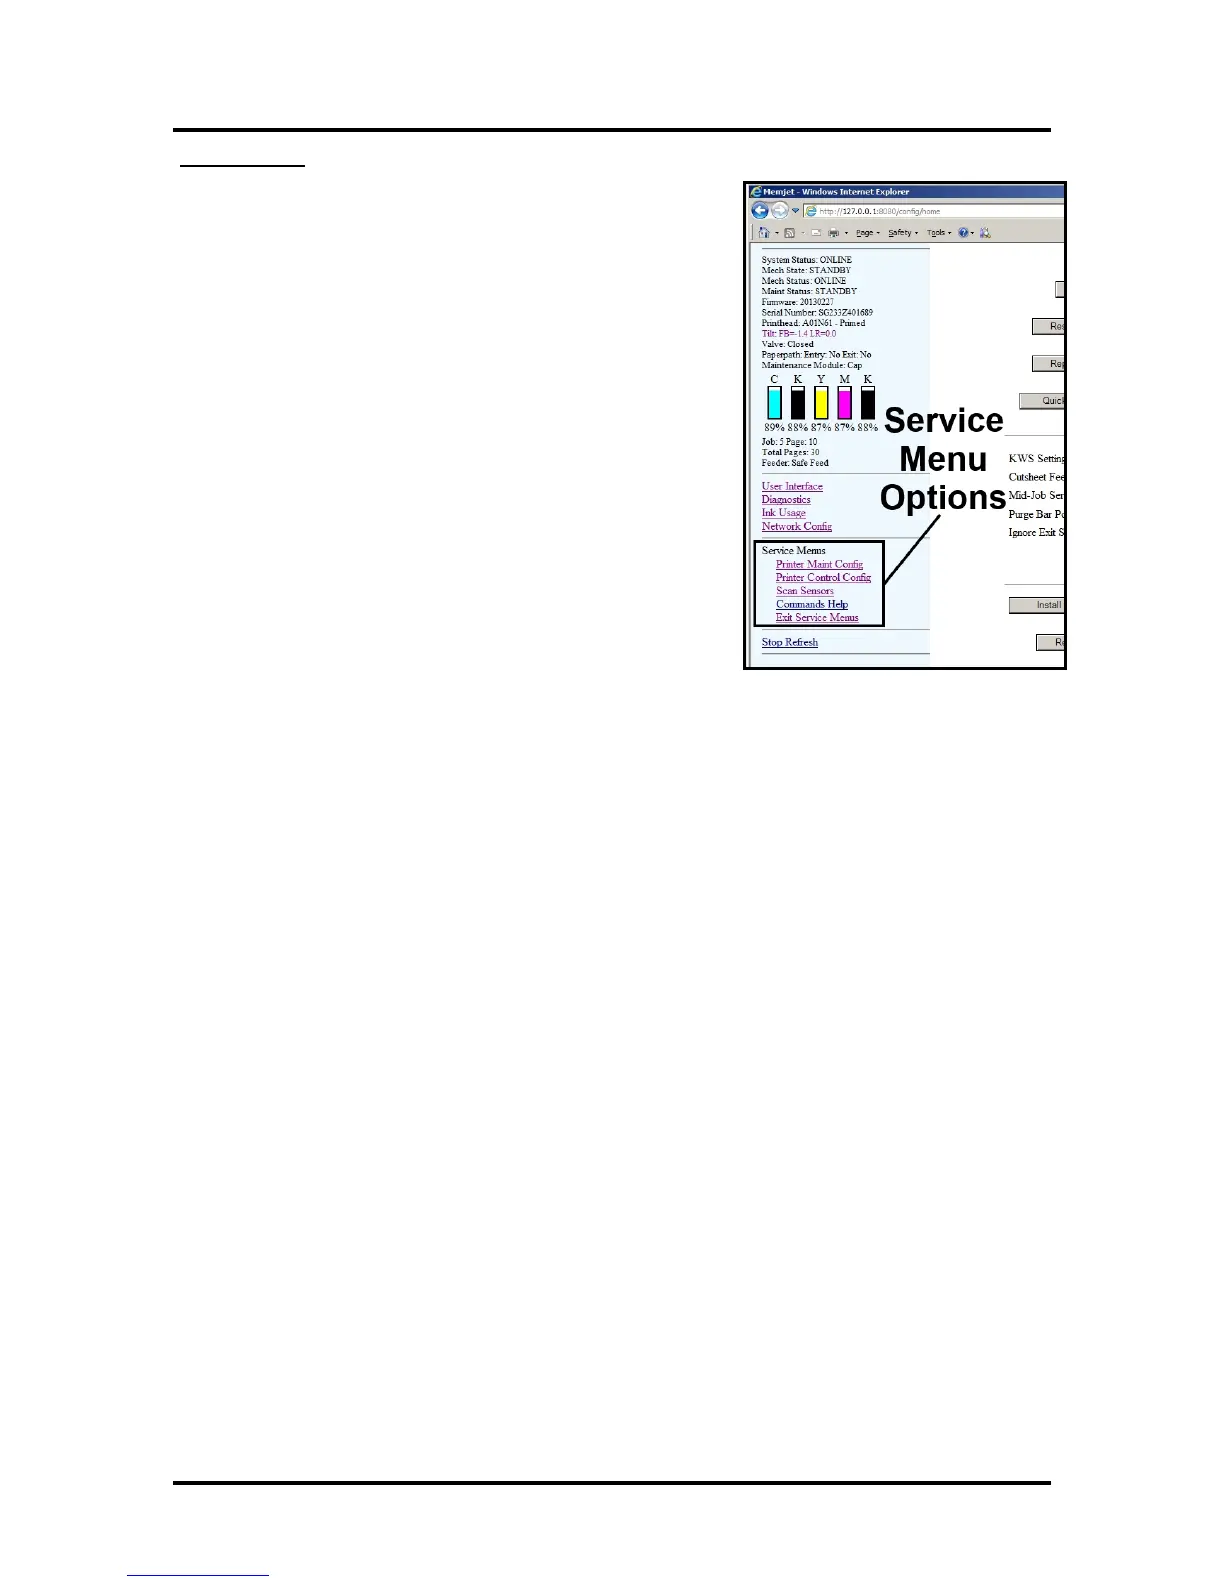
Service Menus
For authorized personnel only.
Provides access to more advanced Printer control and maintenance
menus.
A password is required to open the following features.
• Printer Maint Config
• Printer Control Config
• Scan Sensors
• Commands Help
• Exit Service Menu
Printing
Once the printer installation and setup is complete, you are ready to start printing.
Please see the section titled “Software Setup Information” for details on how to setup the computer
software to print to the printer.
If a printhead was recently installed or the printer was left powered OFF for more than a few hours; it is
recommend that you perform a “Printhead Cartridge Conditioning” routine, outlined below, before you
print a live job.
Printhead Cartridge Conditioning
When a printhead cartridge is installed, it is normal for some residual ink accumulation to occur in certain
areas within the print engine. There may also be some color contamination between ink channels and air
bubbles trapped in the printhead. These contaminants should be manually cleaned from the components and
purged from the printhead. Air bubbles in the printhead will present themselves as unevenly shaped bands
of missing color. Color contamination will present itself as mottled, muddy or distorted colors. See “Print
Quality Issues” for more details.
After installing a new printhead cartridge, or re-install a used printhead cartridge, please use the following
routine to condition the cartridge and system.
Note: The following process assumes you are using a printer with firmware 20130820 or higher installed.
1. Power-down the printer. After all the control panel lights go out; carefully open the clamshell and
inspect/clean any visible ink from following areas.
Printhead surface. Head Guide (you may need to remove to clean behind guide). Rubber lip of
capping station. NOTE: Residual ink will normally be deposited in these areas during the
priming process; which occurs after a printhead is installed.
Once you are finished cleaning, carefully close and latch the clamshell.
2. Power-up the printer.
3. Setup and load the printer with at least ten sheets of 8.5 x 11 inkjet suitable paper.
4. Open the “Toolbox” utility.