18
Making a simple measurement - Section 3
3. Making a simple measurement
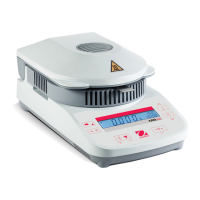
With your Moisture Analyzer powered on, you are ready to operate for the first time and perform a simple measur-
ment. For this simple test, you will enter the Test Menu and enable the test. By doing this test, you will become
familiar with the instrument and the various displays.
Included with your Moisture Analyzer is a specimen sample for your first measurement. This sample is an absorbent
glass fiber pad. During your first measurement, the instrument operates with the factory settings.
If the display is not visible and the unit is plugged into a power source, press
the On/Off button.
The display indicates the parameters for DEFAULT settings. Follow the instruc-
tions on the lower left side of the display.
NOTE: If the unit has been operated, the default test settings may have
changed. If required, see Section 6 to reset the test parameters.
On/Off
TEST ID: -DEFAULT-
TEMP / TIME: 100°C / 10:00
TARG. WGT: 1 GRAMS
0.000
GRAMS
CLEAR
PAN,
PRESS
TARE
For this simple test, the default settings are:
Drying temperature is set to: 100°C
Profile is set to: standard
Switch Off is set to: timed 10:00 minutes
Display is set to: % moist
Print interval is set to: OFF
Target weight is set to: 1 grams
Save is set to: NO
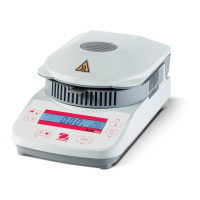
Open the cover on the Moisture Analyzer.
Clear the pan.
*
Place the empty sample pan in the pan handler (this is possible without
tilting the sample pan if you insert this in the pan handler from the side
directly below the round flange). Place the pan handler in the sample
chamber. Ensure that the tongue of the pan handler fits exactly in the slot of
the draft shield element. The sample pan must lie flat in the pan handler.
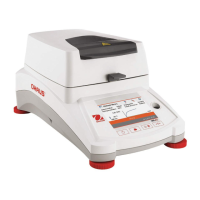
Note: It is advisable for you to work with the pan handler at all times. The
pan handler is ergonomic, safe and provides protection against possible
burns due to a hot sample pan.