45850101TH Rev.1
3-30
3.4.7 Density adjustment test
The density adjustment test is used for performing a density adjustment function test and
displaying the result of it to judge whether the density adjustment mechanism is proper.
Chapter 2 about description on density adjustment should be followed for recovery from an
error.
1. Enter the self-diagnostic-mode(Level1) and, until the following message
appears, press the [2] or [8] button.
DENS ADJ TEST
2. Press the [6] button. The following message appears. Press the
[2]
or
[8]
button
until the intended option appears.
DENS ADJ TEST
DENS ADJ EXECUTE
3. Press the [6] button. The displayed option is performed:
When DENS ADJ EXECUTE is executed:
①
Density adjustment test is performed, and the lower display starts blinking)
②
When the test ends, the upper display shows the result of the test (OK or an
error name), the lower display shows ‘****RESULT’.
OK
DENS ADJ RESULT
Pressing the
[2]
button displays the next test result.
Pressing the
[8]
button displays the preceding test result.
Press the [4] button to return to step 2 (“DENS ADJ RESULT”).
③
Pressing the [#] button during the test cancels the test, restoring the state of
step 2.
When DENS ADJ RESULT is executed:
Same as of REG ADJ EXECUTE
When DENS ADJ PAR-SET is executed:
The setting for the density adjustment parameter is displayed.
When AUTO CALIBRATION is executed:
①
The density sensor sensitivity adjustment value is automatically set is performed,
and the lower display starts blinking.
②
When the test ends, the upper display shows the result of the test (OK or a error
name), the lower display shows ‘****RESULT’.
OK
DENS ADJ RESULT
Pressing the
[2]
button displays the next test result.
Pressing the
[8]
button displays the preceding test result.
Press the [4] button to return to step 2.
③
Pressing the [#] button during the test cancels the test, restoring the state of
step 2.
Note! The fixture specific for execution should be used.
Remark: The following message appears while the printer is initialized or issues
an alarm or when the cover is open.
NG
DENS ADJ RESULT
4. Repeat step 3 when necessary.
5. Press the [4] button to end the test (the state if step 1 is restored).
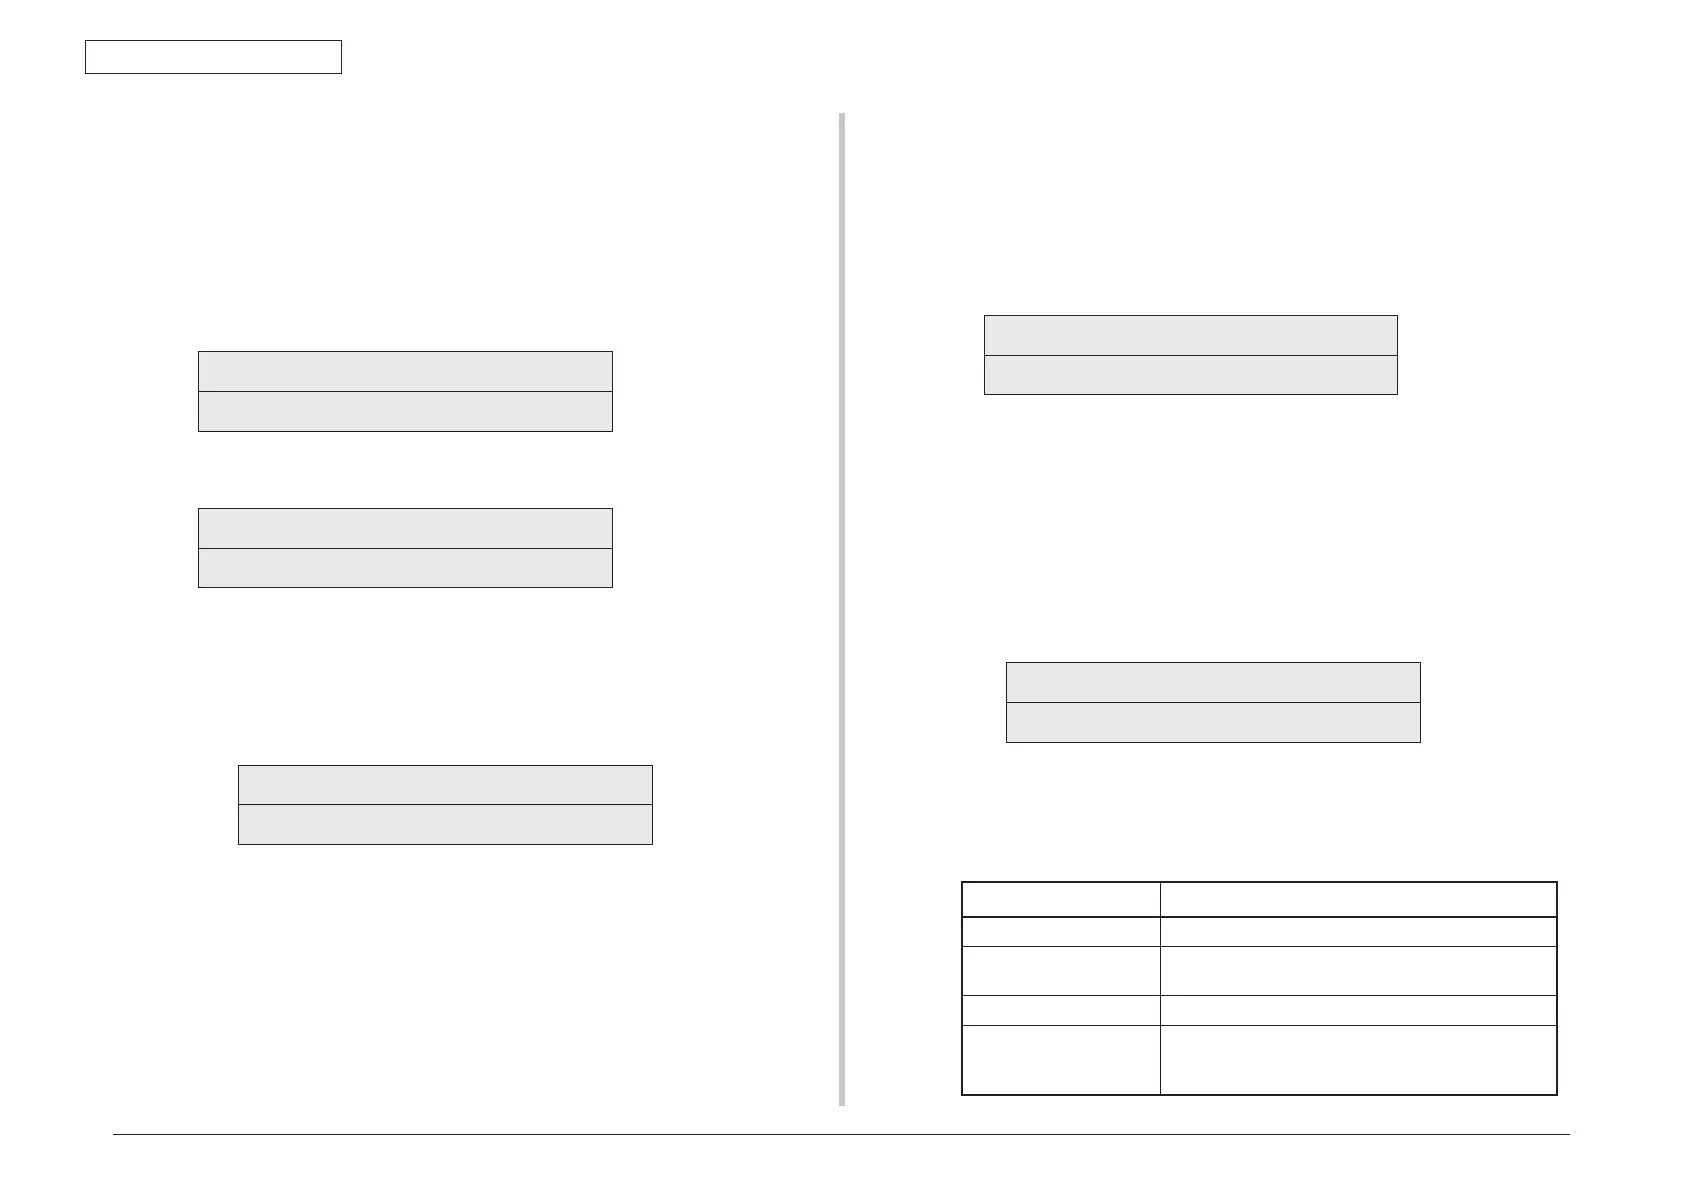
Density adjustment test item
Display Details
DENS ADJ EXECUTE Executes density adjustment.
DENS ADJ PAR-SET Sets a control value for auto density adjustment.
Note) Must not use.
DENS ADJ RESULT Displays the result of density adjustment.
AUTO CALIBRATION Automatically sets a density sensor sensitivity
correction value.
Note) Must not use.