45850101TH Rev.1
4-31
4.2.13 Top cover Assy.
(1) Remove the image drum unit/belt unit. (Refer to section 4.2.1)
(2) Remove the scanner unit. (See to 4.2.10)
(3) Detach the cover side-L . (Refer to section 4.2.3)
(4) Detach the Plate-shield. (Refer to section 4.2.8)
(5) Detach the rear cover Assy. (Refer to section 4.2.5)
(6) Remove the 2bin Assy. (See to 4.2.12)
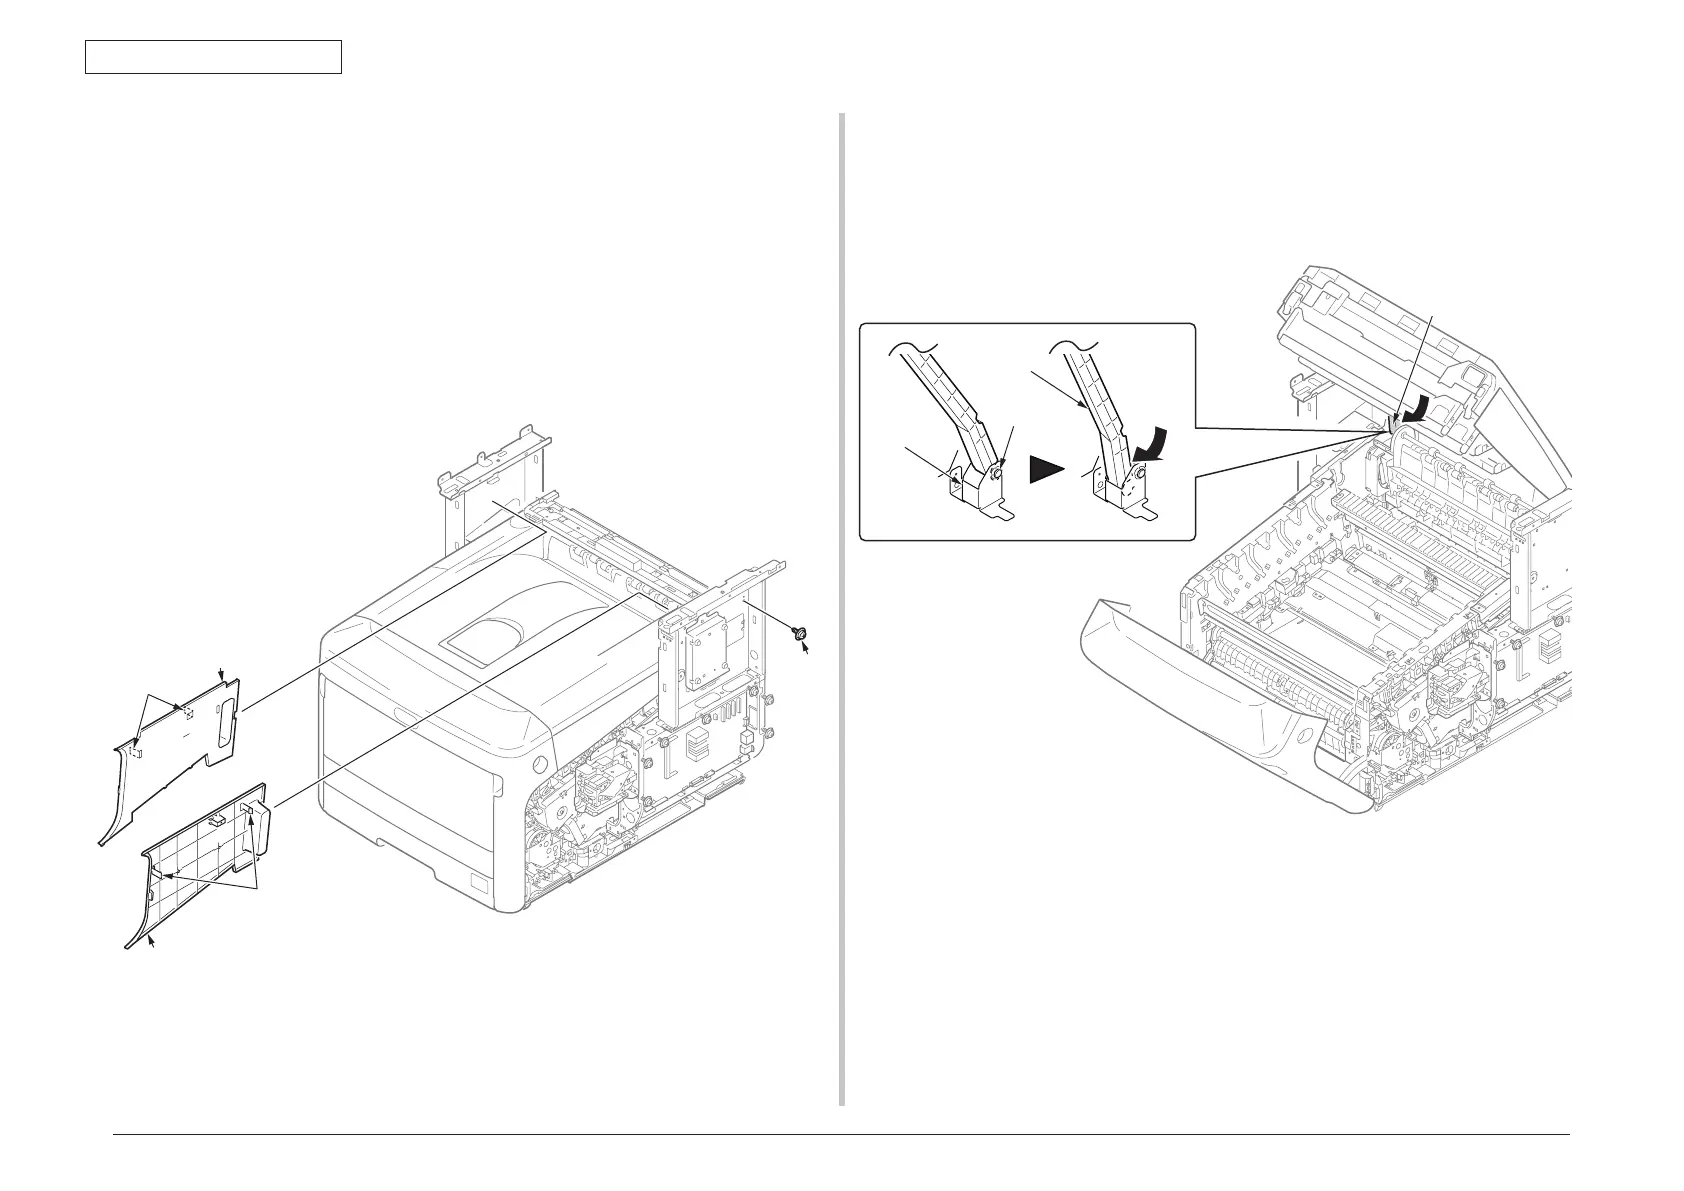
(7) Detach the Cover-Stay-L
①
.
(8) Remove a screw
②
and detach the Cover-Stay-R
③
.
claw
claw
①
(9) Open the front cover and the top cover. (Refer to section 4.2.1)
(10) Pull and unlatch the end of the printer-section side of the Arm-Link from the Shaft
of the Bracket to the direction of arrow.
Arm-Link
Bracket
Shaft
Arm-Link