F
-
4300 CLAMP
-
ON ULTRASONIC FLOW METER
ONICON Incorporated 727.447.6140 Page 36 onicon.com
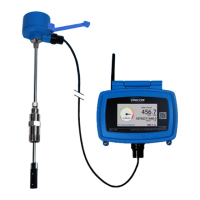
14. Apply a small amount of coupling compound to the transducers. A packet of acoustic coupling compound was
supplied with the transducers. Contact ONICON if you need more compound.
15.
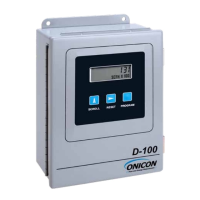
Transducer
Compound
Transducer
Pipe
When installing the transducer,
do not allow the bottom face to
touch the pipe surface until it is
fully inserted to the bracket
16.
brackets while the transducer is installed inside, then re-tightening it.
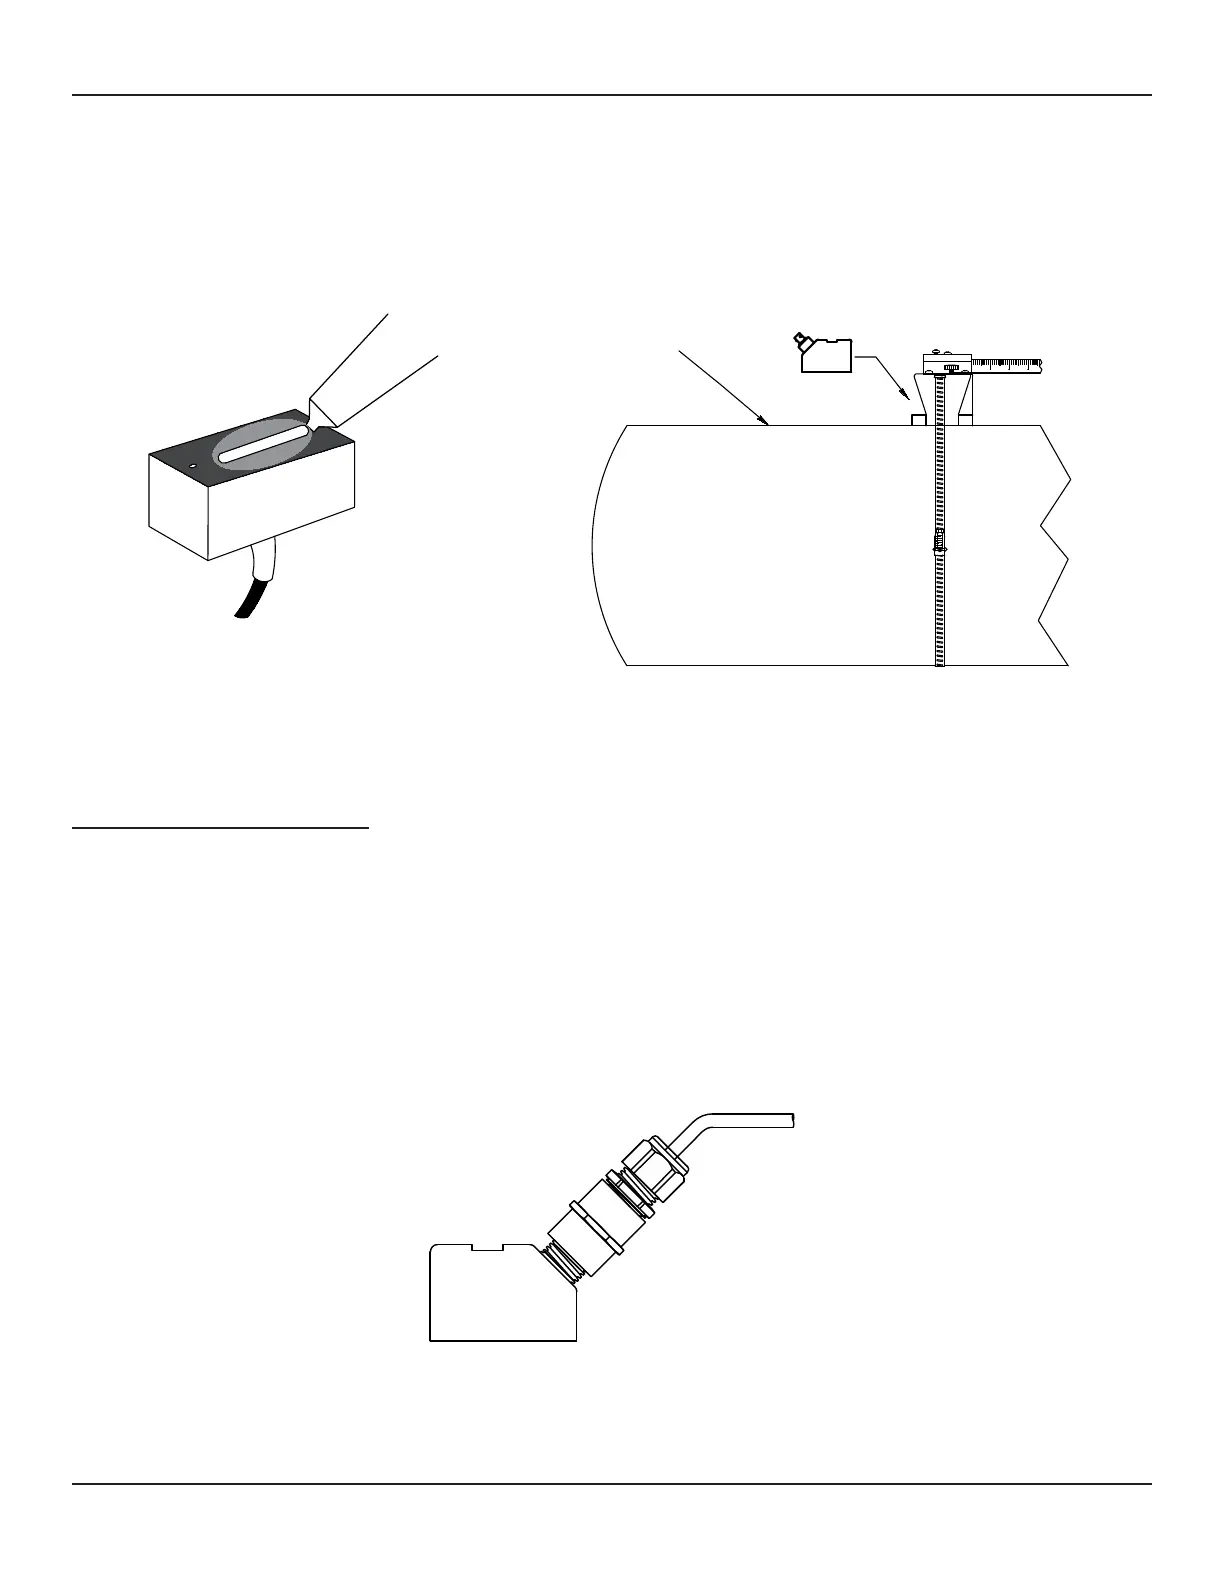
Transducer Installation Procedure:
IMPORTANT NOTE
DO NOT remove the transducer’s threaded cap until the installation is ready.
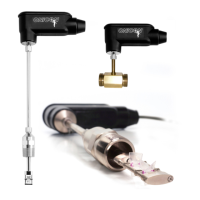
1. Remove the coupling and connect the BNC connector to the transducer.
2. Install the coupling onto the transducer over the connector.
3.
4.
5.
6. Tighten the strain relief onto the cable.
7. Repeat procedure for the second transducer.
IMPORTANT NOTE
For use with conduit, carefully remove the strain relief tting from the pre-terminated end of the cable. Connect the
1/2" conduit directly to the transducer.
3.3.4.3 One (1) Cross Mounting Installation for 30 Series Transducers (Continued)