Orbit Reader 20 Plus – User guide Version 1.0
Orbit Research Confidential and Proprietary Information 10
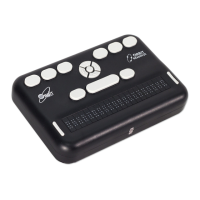
To begin with, place the device on a flat surface in front of you with the row of
braille cells closest to you. This is the proper operational orientation.
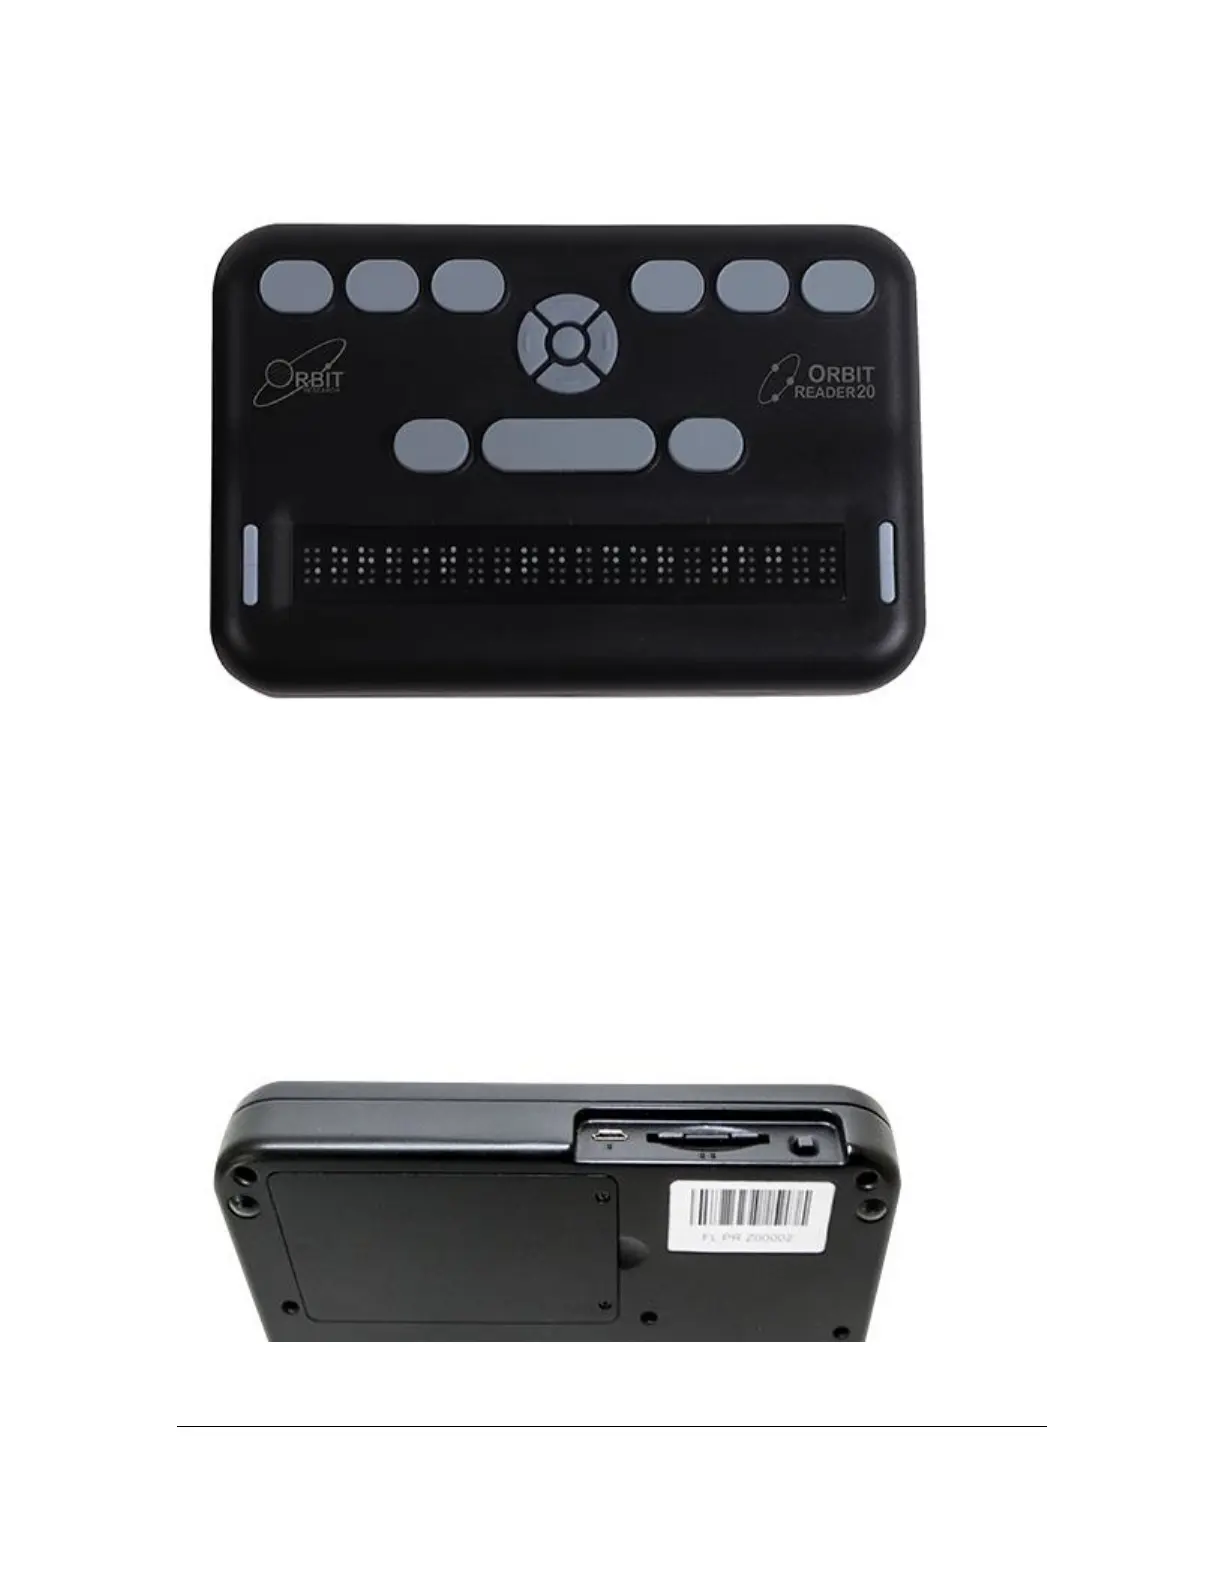
As you reach around from the front to the back of the device, from left to right,
there is the Power button (left), an SD card slot (middle), and a Micro-B USB port
(right). (Image is reversed in photo.) They are all recessed in an area in the left
half of the back edge. The Power button sticks out enough to make it easy to
identify. The SD card slot has two small bumps directly below it and the USB port
has one bump below it (Shown in the image below)
The SD card slot is a standard type with spring feedback. The SD card is
inserted with the card connector fingers facing down. To release the card, press
in and remove your finger to allow the card to pop out (shown in the picture
below).
The battery compartment is located on the bottom of the device.