160
Quality checks
CHAPTER SEVENTEEN
Quality checks
Replacement probes supplied should be tested with your
Otoport system and new Probe Test results saved as a baseline
reference.
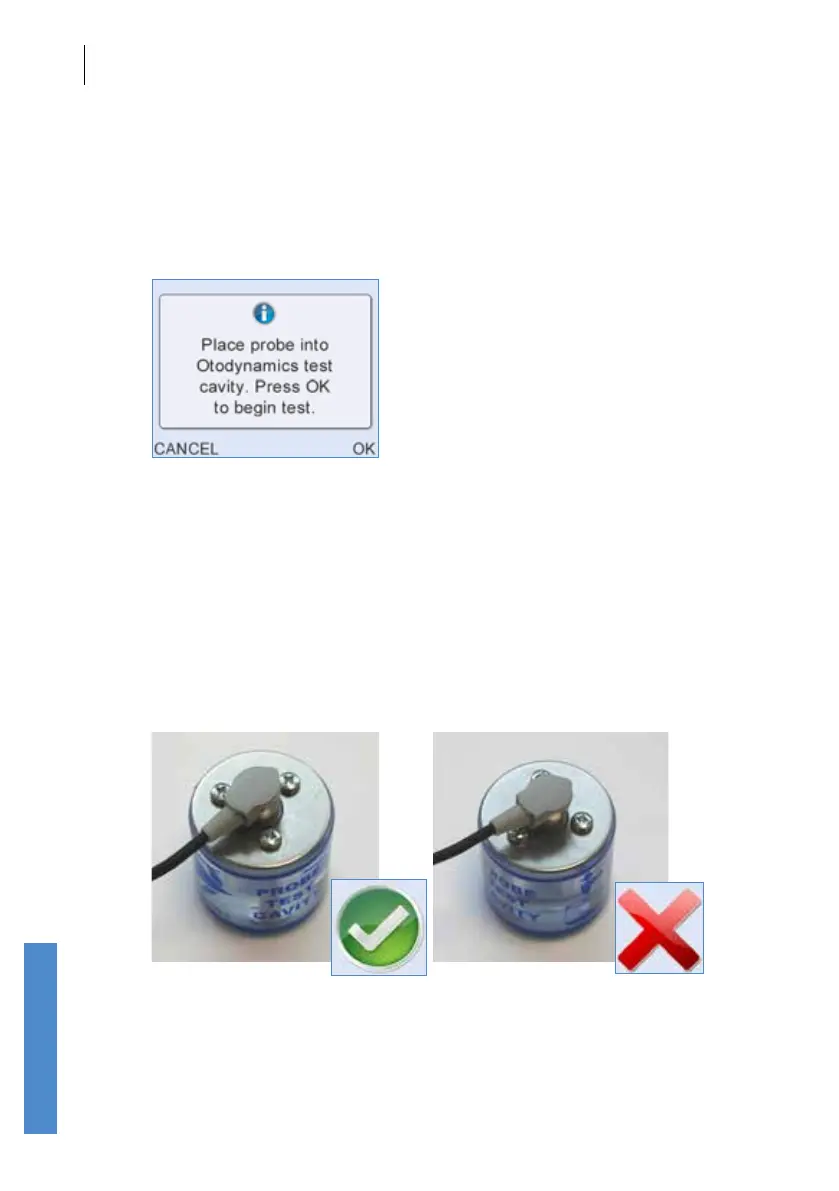
On selection of Probe Test the message Place Probe into Otodynamics
Test Cavity. Press OK to begin test. will appear on screen.
If two probes are connected, then the probe test will run automatically on
both, so it is necessary to insert both into test cavities.
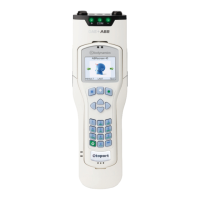
Remove the tip from the probe and place the cavity on a at surface. Insert
the probe into the test cavity at a 90 degree angle to the top of the cavity,
between the screws, as shown below left. Press the probe rmly into the
cavity until the shoulder of the probe touches the top of the cavity. When
released, the probe will rise a little to its natural position and the shoulder
may no longer touch the cavity. Inserting the probe at the wrong angle
or with the probe head over one of the screws may result in incorrect test
results.
Select OK to begin the Probe Test or Cancel to return to the Probe Menu
screen.