183
7. Flash
Set the built-in flash to match the recording.
1 Select the menu. (P54)
2 Press 3/4 to select the item and then press [MENU/SET].
The flash is activated twice.
The interval between the first and second flash is longer when [ ] or [ ] is
set. The subject should not move until the second flash is activated.
•
The Red-Eye Reduction effect differs between people. Also, if the subject was far away from
the camera or was not looking at the first flash, the effect may not be evident.
∫ Correcting red eyes
When Red-Eye Reduction ([ ], [ ]) is selected, Red-Eye Removal is performed
whenever the flash is used. The camera automatically detects red-eye and corrects the
picture.
Select the menu. (P54)
Settings: [ON]/[OFF]
•
[ ] is displayed on the icon when it is set to [ON].
• Under certain circumstances, red-eye cannot be corrected.
Changing Flash Mode
Applicable modes:
> [Rec] > [Flash] > [Flash Mode]
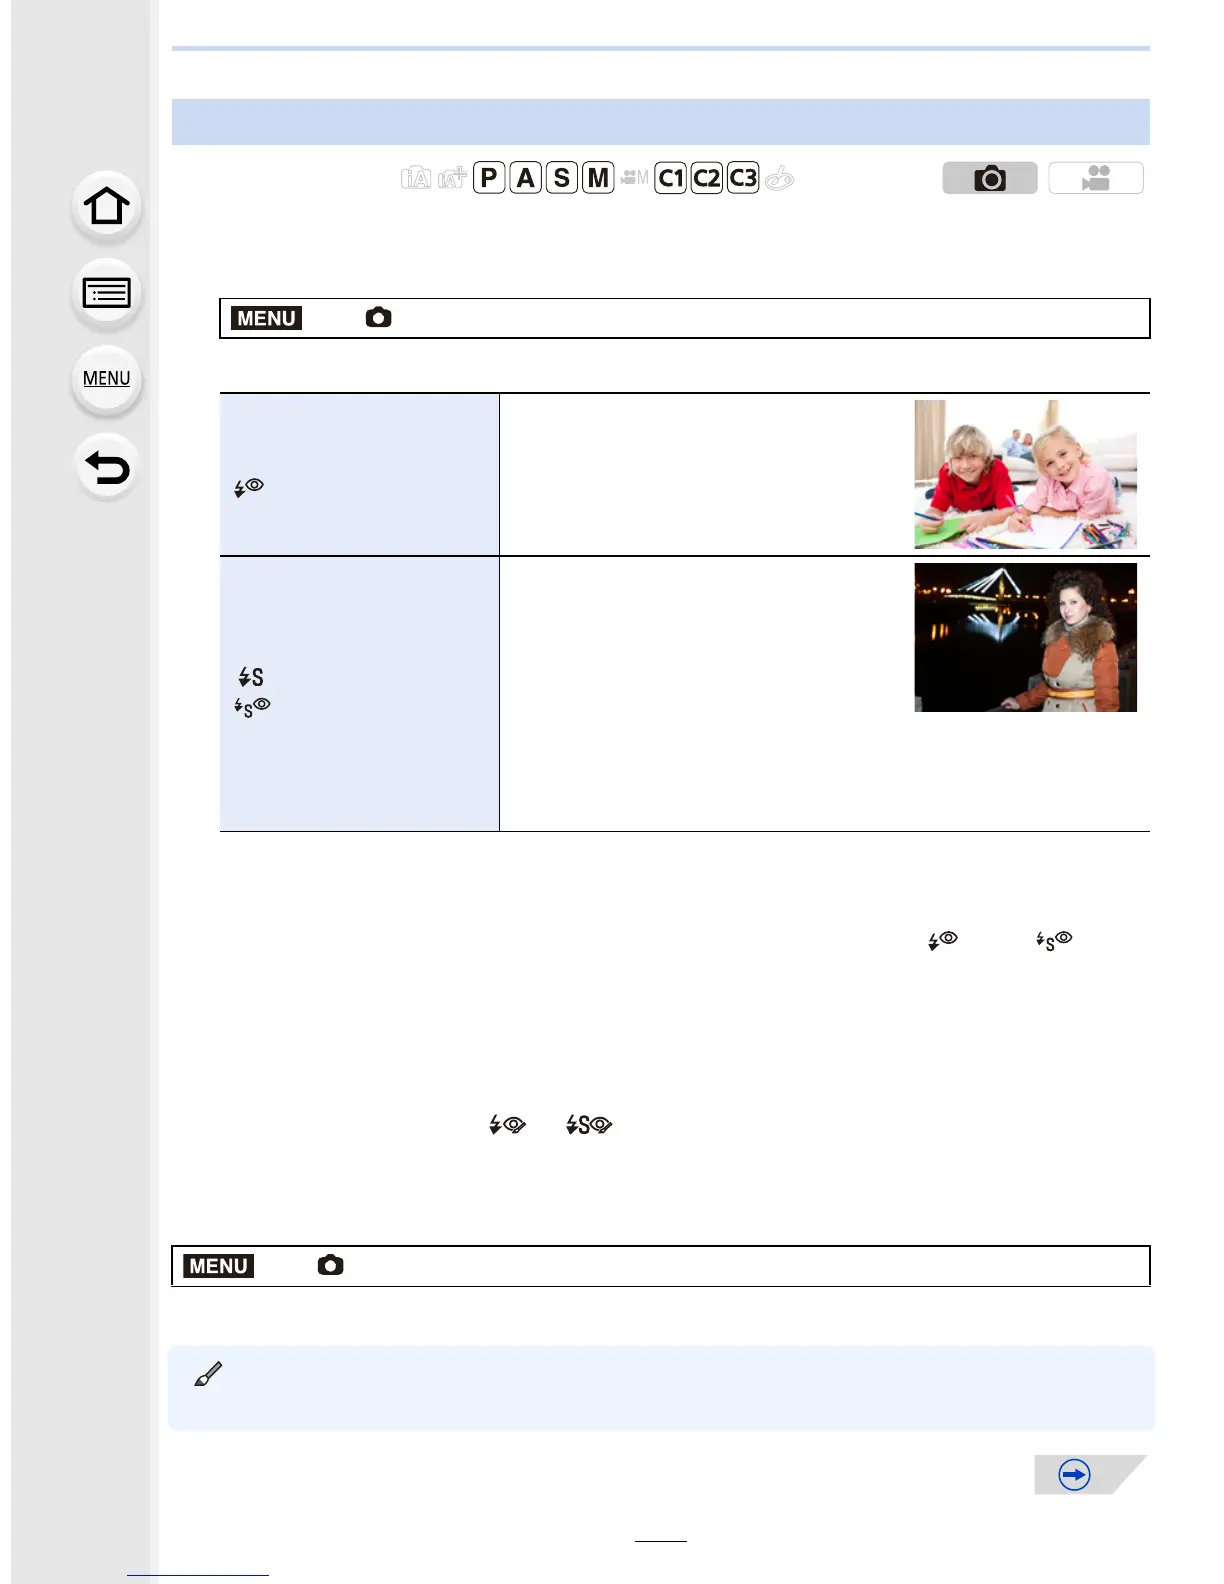
‰ ([Forced Flash On])
([Forced On/
Red-Eye])
¢
The flash is activated every time
regardless of the recording
conditions.
• Use this when your subject is
back-lit or under fluorescent light.
([Slow Sync.])
([Slow Sync./
Red-Eye])
¢
When taking pictures against a dark
background landscape, this feature
will slow the shutter speed when the
flash is activated. Dark background
landscape will appear brighter.
• Use this when you take pictures
of people in front of a dark background.
• Using a slower speed can cause motion blur. Using a
tripod can enhance your photos.
¢ It can be set only when [Wireless] in [Flash] is set to [OFF] and [Firing Mode] is set to
[TTL].
> [Rec] > [Red-Eye Removal]
 Loading...