14 Document Number: PD196-103 Rev 1
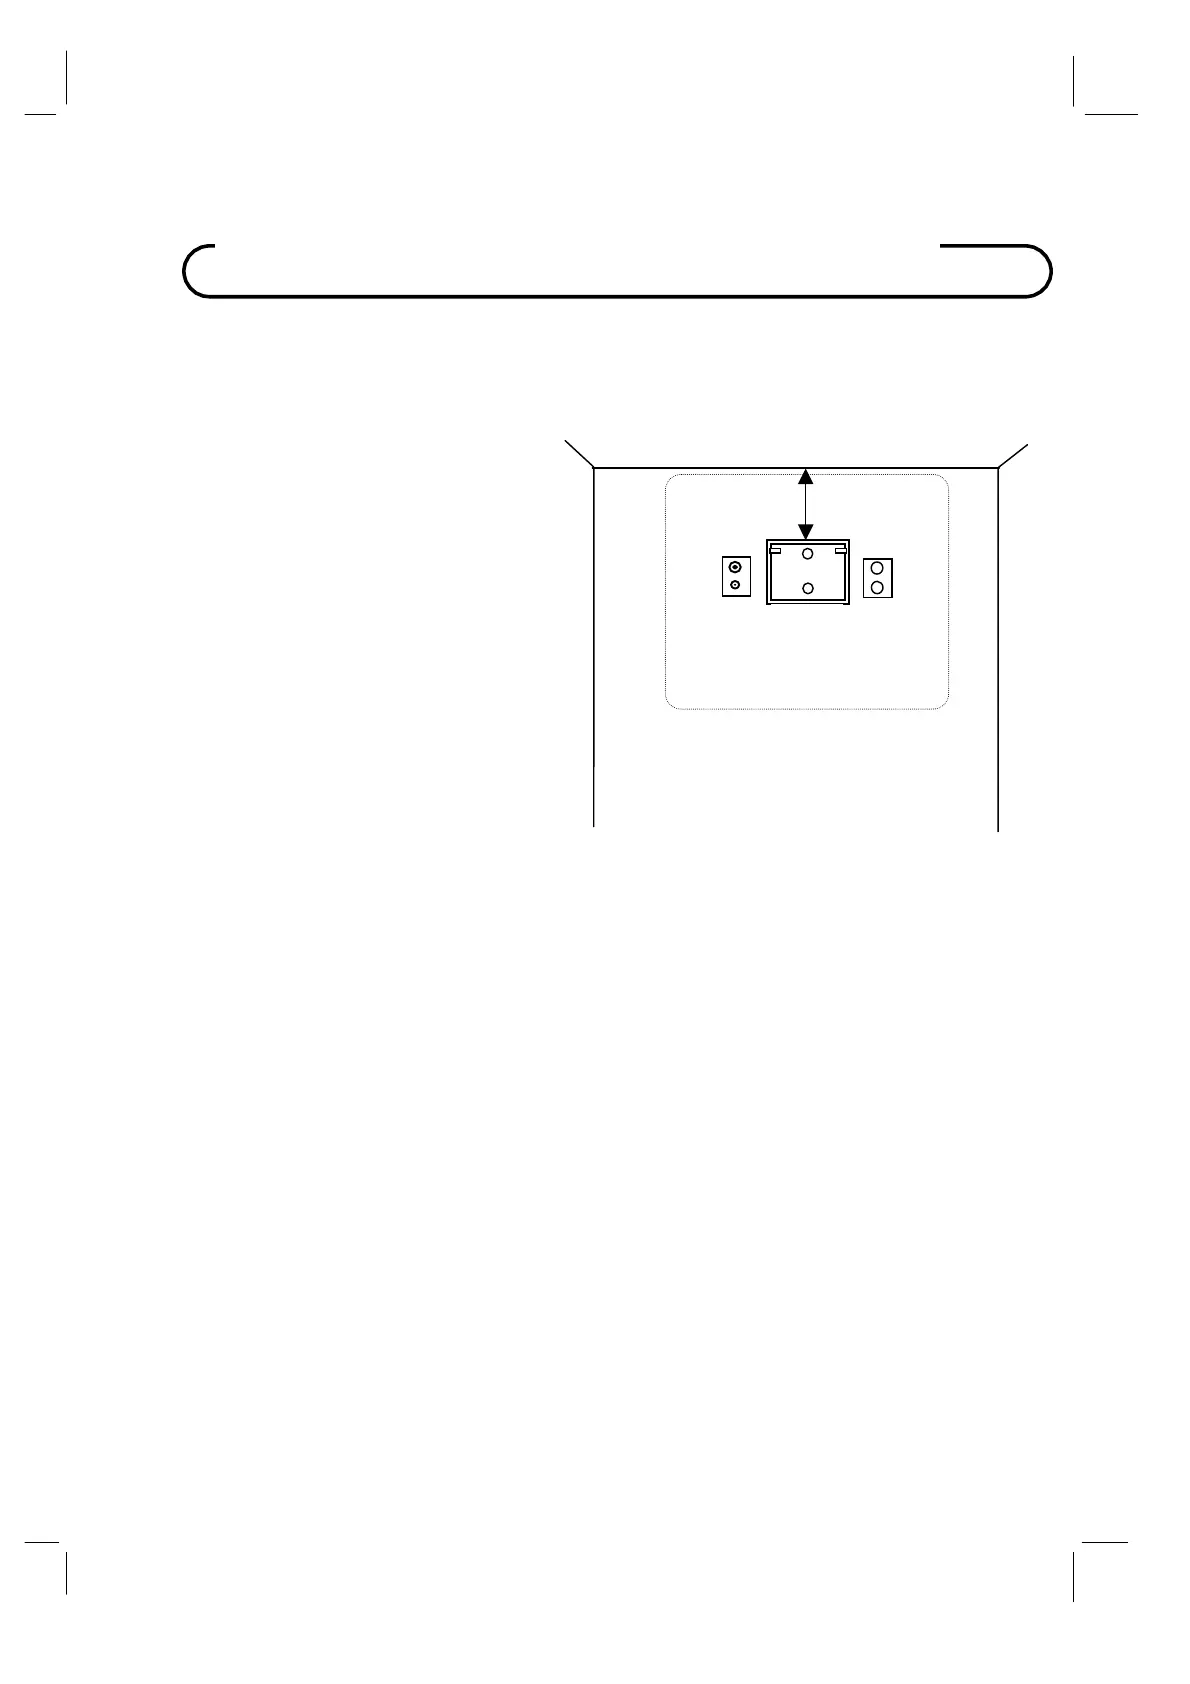
1. Refer to Figure 1. Select a location on the
wall approximately 9 inches below the
ceiling. Position the Wall Bracket and
locate two mounting holes. Secure the
bracket to the wall (mounting hardware is
not included).
NOTE: Do not locate AC, Across-Room
Wiring, and CATV Signal outlets below the
Wall Bracket’s location as it will cause
clearance issues and interfere with the
TV’s cabinet when mounted to the bracket.
2. Refer to Figure 2. Position the Back Mount
on the LCD TV cabinet. Attach with four
M4 screws provided.
3. Mate the Back Mount to the Wall Bracket
making sure the pivot pins are retained in
the “U” shaped slot. Using the pilfer
security driver packed with the hardware,
secure with two 10x32 pilfer screws.
4. Connect the AC line cord, Pillow Speaker
Jumper Cable, and CATV Coax Cable.
5. The TV’s tilt can be adjusted by loosening
both Pilfer Screws, adjusting tilt, and then
tighten.
Wall Mountin
on Wall Bracket
9”
Wall Bracket
NOT TO SCALE
C
CROSS-ROOM
& CATV SIGNAL
WIRING
P20LCDC 20” Vert x 23” Horiz
Figure 1