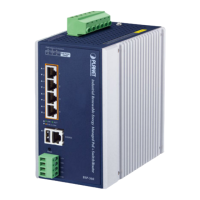
Industrial Renewable Energy 4-Port 10/100/1000T
802.3at PoE+ Managed Ethernet Switch/Router
BSP-360
26
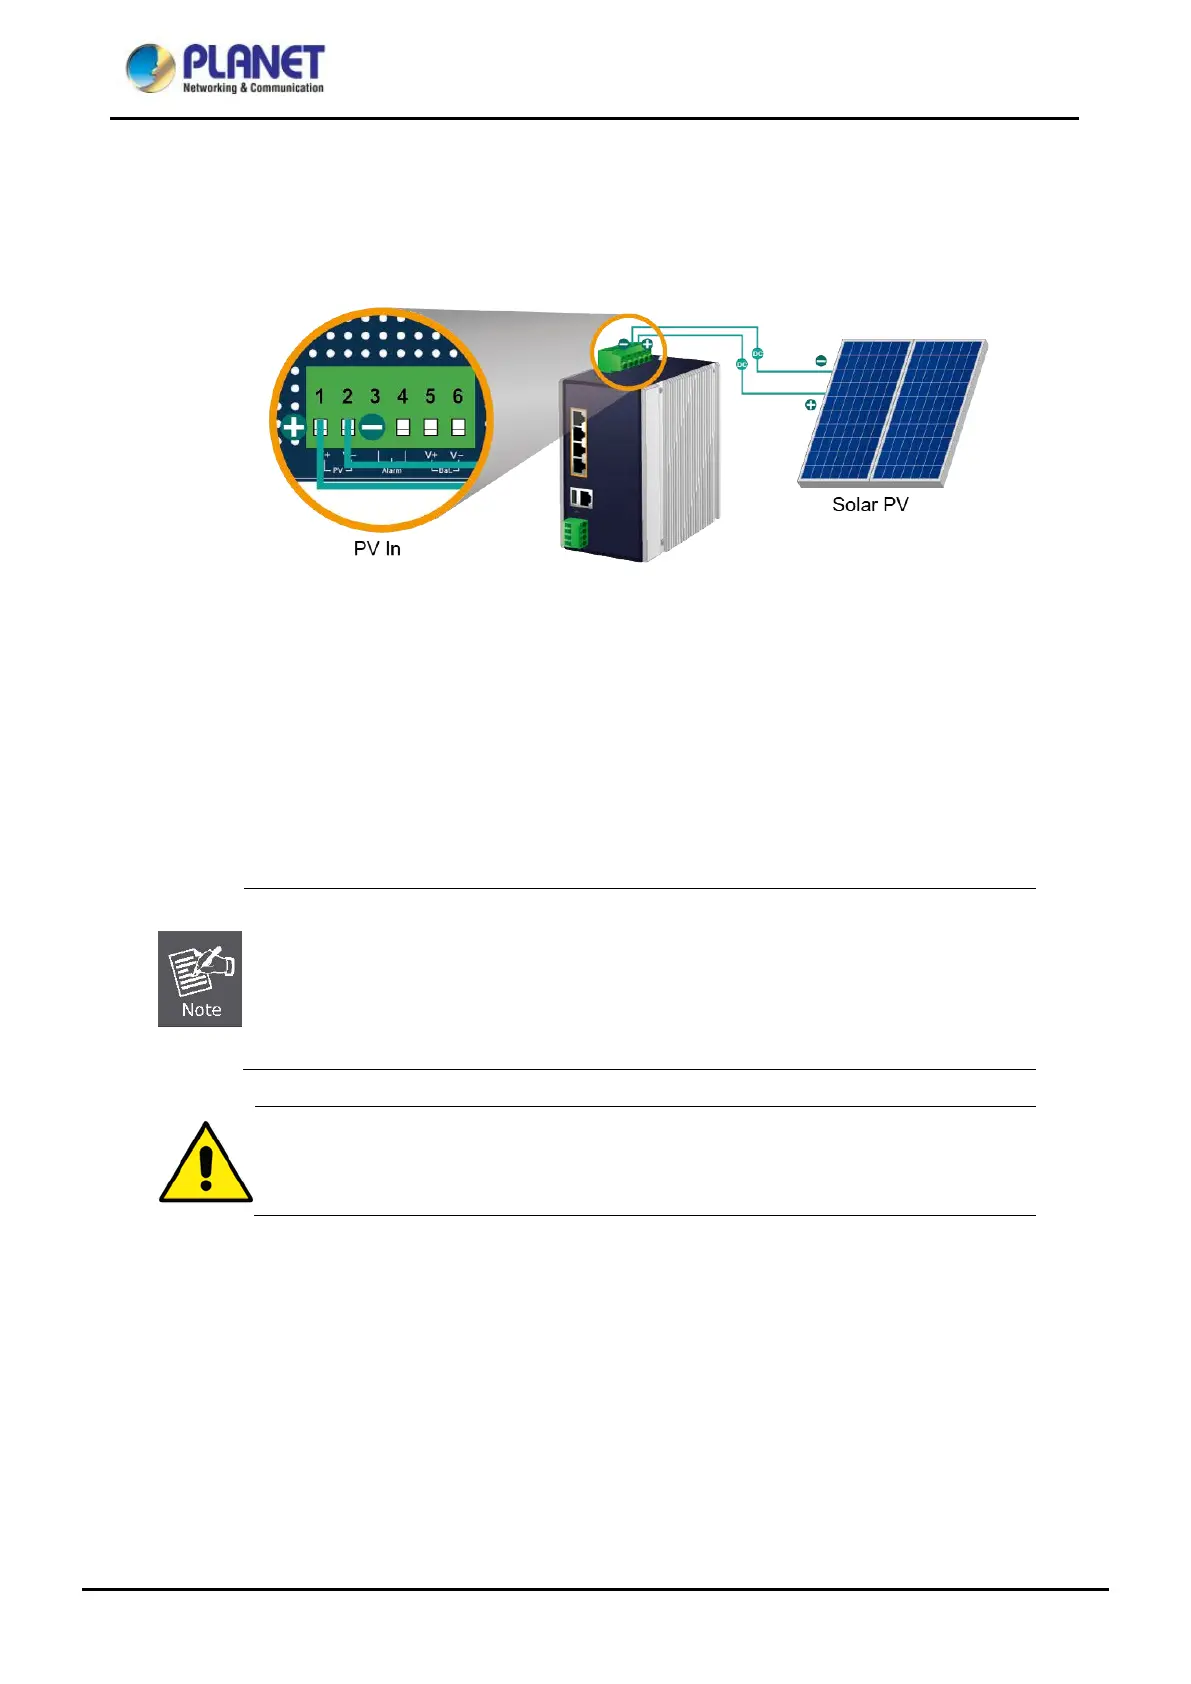
Step 3. Installing PV Panel
(1) Connect the negative electrode of the PV panel to the terminal for the negative electrode of the PV
panel on the BSP-360.
(2) Connect the positive electrode of the PV panel to the terminal for the positive electrode of the PV
panel on the BSP-360.
(3) After the PV is well connected to the BSP-360 and providing 24V or above voltage, the System LED will
blink fast for battery charge if the battery is not full.
Be noted for the thickness of electric wire and please refer to the section --
Recommended Use of the Connected Wires in the Quick Installation Guide.
Check the total power consumption of your device and the sunshine duration of
your area from the weather bureau for a proper PV. Improper PV could shorten the
battery life or provide insufficient power to the BSP-360.
The BSP-360 supports a maximum of 45V 8.8A DC input.