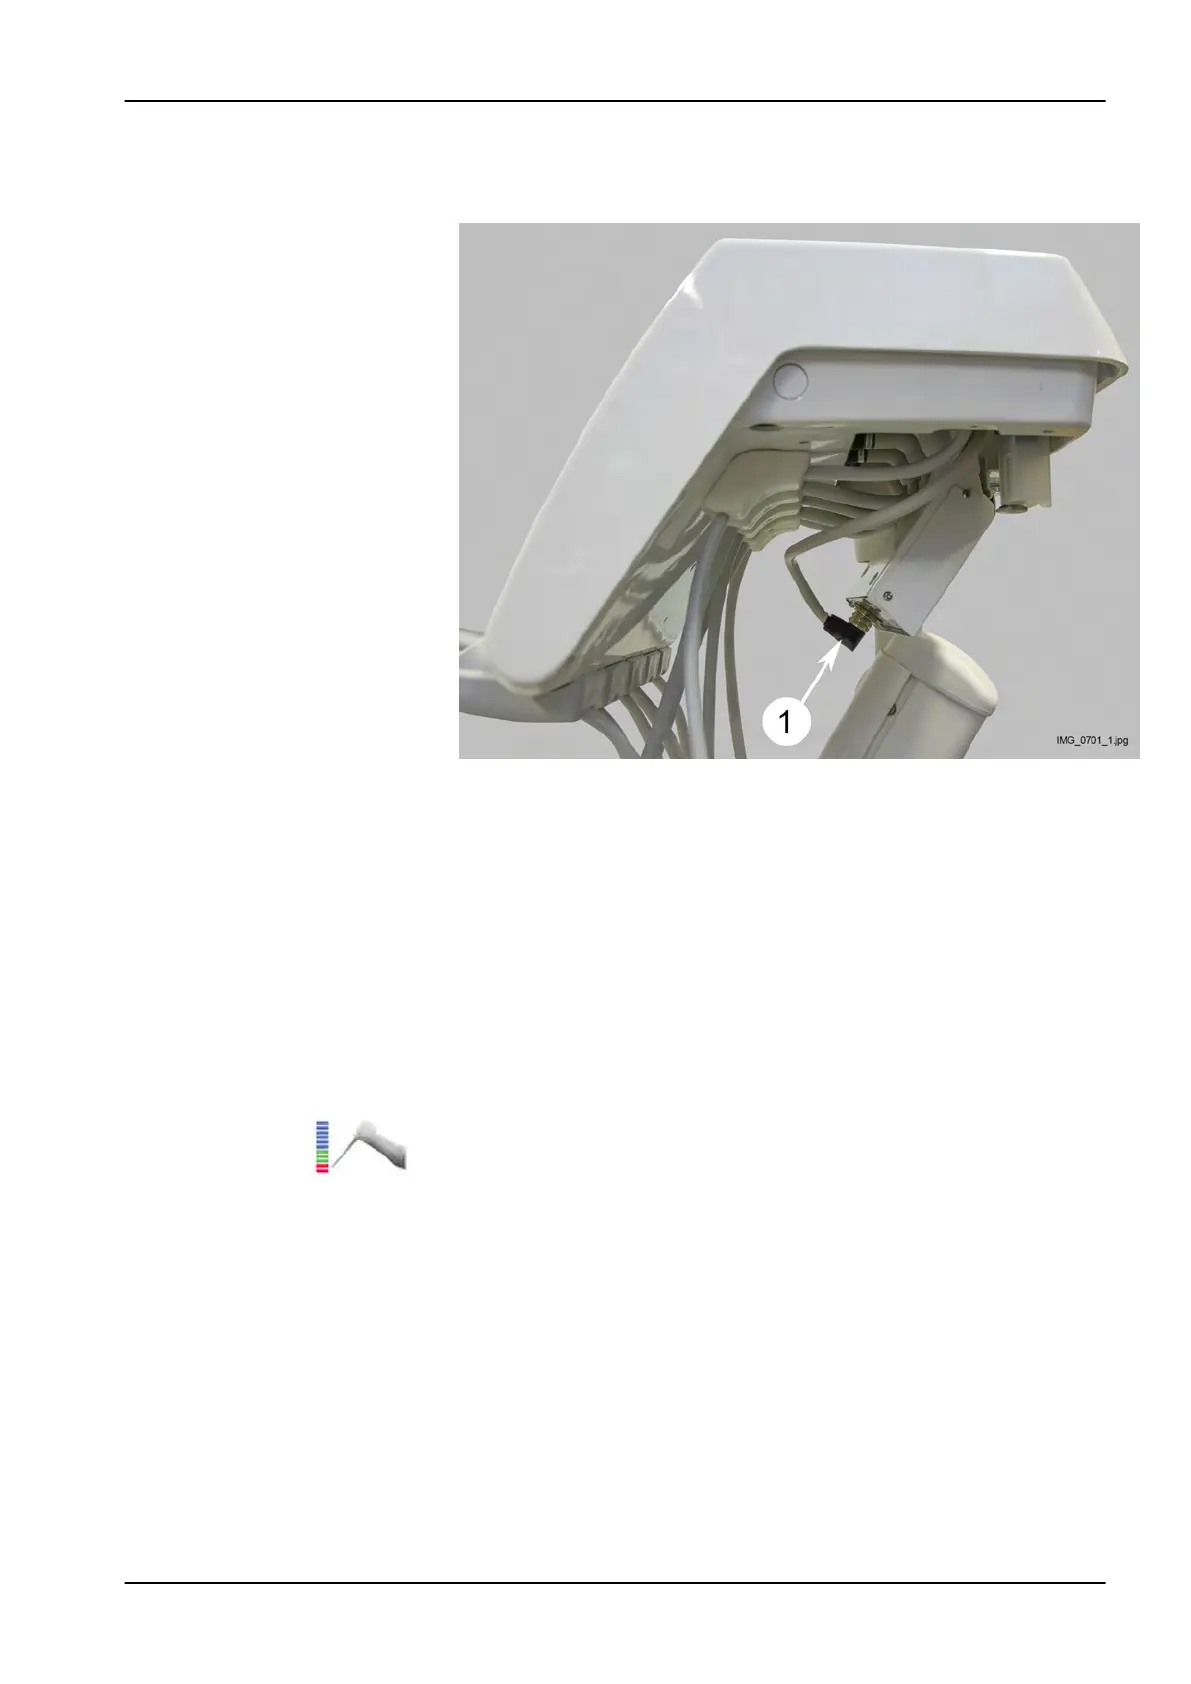
3. Connect the Morita micromotor hose to the apex locator housing
assembly (1) and the instrument console, and then connect the
micromotor.
4. Test the apex locator function as described in section "Testing apex
locator function" on page
87.
16.4.3 Testing apex locator function
About this task
The apex locator function must be tested weekly.
NOTE
While the test is going on, the dental unit's control panel is locked.
Steps
1. Open the
Apex locator
window on the control panel either by pressing
the Apex locator button or by activating the Morita micromotor and
selecting one of the apex presets (a1 - a3).
NOTE
If the Apex locator button is not visible in your control panel's swipe
menu, you must add it. For instructions, see your Planmeca dental unit's
user's manual, section
Organising items on control panel
.
16 Installing instruments
Installation manual Planmeca Compact i3 87