Model Scanning
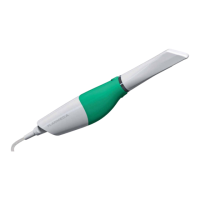
The default setting for the scanner is for intraoral scanning. Click the sun icon next to the scanner icon to switch to a
dimmer setting (sunset icon) when needed for models or anytime the live view is too bright.
Default setting - sun icon represents
brighter laser for intraoral use.
Activate the dimmer setting for external
scanning.
Scanning Live View
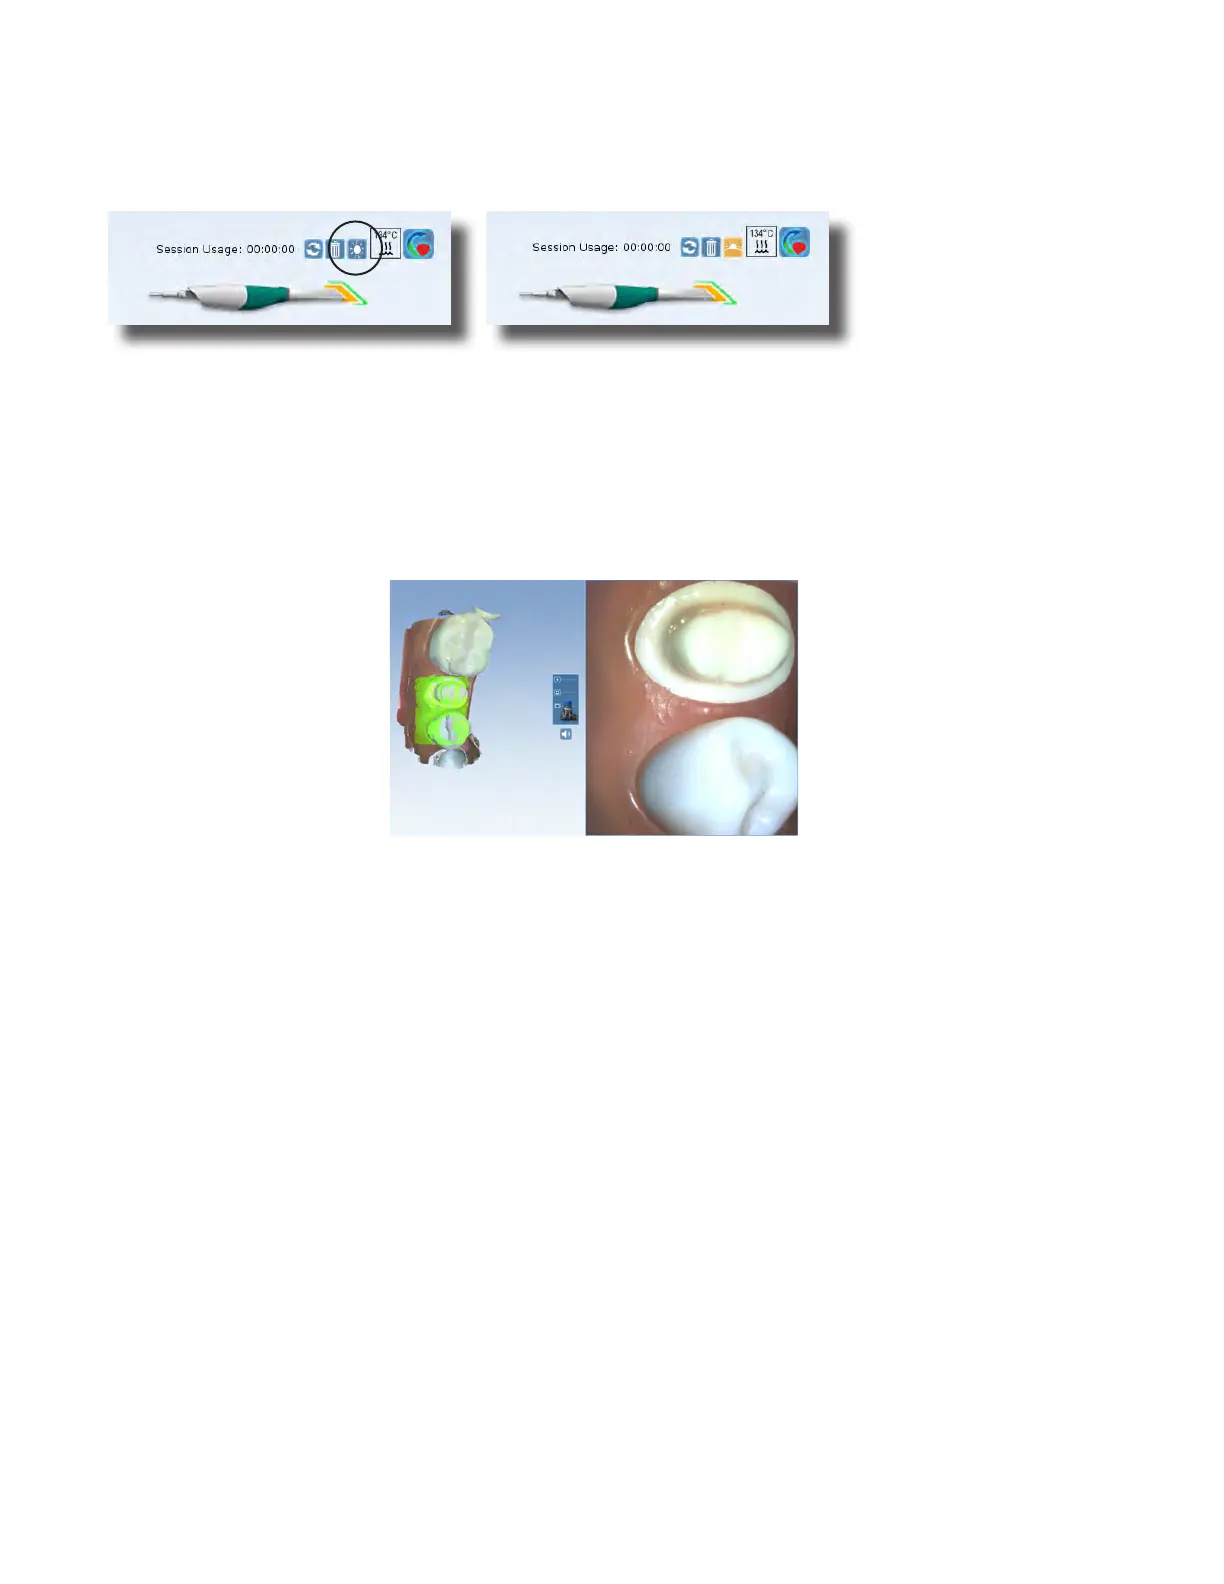
The system displays a model based upon the scan data. The Live View appears on the right and the model builds on
the left. Watch the model building on the left to see what information has been captured and where you need to
move the scanner.
Press the L key to lower the brightness level of the Live View, if needed.
Press Shift+L to return to the default Live View.
An audio tone plays to indicate that the system is capturing data. The system changes the Live View to orange and
stops the audio feedback if you have moved too far and the system needs data overlap.
Mute or change the volume on your laptop to change the audio feedback.
The most recent scan added to the model displays with a color coding to indicate the focal distance of the data
added.
• Green - close to the tip
• Yellow/Orange - middle of the range
• Red - end of the range (far away from tip)
Any color shown means the scanner IS capturing data. The colors only correspond to the focal distance.
The building model rotates to match the Live View.
While the scanner is active, use the bottom scanner button to show/hide extraneous data on the model. See “Active
Filtering” on page 25 for more information.
Click the top button on the scanner to stop scanning.
A raw data model is displayed.
15698200.B Scanning 23