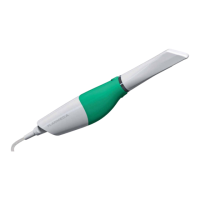
2 Click Toggle Margin to view the ditched area without the margin. This is similar to what your STL recipient will
see.
3 Click Toggle Retraction to show/hide the virtual ditching.
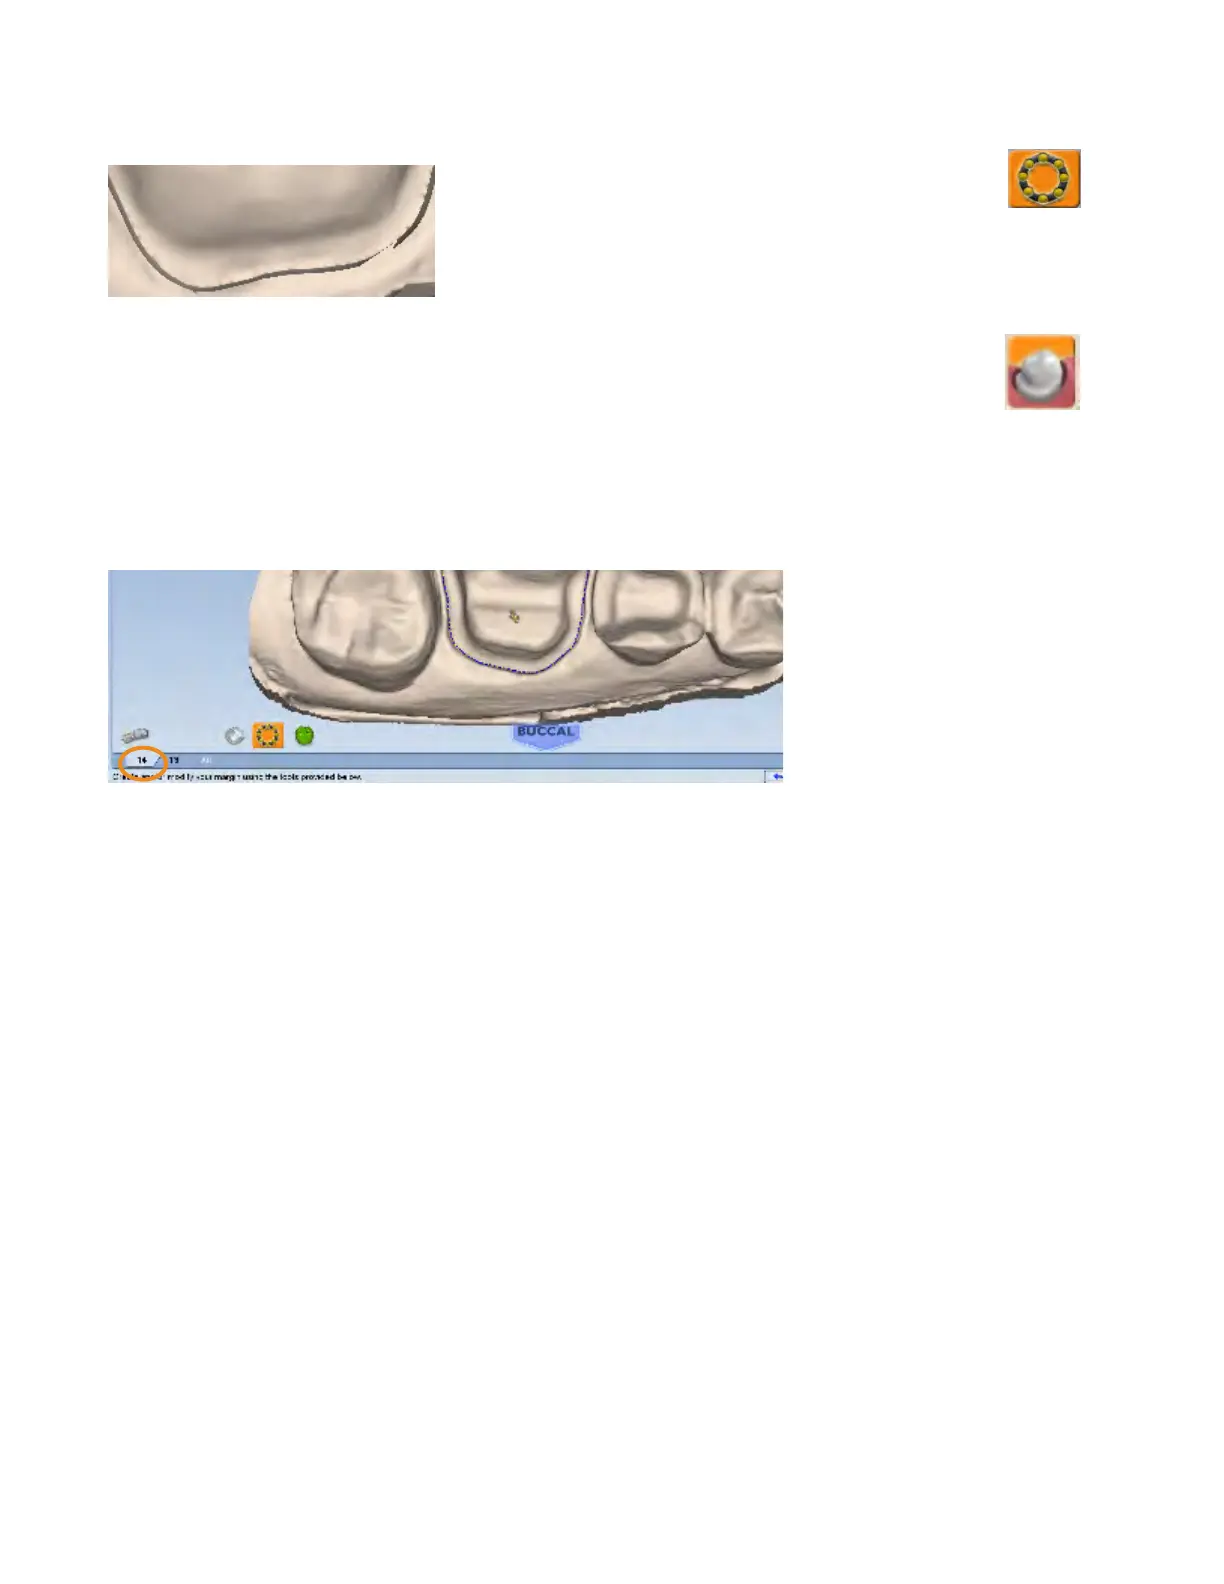
Multiple Restorations
On multiple restoration cases, the tooth number is assigned to each preparation when the margin is drawn.
1 Click the desired tooth number tab.
2 Draw and edit the margin for the selected tooth number.
3 Select the next tooth number.
4 Draw and edit the margin for the selected tooth number.
Drawing the margins is how the tooth number is designated for each preparation. If the wrong tooth number is
selected when a margin is drawn, the margin must be marked again on the correct tooth tab.
See “Drawing Pontic Margins” for information on margins for bridges.
Selection Area Tool
For designing systems only. See the PlanCAD User Manual for more information.
Edit Pre-Op Tool
For designing systems only. See the PlanCAD User Manual for more information.
15698200.B Margin Tab 43