Once active, hover over the desired area for 2-3seconds to remove the unwanted data. In some cases, rotating over
the surfaces will assist in data removal. Always verify Data Density after using this feature.
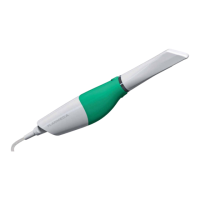
Active (for a session) when highlighted in
orange. Automatically deactivates with
next scan.
Generate Model
Click the bottom button on the scanner, click the Generate Model button, or press M on the keyboard to create the
3D model. If you exit without generating the model, the scans will be lost.
Click Data Density View to evaluate the model for low data. See “Checking Your Model For Missing Data” on page
26 for more information.
For design purposes, you may want to acquire more details of the adjacent teeth. If extra scans are desired,
deactivate Data Density View to speed up the process. Reactivate when nished scanning.
Checking Your Model For Missing Data
Click Data Density View to evaluate the model for low data. If multiple scans are needed, deactivate this button to
speed up the process.
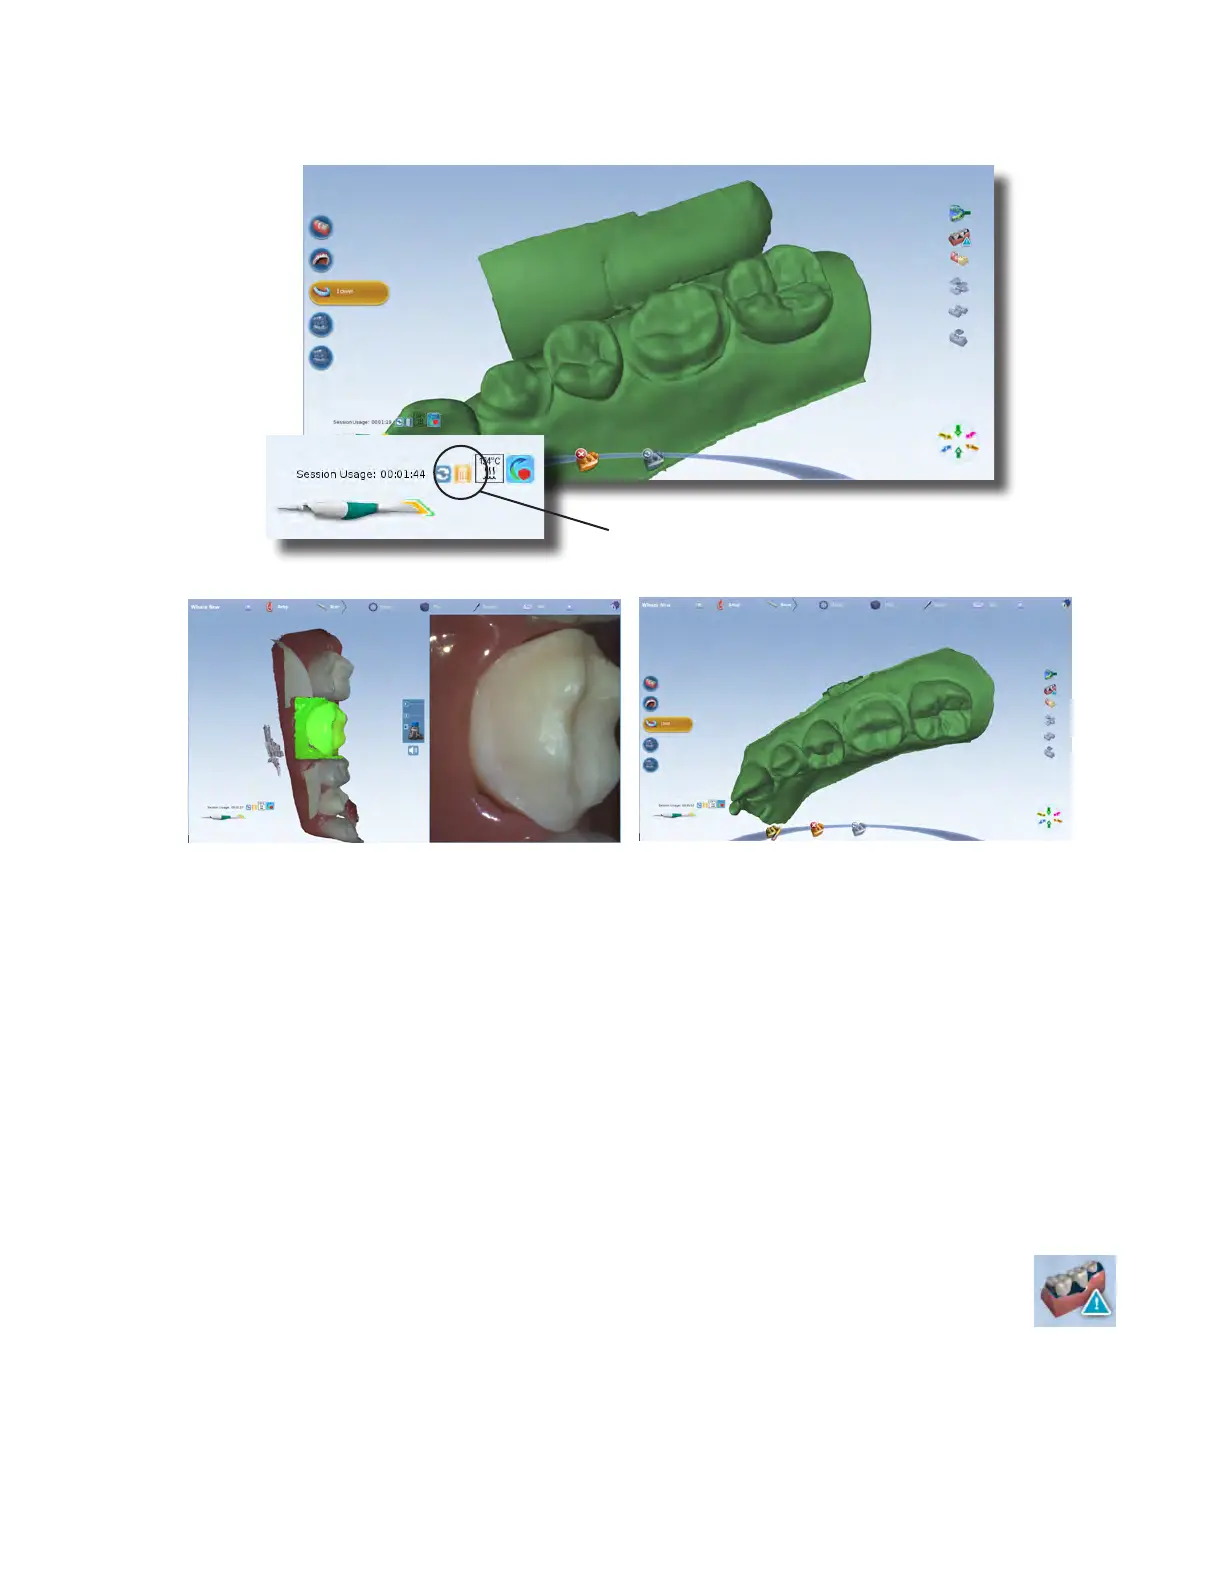
1 Click Data Density View if it is not already activated. The model refreshes with the dark blue and
purple areas indicating the least data. Rotate the model to analyze it.
2 Dark areas on your restoration site and interproximal contact areas should be rescanned.
26 Scanning Planmeca Emerald User Manual