Bite registration preparation
Keep the following recommendations in mind as you prepare bite registrations:
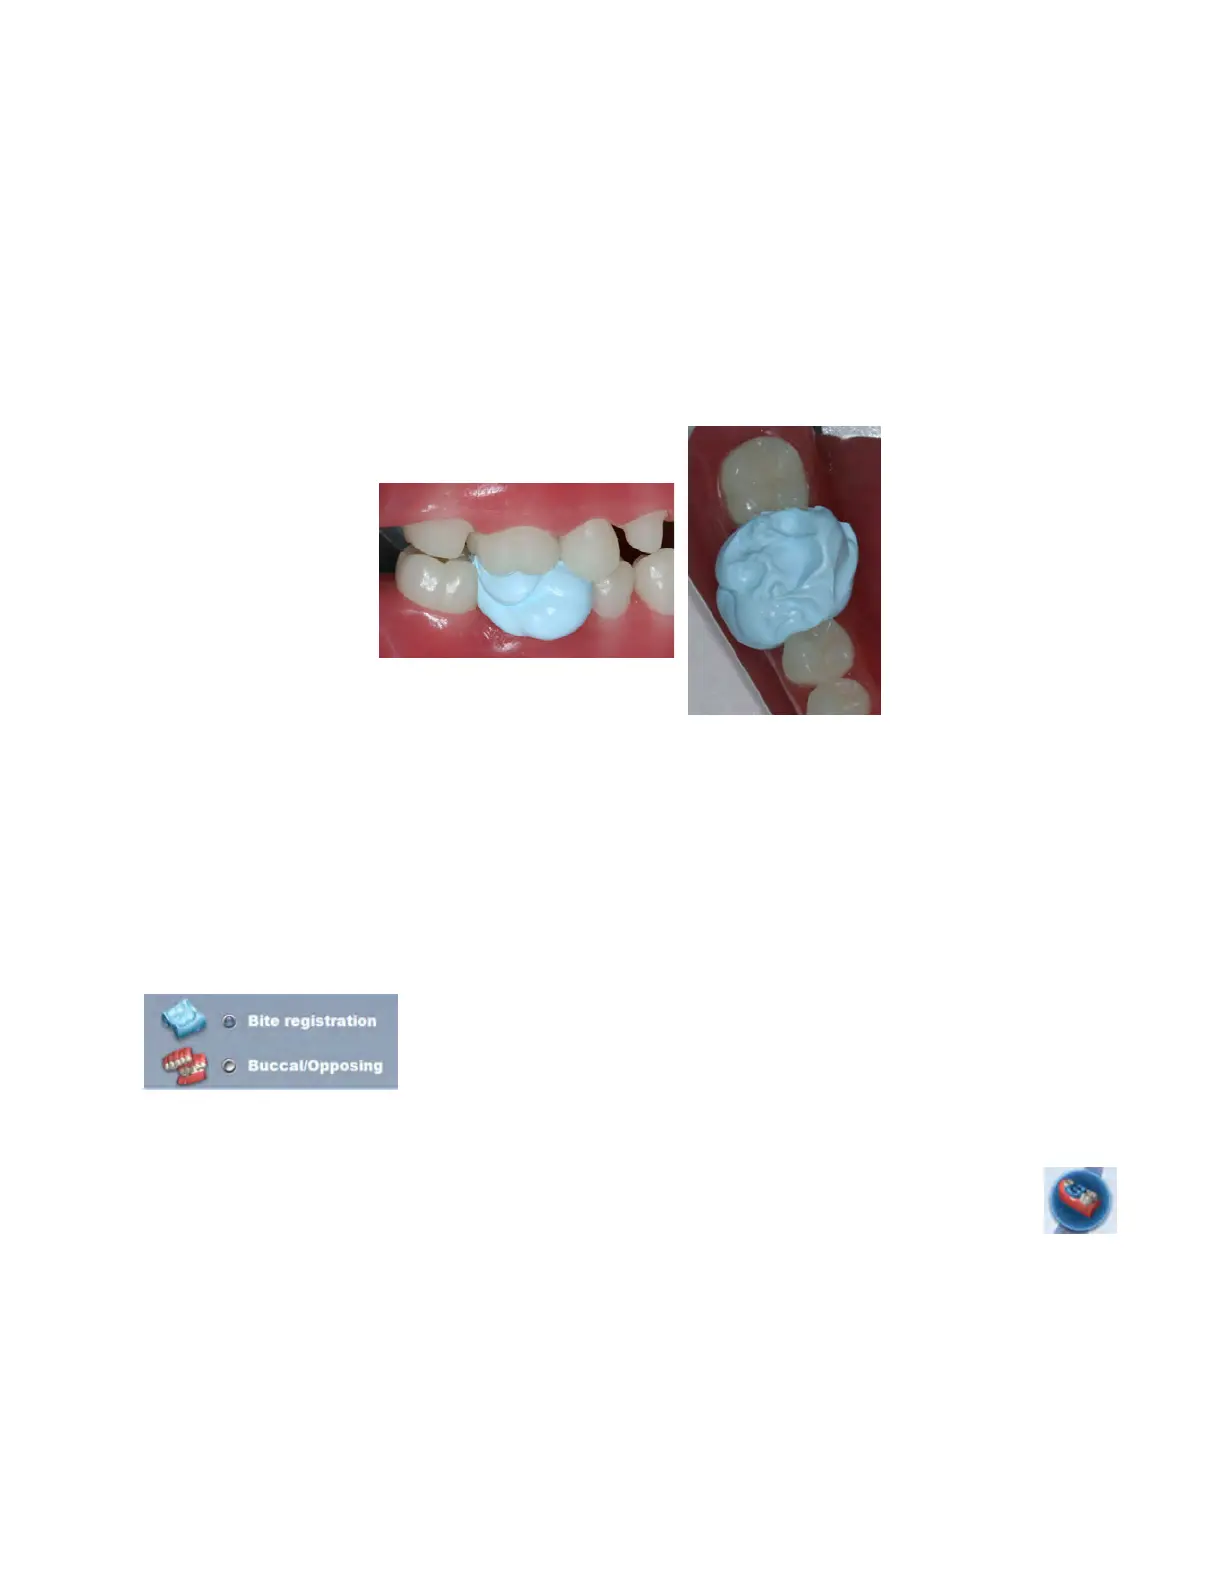
1 Place the bite registration material so that it completely covers the preparation surface.
• The bite registration material should not cover the adjacent teeth. If it does, trim to the interproximal after
the material sets.
• There must be sucient data of the adjacent teeth in the scans of the preparation and the bite registration
in order for the two models to align.
• Ensure there are no gaps between the bite registration material and the adjacent teeth.
Have the patient bite down rmly or press the articulated model down rmly for the impression.
2 If trimming of the bite is needed to expose more of the adjacent teeth, trim the bite in the mouth. If you remove
and replace it, the bite registration material may not seat properly.
Bite registration scanning
Goals
100% occlusal data
1 On the Setup screen, select Bite Registration.
On the Scan screen, the system defaults to Upper or Lower based on the selected tooth number.
2 Click Scan Bite.
A Time Saver message appears. This message only appears when the preparation is scanned rst. The Time
Saver option allows you to duplicate the preparation model and use the same data for the bite registration
model.
Time Saver cannot be used in conjunction with Impression Mode.
3 Click OK to use the Time Saver. If you do not wish to use the Time Saver option, the bite registration and adjacent
teeth can be scanned on their own. The following instructions assume the use of the Time Saver option.
30 Scanning Planmeca Emerald User Manual