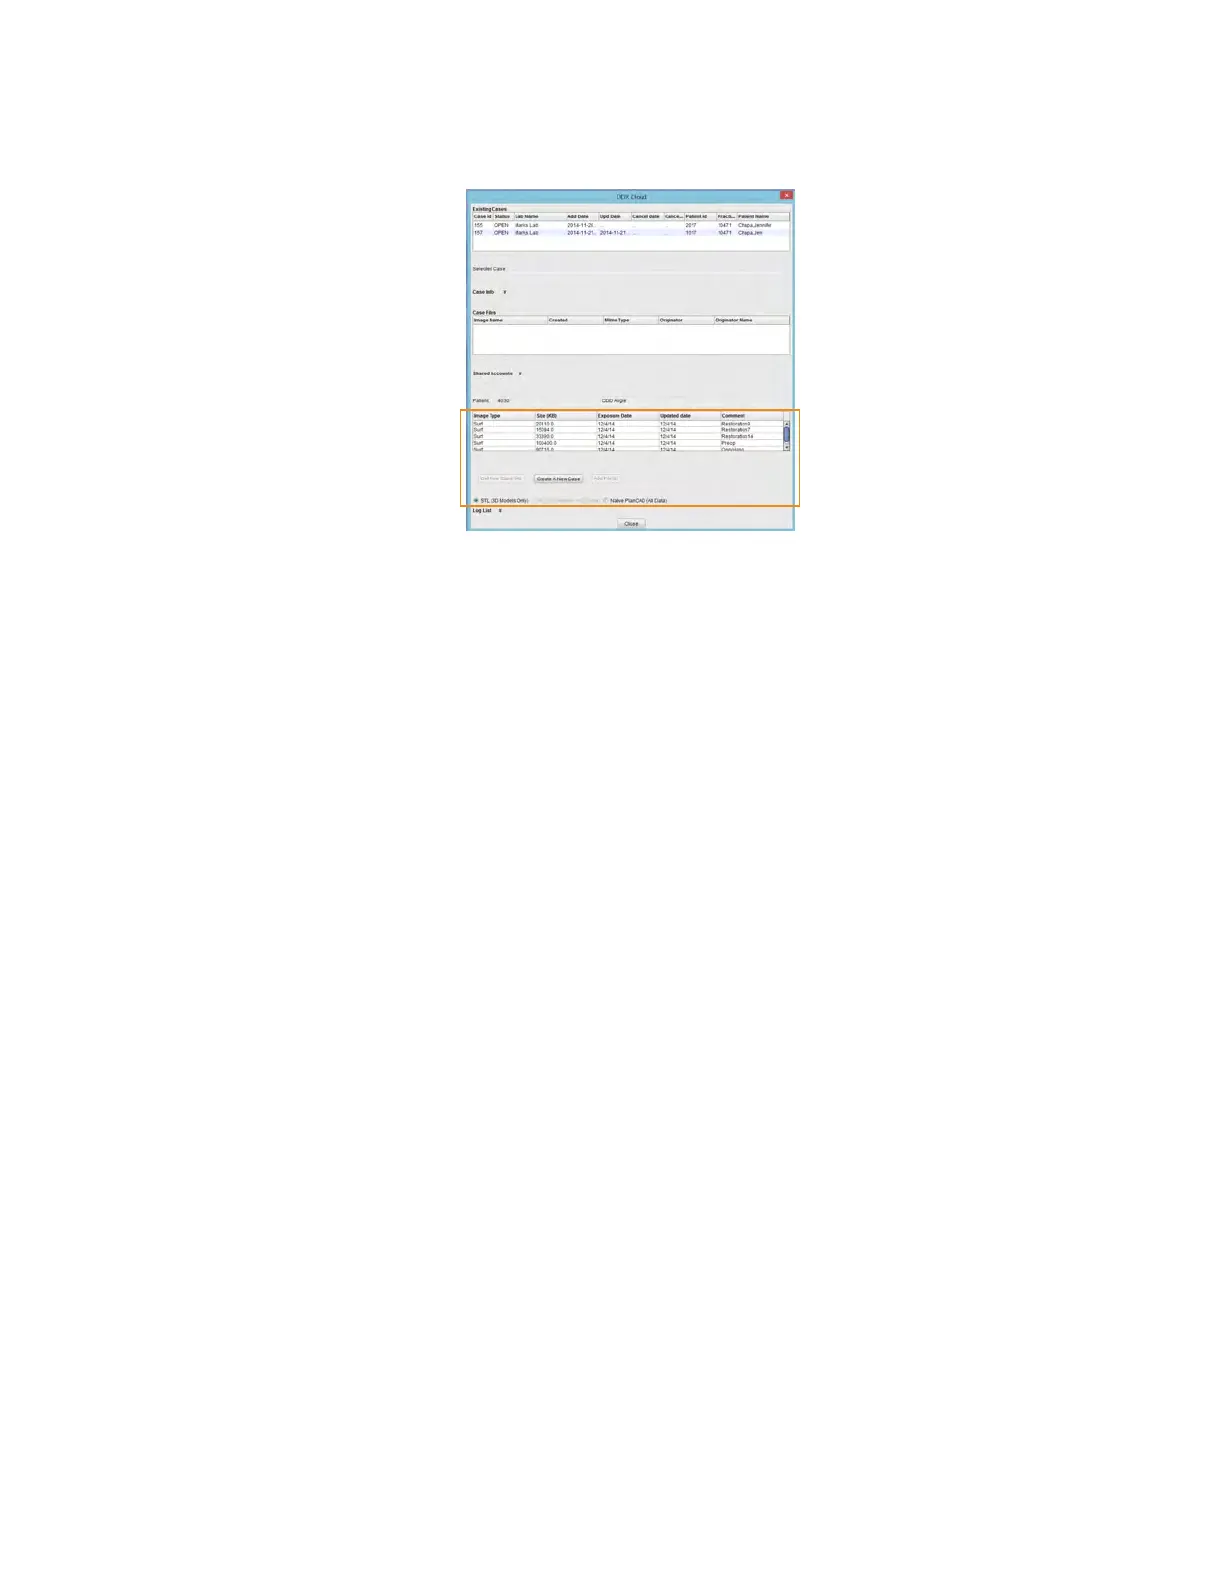
The available models for the case that you have selected are listed near the bottom of the screen. Ensure you have a
ditched_prep model if your case has equigingival or subgingival margins. See “Retract” in the Margin chapter for more
information.
3 Select STL (3D Models Only) or Native PlanCAD (All Data) as the export type at the bottom of the screen. Labs
must have Romexis PlanCAD software in order to use the PlanCAD data. Ask your lab which export type they
prefer.
4 Click Create a New Case.
If you are not already logged into DDX, a login screen will appear.
5 Select the desired lab from the list of My Labs or Find A Lab.
6 Fill out the form. You must select a Procedure and type the tooth number(s). The rest of the elds are optional.
7 Click Submit Case.
The system returns to the DDX Cloud screen. Wait for the case to appear in the Existing Files section.
A red progress bar appears when the case automatically uploads. The screen closes when the upload is nished.
If the case does not automatically upload, click on the le in Existing Files and click the Add Files button.
A PlanScan panel is available in the Dentrix Chart. See Dentrix user manual for details and instructions.
46 Exporting Data Planmeca Emerald User Manual