10828200.B Patients 19
Deleting Files
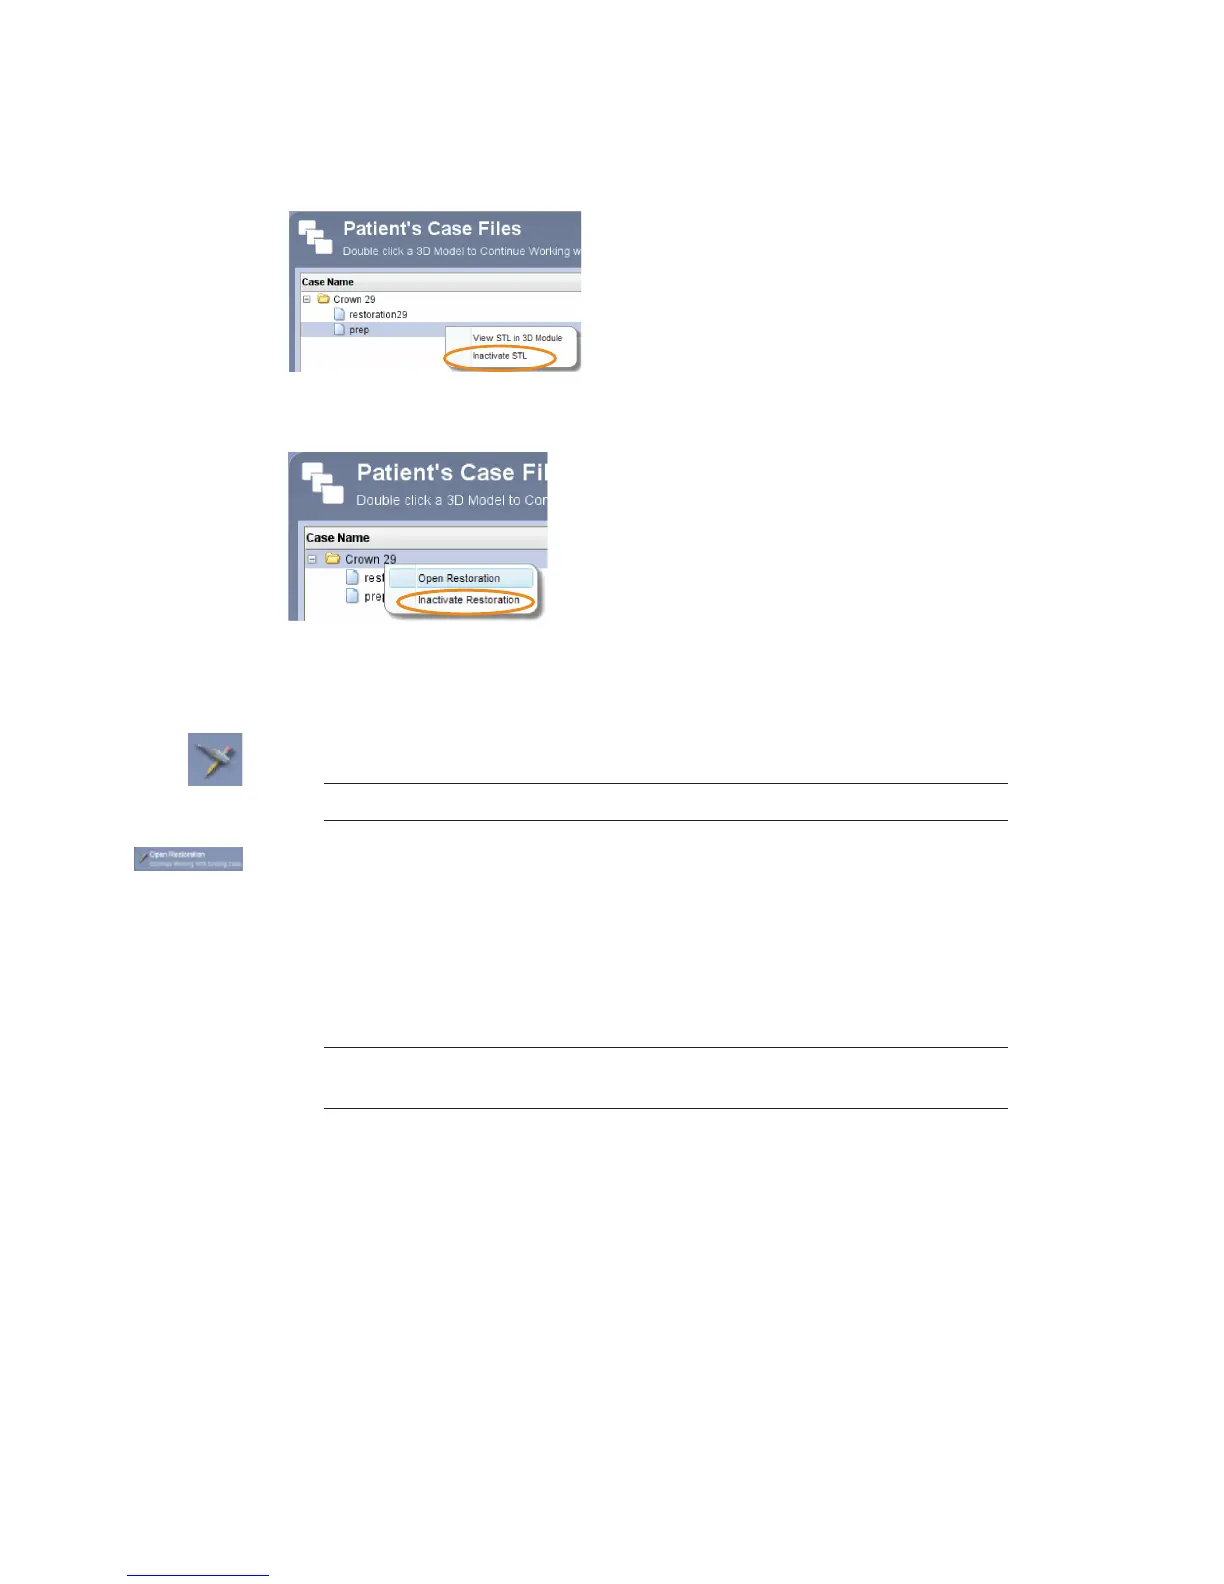
To delete an image (stl le) from the patient’s case les right-click on the le and select
Inactivate STL.
To delete a case from the patient’s case les right-click on the case and select Inactivate
restoration.
To reactivate or permanently delete a case from the database see the Romexis User Manual.
Starting a New Restoration
1 To start a new scan, click New Scan and Design.
Note: Click New Scan Only if you do not have a design license.
2 To open an existing scan or restoration (crown, inlay, onlay, etc.) double-click a case on the list
or click the Open Restoration button.
The case opens in the Planmeca PlanScan Setup tab.
Setup tab
Use the Setup screen to set the restoration type, occlusal data type, material, and tooth library.
If you open an existing restoration, many of these settings may already be selected.
Note: The Setup tab must be lled out for Margin, Design, and Milling. For Scan
Only cases, click the Scan tab at the top to skip the Setup tab.
See the PlanCAD manual for details on lling out the Setup tab.