5 Click the Eraser Tool.
6 Erase the preparation and the marginal ridges of the adjacent teeth.
7 Click the Eraser Tool to deactivate it.
8 Activate the scanner and scan begin the scans with the occlusal of one of the adjacent teeth.
Once you have established where you are, you can begin scanning the bite registration data.
9 Scan the occlusal of the bite registration material and any of the adjacent tooth data that was
removed and is not covered by the bite registration.
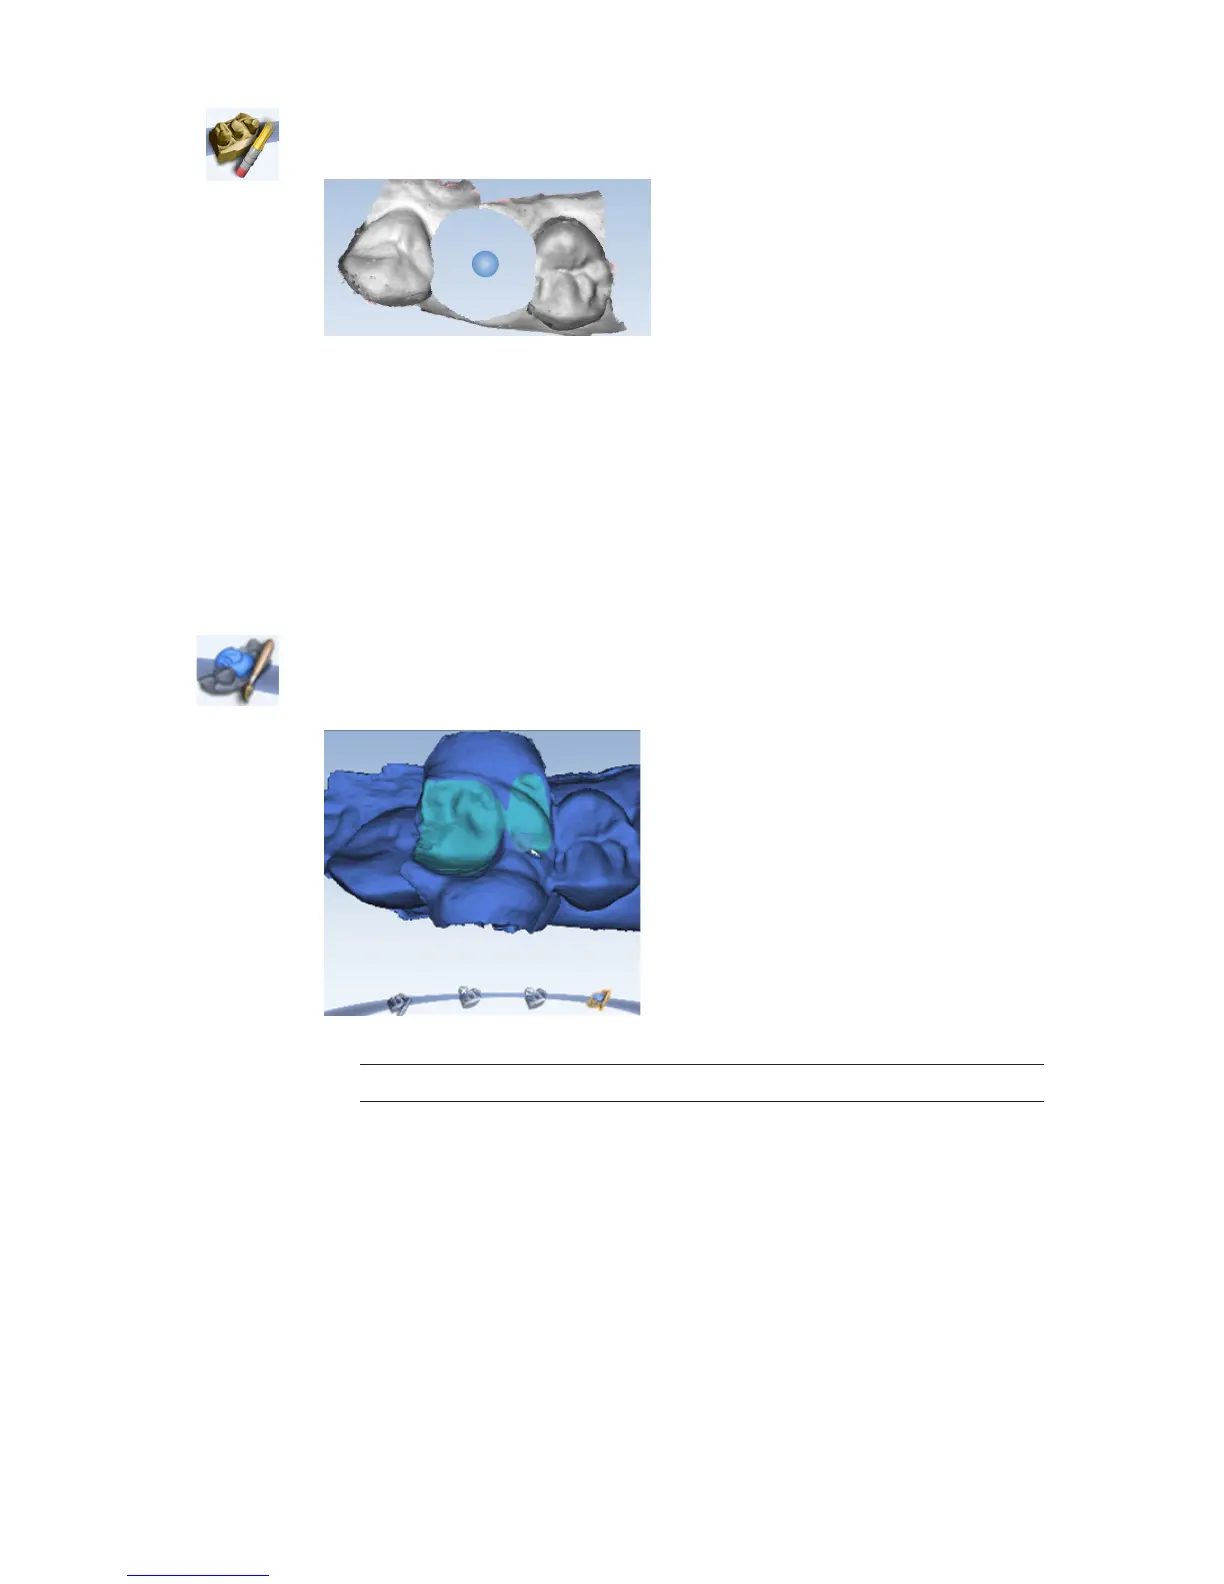
Selecting the Bite Registration
Highlight the opposing dentition to designate which areas of this model should be used for
occlusion.
1 Click Bite Selection at the bottom of the screen. This icon only appears on the Scan Bite screen.
2 Click and drag to highlight the areas of the opposing dentition that would come into contact
with the restoration.
3 Click Bite Selection again to deactivate it.
Note: Click Reset if you made a mistake and need to start over.
30 Scanning Planmeca PlanScan User Manual