6
9929422 R02 - 2017-2019 ACE 900 Service Manual
© Copyright Polaris Industries Inc.
6.17
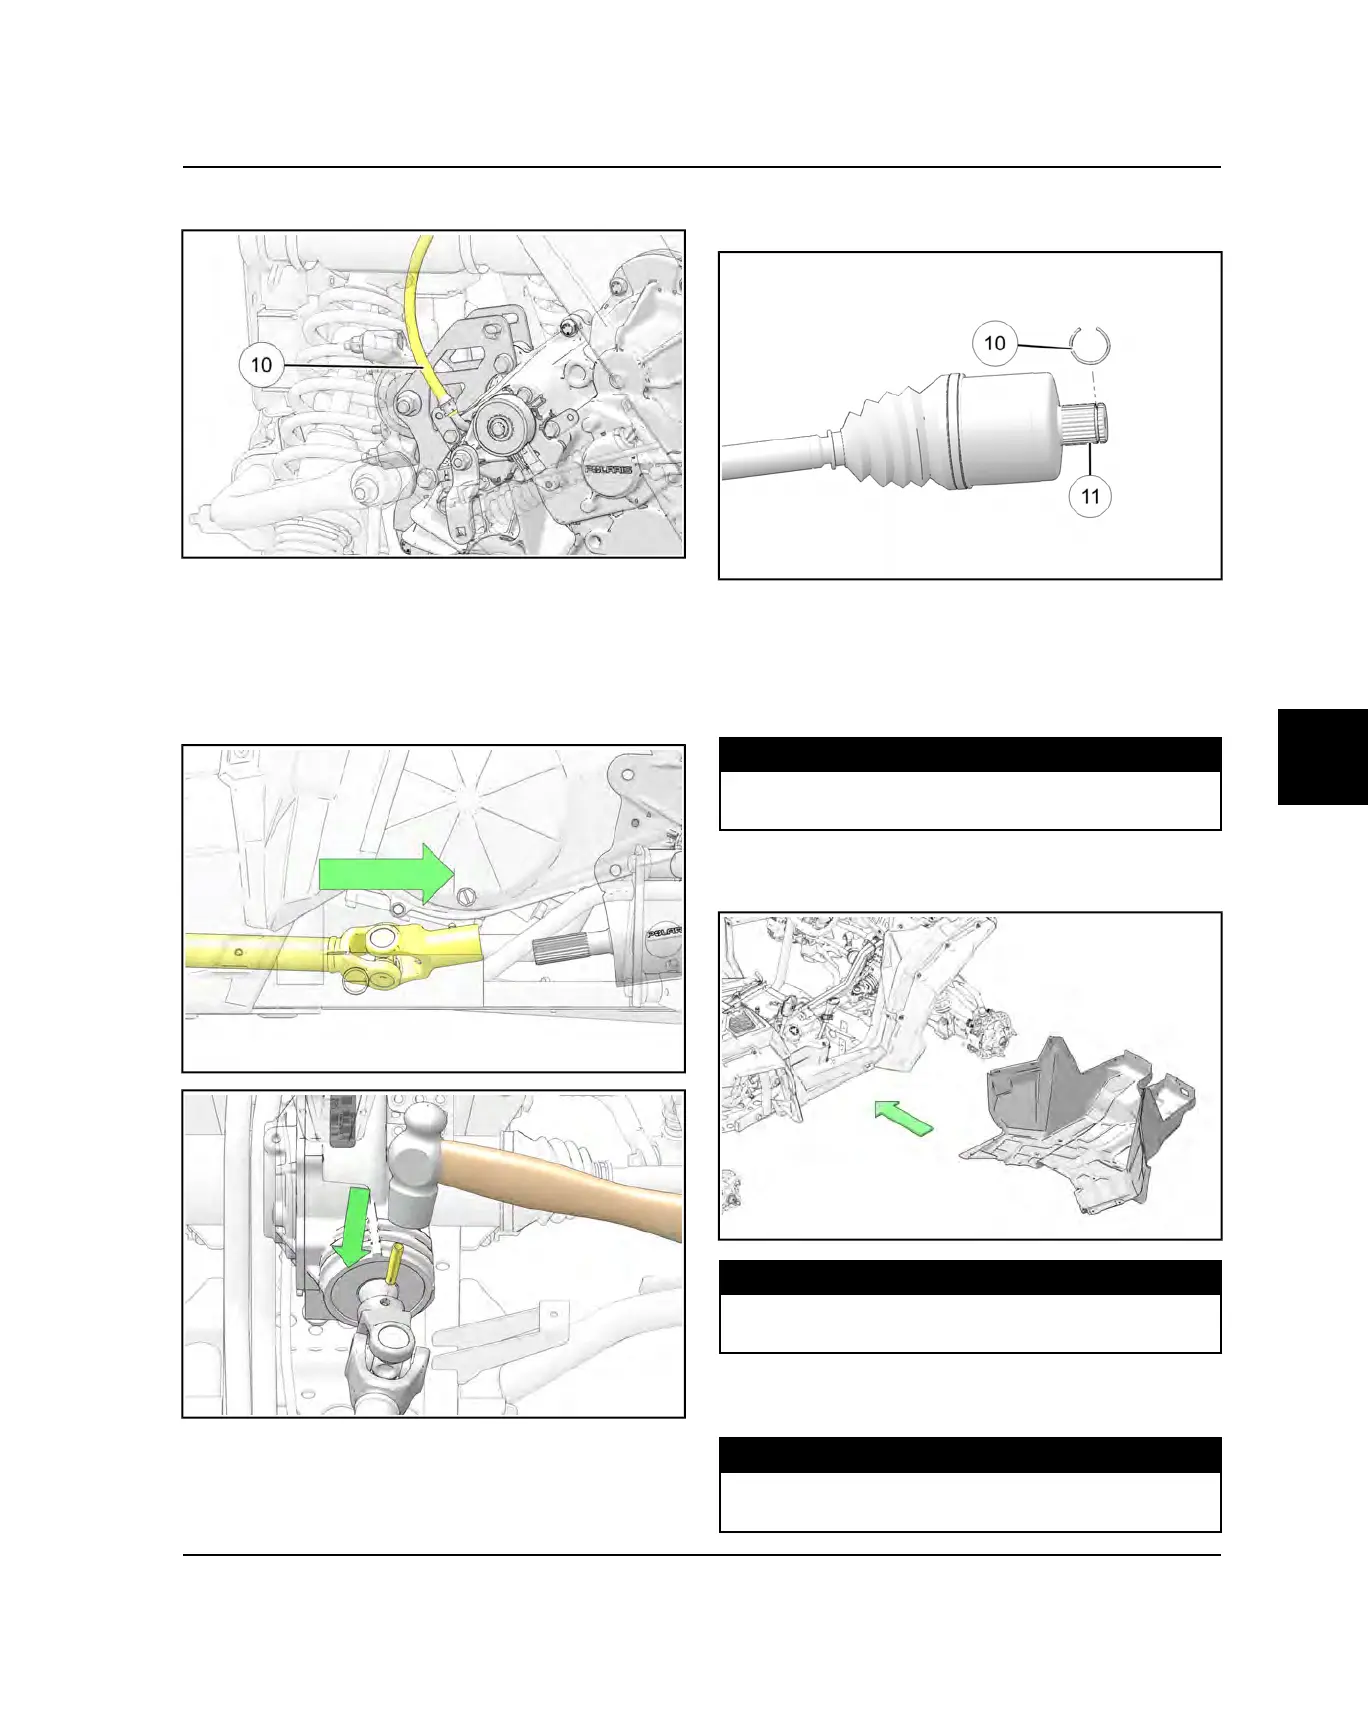
19.Install and properly route the vent hose
a
.
20.Grease the front gearcase and transmission input
shaft splines with Premium All Season Grease. Install
the prop shaft onto the transmission input shaft. Align
the hole in the front of the prop shaft with the hole in
the front gearcase input shaft and install the prop
shaft. Hammer a new spring pin
s
into the hole until
it is flush with yoke.
21.Reinstall the PVT system outer clutch cover, drive
belt, drive clutch, driven clutch, inner clutch cover and
clutch outlet duct. See PVT Assembly page
22.Install new spring ring
a
on rear drive shafts. Apply
an anti-seize compound to the splines
s
.
23.Rotate the rear upper control arm back into position
on the frame while guiding each drive shaft back into
the transmission. Verify the driveshaft “click” into
place.
24.Torque upper control arm fasteners to specification.
TORQUE
Upper Control Arm Fasteners:
42 ft-lbs (57 Nm)
25.Reinstall the floorboard panel using the screws and
plastic rivets. Torque screws to specification.
TORQUE
Floorboard Screws:
8 ft-lbs (11 Nm)
26.Reinstall the rear wheels. Torque lug nuts to
specification.
TORQUE
Wheel Lug Nuts:
30 ft-lbs + 90° (41 Nm)
TRANSMISSION
 Loading...