● Logs
● User-installed PKI certificates
● Local directory entries
● Call detail record (CDR)
1. Disconnect the power supply to turn off the system.
2. Do one of the following:
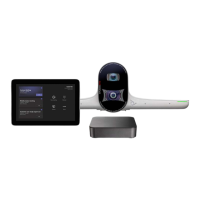
● On the front of the G7500, insert a straightened paper clip through the factory restore
pinhole.
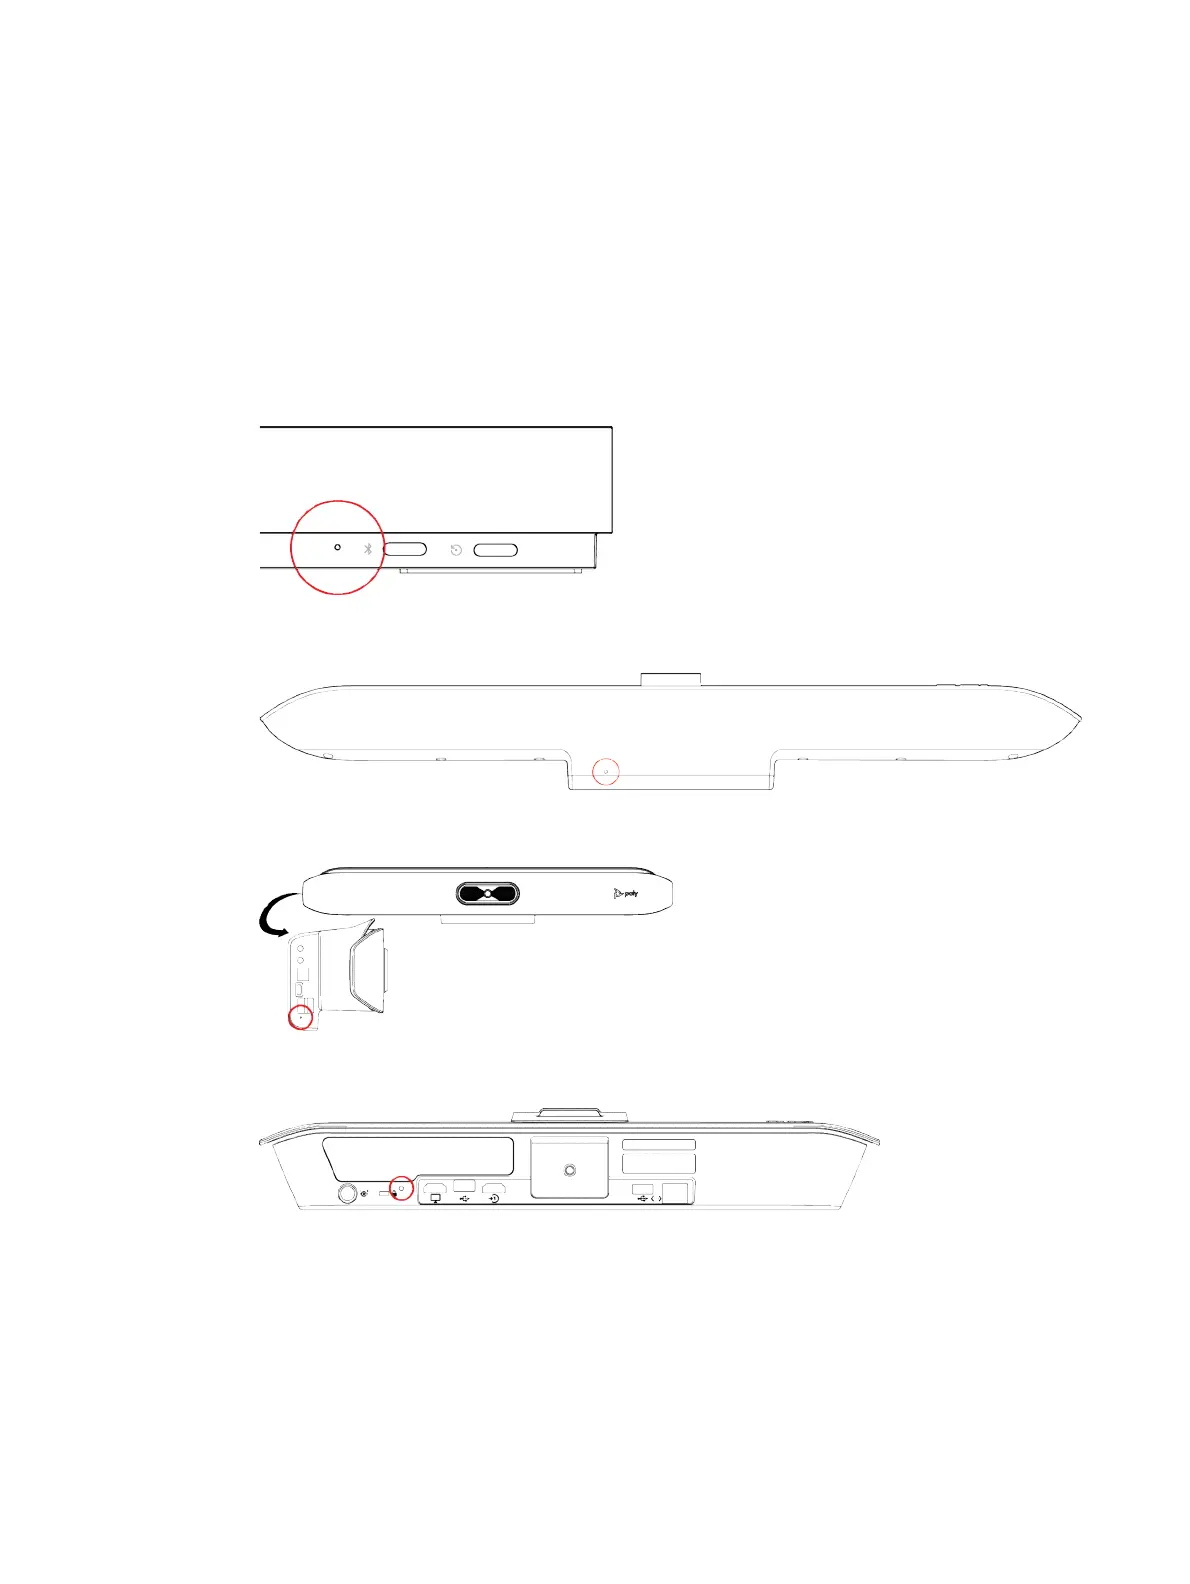
● On the bottom of the Studio X70, insert a straightened paper clip through the factory restore
pinhole.
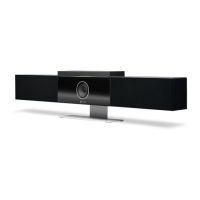
● On the side of the Studio X50, insert a straightened paper clip through the factory restore
pinhole.
● On the bottom of the Studio X30, insert a straightened paper clip through the factory restore
pinhole.
3. While continuing to hold the restore button, reconnect the power supply to turn the system on.
4. When the system LED indicator light turns amber, stop pressing the restore button.
You can only view the restore progress on a display connected to the secondary monitor HDMI
output port.
114
Chapter 14System Maintenance