1.
Remove the reading rack .
a. Remove the two #2 Phillips screw fasteners and carefully lift the reading rack off
the front cover. Retain fastener hardware for installation.
2.
Remove the lower vent bezel .
a. Use your fingers to carefully unsnap the bottom left and right edges of the bezel
from the bottom of the front cover. Then lift the bottom edges up and downward
to remove the back cover.
3.
Remove the upper access panel .
a. Remove the two #2 Phillips screw fasteners and then lift the panel from the front
cover.
4.
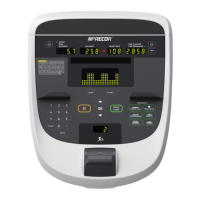
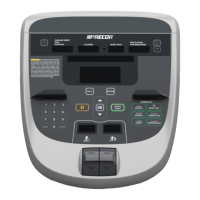
Remove the chin cover (HP/USB jack assembly) .
a. Grab the chin and rotate the front side (side with the audio and USB connectors)
downward to unsnap the side and rear clips. It does require a small amount of
force to unsnap the chin from the back cover.
5.
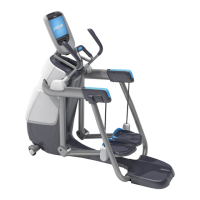
Remove the rear cover .
a. Carefully push the HHHR board mounting clips outward and lift the HHHR board
from the clips. Unplug the ground cable (attached to the console weldment.
b. Remove the eight #2 Phillips screw rear cover fasteners. Retain fastener hard-
ware for installation.
c. Carefully lift and remove the rear cover while sliding the HHHR PCA board
though their respective cover openings. Make a note of how the HHHR PCA
board and chin were routed through the rear cover.
Installation Instructions
1.
Install the rear cover .
a. Carefully place the rear cover into place onto the back of the console while sliding
the HHHR PCA board and chin through their respective cover openings.
b. Secure using the eight #2 Phillips screw fasteners. Fully tighten the fasteners.
c.
Carefully install the HHHR board into the mounting clips. Then reconnect the
ground cable to the HHHR PCA board.
2.
Install the chin (HP/USB jack assembly) .
a. Position the chin so that the front (side with the audio and USB connectors) faces
to the console front. Make sure the interface cable is not pinched or damaged. Fit
the chin rear mounting clips under the rear cover plastic and then press and
rotate the chin so that the side mounting clips snap into place.
3.
Install the upper access panel .
a. Place the upper access panel onto the front cover and secure using the two #2
Phillips screw fasteners. Fully tighten the fasteners.
63
 Loading...