45
SOURCE SETUP
Source Setup (Normal View)
< >
Source
Name
Analog Audio
Gain
Digital Audio
Video
Trigger Out
1
BLU-RAY
Audio 1
0 dB
O
Video 1
Yes
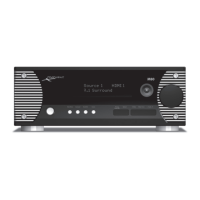
Diagram 35 Analog Audio Input
Source Setup (Normal View)
< >
Source
Name
Analog Audio
Gain
Digital Audio
Video
Trigger Out
1
BLU-RAY
Audio 1
0 dB
O
Video 1
Yes
Diagram 36 Analog Audio Input Gain
Source Setup (Normal View)
< >
Source
Name
Analog Audio
Gain
Digital Audio
Video
Trigger Out
1
BLU-RAY
Audio 1
0 dB
HDMI 1
Video 1
Yes
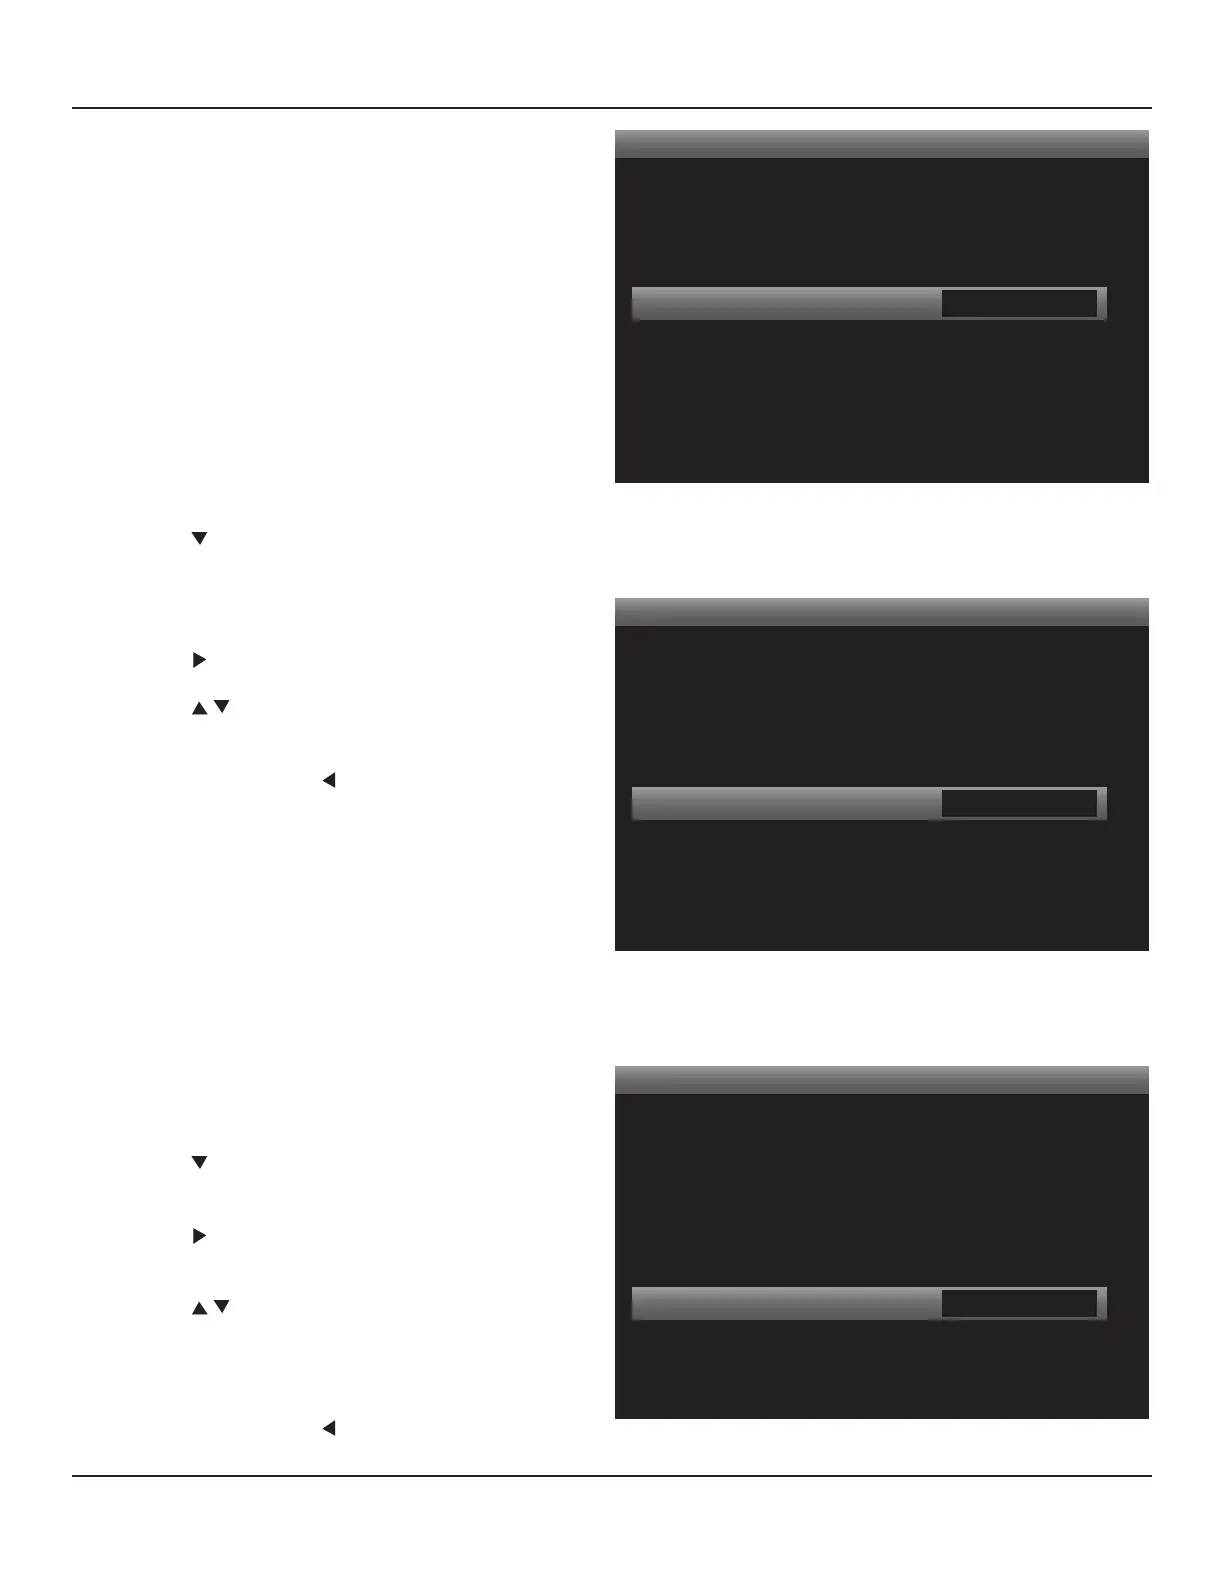
Diagram 37 Digital Audio Input
Gain
This setting will adjust the level of the selected analog
audio input. This allows compensation for dierent output
levels on dierent analog audio devices. Diagram 36
Range: +/- 12dB.
Note: The gain settings should be made AFTER all other
settings for source, speaker and system conguration have
been made.
1. Turn on and play all sources with analog audio con-
nections to the M80. Use similar audio content on all
sources so the adjustments will compensate for the
actual output levels of the devices and not from com-
paring shred metal levels to chamber music. Cycle
through the sources a couple times to get a feel for
which ones are louder and softer when compared to
the others.
2. Press to move the highlight bar to the Gain line.
Note: The Gain line will turn o for any source with
Analog Audio set to ‘O’ (no analog audio input as-
signed).
3. Press . The Gain Window will become active.
4. Press to select the appropriate level, if needed.
(0dB used for example.)
5. When nished, press so the Gain Window is no
longer active. This will save the analog audio Gain for
the selected input.
6. Adjust the Gain for all sources with analog audio con-
nections to the M80 by selecting each source on the
Source line and repeating Steps 2-5 for each source.
Note: DO NOT select the dierent Analog Audio
Inputs from within a selected source. Change Sources.
Not changing sources may result in analog audio
inputs being assigned to the wrong source!
Digital Audio
This selection will assign the digital audio input on the
M80 for the selected Source. (For example HDMI 1 will be
assigned to Source 1 for digital audio.) Diagram 37
1. Press to move the highlight bar to the Digital Audio
line.
2. Press . The Digital Audio Window will become ac-
tive.
3. Press to select the appropriate input. (HDMI 1
used for example.)
4. Press OK to save.
5. When nished, press so the Digital Audio Window
is no longer active.