60
VIDEO SETUP
Check the Resolution line. The new resolution should
be indicated. If not, the requested resolution was not
compatible between the M80 and the Video Display.
Conrm connections and compatibility of the connec-
tions for the desired resolution. (See Video Up/Down
Conversion Chart in the Appendix for additional
information.) Also conrm resolution capability of the
Video Display.
Note: If a specic resolution has been set, it will be
displayed on the Resolution line. If Resolution to
Display has been set to Auto, the actual output resolu-
tion will be indicated.
11. If connection changes have been made between the
M80 and Video Display, repeat Steps 1-10 if necessary
to reset the Resolution to Display setting.
12. If continuing in Setup Menu, press to return to the
Setup Menu and proceed to the next section.
11. To exit the OSD press Menu.
Picture Setup
These settings determine how the video signal will appear
on the Video Display. The Brightness, Contrast and Color
settings are similar to the controls found on a TV or Video
Display. MPEG Noise reduction, Cross Color Suppressor
and Film Mode Detect are special lters that enhance
picture quality in specic applications.
The Picture Quality factory default is set to Normal. In
most cases, the settings for Brightness, Contrast and
Color should not be changed and desired adjustments to
the video signal appearance should be made using the
adjustments on the Video Display. These settings can be
changed if changing the settings produces a better result
than making the adjustments on the Video Display.
1. With the OSD open, and Setup Menu selected, press
. Source Setup will highlight in the Setup List.
2. Press ve times so Video Setup is highlighted in the
Setup List. Diagram 62
3. Press . The Video Setup Menu will appear. Video
Format will be highlighted. Diagram 63
4. Press so Picture Setup is highlighted. Diagram 68
5. Press twice. The Video Modes window will become
active. Diagram 69
6. Press to select Custom. The Video Modes list for
Custom settings will appear. Diagram 70
7. Press so the Video Modes Window is no longer ac-
tive.
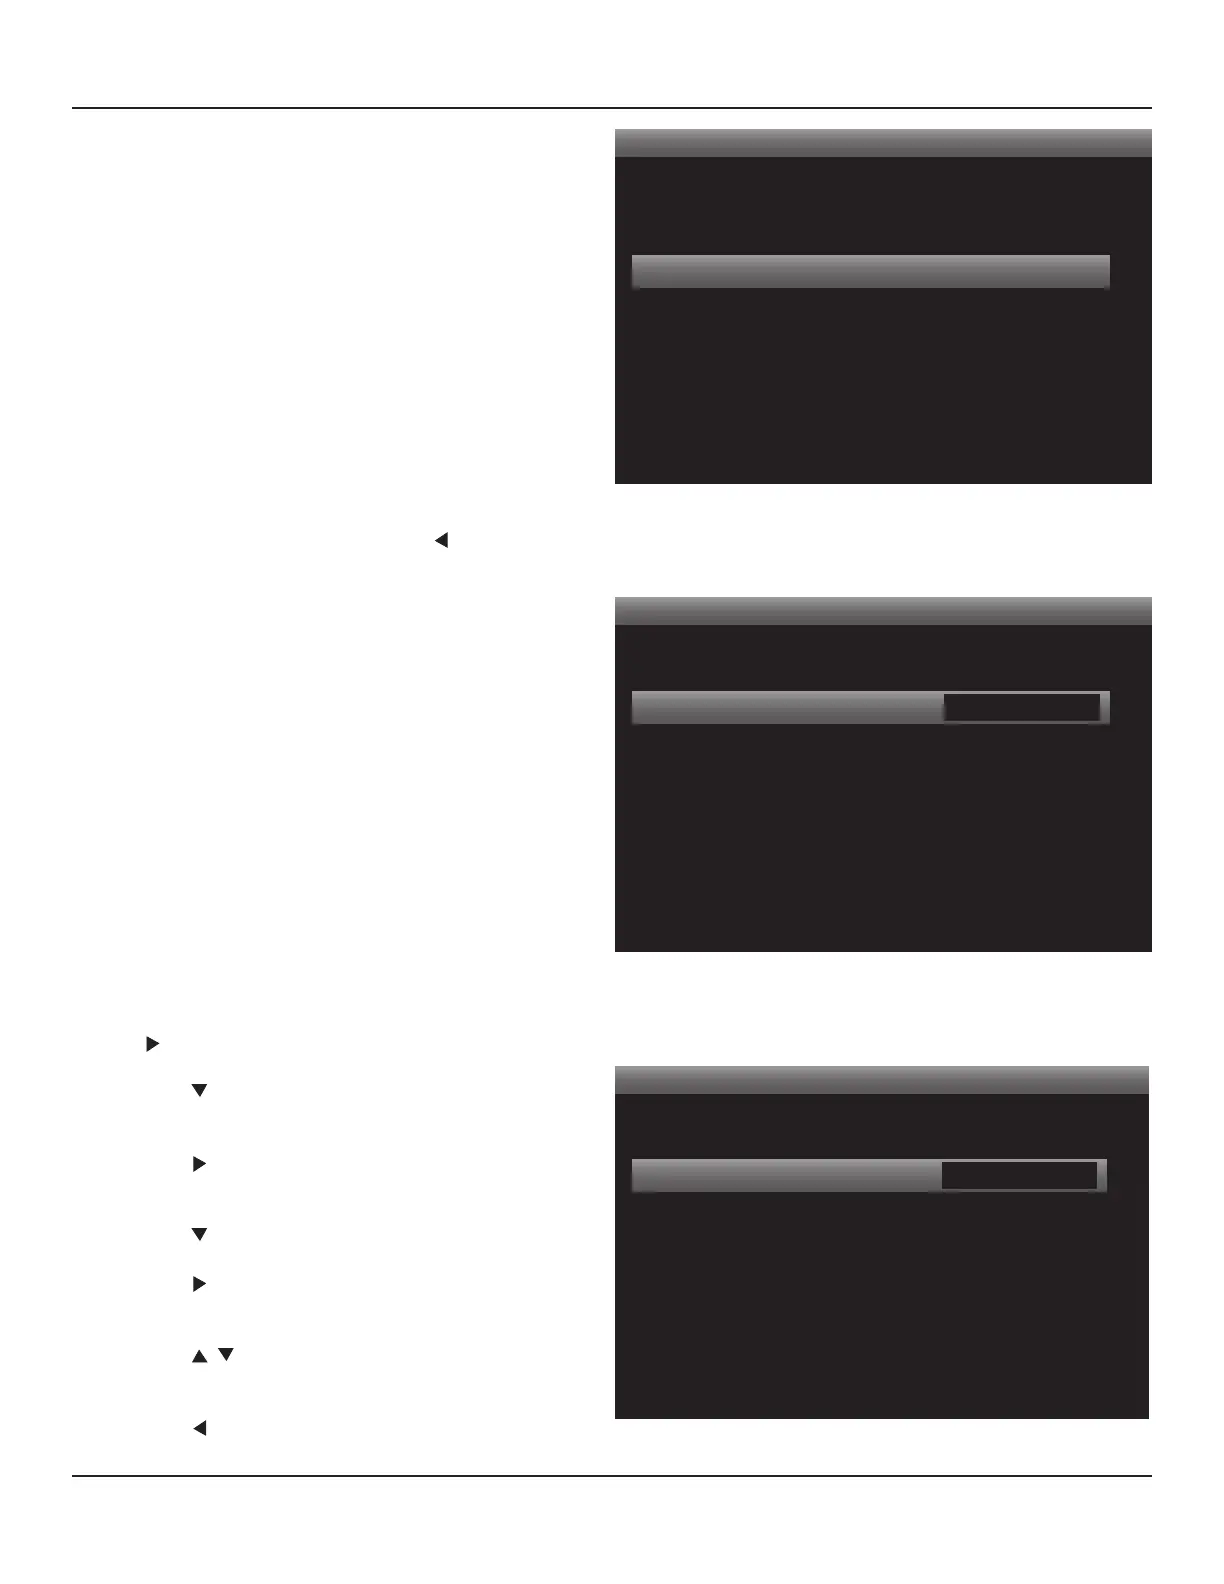
Video Setup
Video Format
Picture Setup
Diagram 68 Video Setup Menu - Picture Setup
Picture Setup
< >
Video Modes Normal
Diagram 69 Video Modes
Picture Setup
< >
Video Modes
Brightness
Contrast
Color
MPEG Noise Reduction
Cross Color Suppressor
Film Mode Detect
Custom
50
50
50
O
O
O
Diagram 70 Video Modes Settings