Redback Technologies
Installation Manual - Redback Smart Hybrid System - v 2.0
13
2.1.2 AT SITE
Ensure Wi-Fi availability (if to be used)
Measure the home Wi-Fi strength at the proposed installation site. Review installation plan if Wi-Fi strength is less than -
70dBm, otherwise ongoing connection problems may occur.
1
:
None
2
Weak
(< -70dBm)
3
Good
(approx. -70dBm)
Strong
(> -70dBm)
1. Test inverter location before installation
2.
Mandatory: Request Redback Customer Service to set the inverter to “Off Comms”
3. Find an installation site with Good or better Wi-Fi strength
Review the proposed inverter location.
• Does it meet the requirements of AS/NZS5139? See section 2.2.
• Is it out of direct sunlight?
• Will it be exposed to heavy rain and wind, or is there a flood risk?
• Is it a coastal environment? Will it be exposed to salt spray?
• Is the mounting wall flat (to prevent distortion) and structurally sound (to carry 47kg load)? Are spacers required?
• Is the floor surface flat? Do you need packers?
• Is there 150mm clearance all-round (for cooling) and at least 2150mm height available?
Hardware
Install Wall Mounting Frame
Install BoS
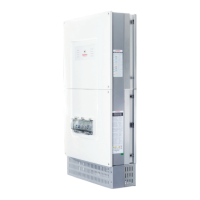
Install Inverter
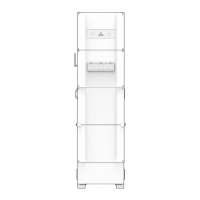
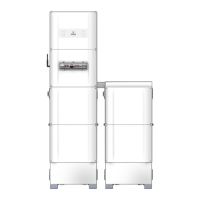
Install Battery Enclosure
Install Wall Mounting Frame
Install BoS
Install Inverter
Install batteries & cables
Install Battery Enclosures & Connection Kit*
Install Wall Mounting Frame
Install BoS
Install Inverter
Install batteries & cables
* Refer to redback.link/shck
Electrical
• Run and connect LV cables and conduits to the BoS from PV and main or sub-board
• Install any non-standard accessories e.g., relays or new backup circuit
• Install an energy meter and run ethernet from meter to BoS
• Run ethernet from home network router to BoS (recommended)
• Complete connections to BoS (switchboard, PV, backup circuit)
Commissioning
• Test the electrical installation
• Power ON the inverter
• Commission using RedbackINSTALL
• Fit covers and clean worksite
• Document the installation
• Handover to homeowner
 Loading...