Chapter 8. Matrix Counting and Analysis Workflow
8004708 Cellometer™ Ascend User Manual Rev A 36
Count Mode
Once you have completed previewing the live image for the sample, tap the Count button located at the bottom of
the Preview screen. The instrument camera acquires sample images as specified by the selected assay which are
then used by the Matrix Software to calculate count results according to defined cell type parameters. Depending
on the number of selected wells/images per well and defined assay parameters, the counting process can take a
few seconds to up to a few minutes.
Note: If Count mode is enabled (i.e., Skip Preview field in Setup screen is set to Yes), the instrument skips the
Preview screen and immediately starts to perform a Count.
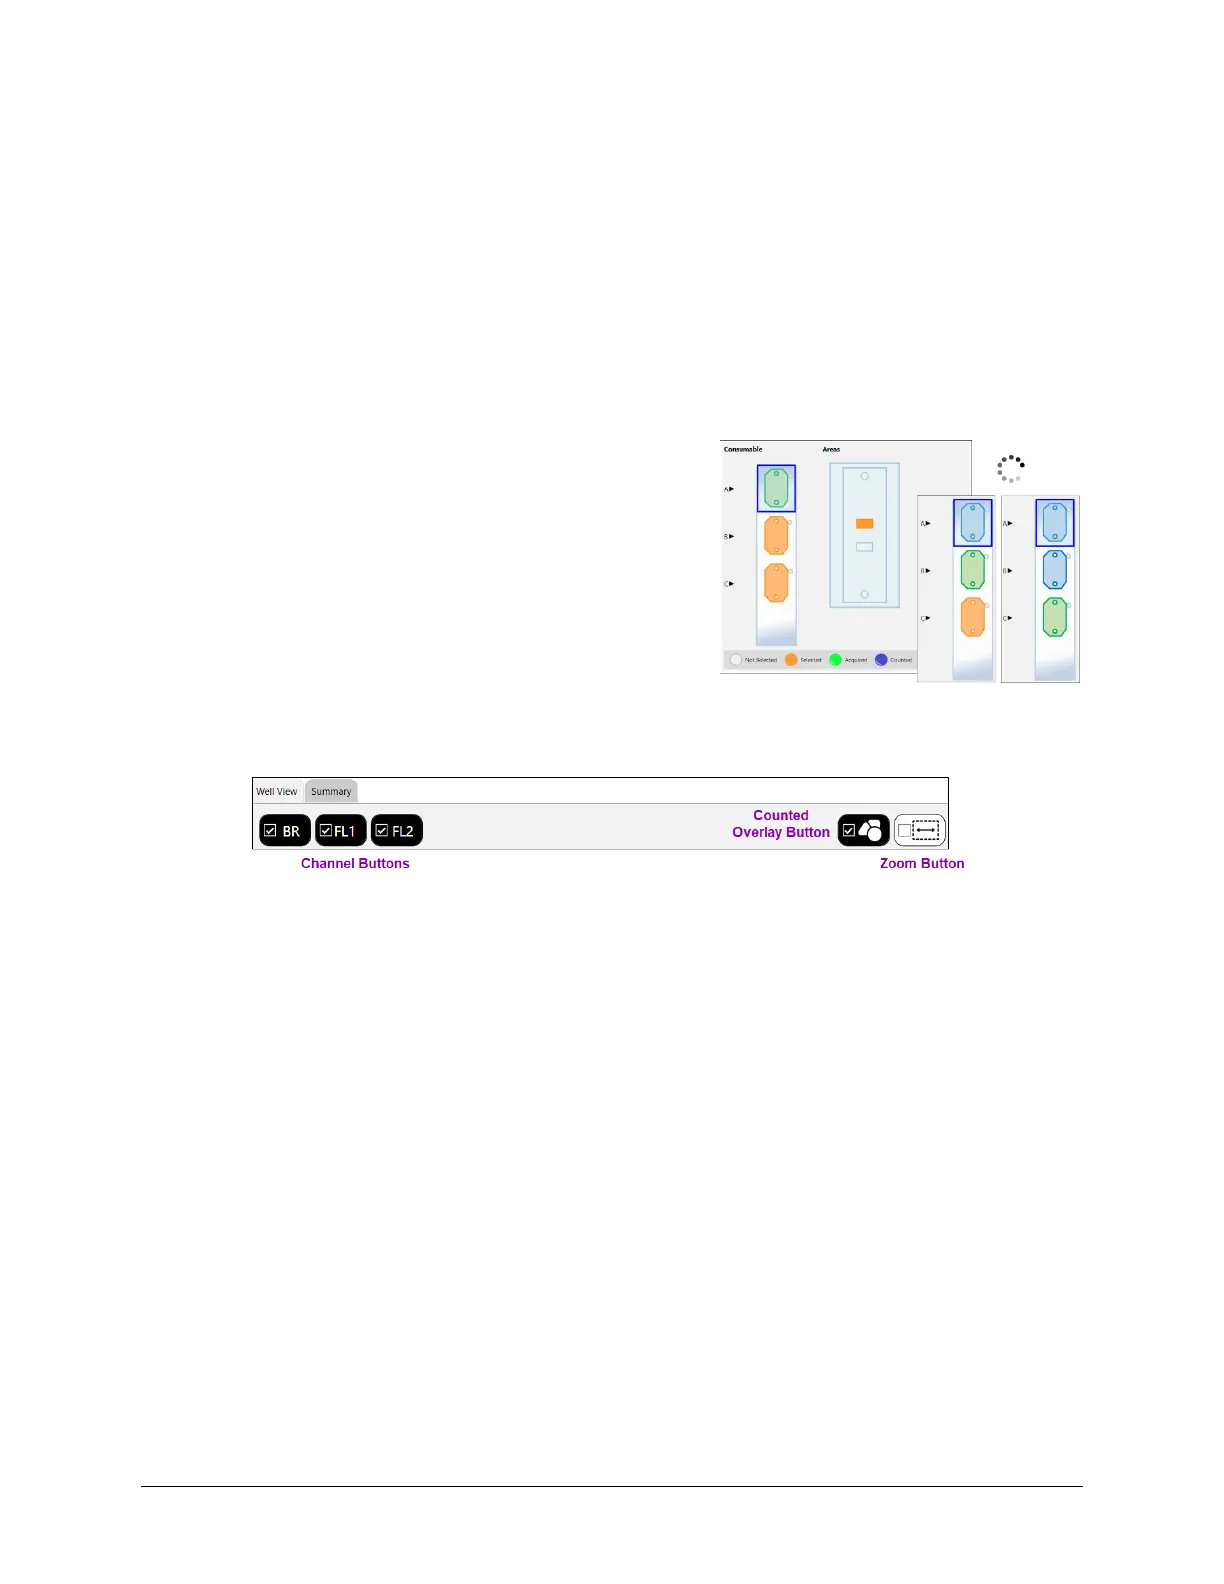
As the system acquires sample images and calculates count results,
the colors used to mark the Areas visualization of a slide counting
chamber (where the number of highlighted areas is based on the
Images Per Well value) will change to indicate image status (i.e.,
from Selected to Acquired to Counted) as shown in the legend
displayed below the Well Map.
You can tap on an area as soon as it is counted to display results
below the viewing pane. Count results will be displayed, printed and
exported based on report templates defined for the assay.
Well images displayed can be varied by toggling on/off available Channel buttons (available across the top of the
viewing area of the Well View tab) and enhancing the Zoom magnification.
To vary the area of the image displayed, tap inside the viewing pane with a finger or stylus pen, drag and drop the
image to a new area, and pinch to zoom (i.e., touch the center of the image with two fingers and then slowly
spreading them apart to zoom in and reverse this action to zoom out).
When counting of all wells is complete the scan result will be added to the top of the Results List displayed on the
Select screen. In addition, Reports and Exports output files defined for the current assay are automatically stored in
the specified location.