3. After reading the displayed message, and then click [Continue].
The following message is displayed: "Welcome to the product name installer"
4. Click [Continue].
The software license agreement appears in the [Software License Agreement] dialog box.
5. After reading the agreement, and then click [Continue].
The confirmation screen appears.
6. Click [Agree].
If you click [Disagree], the screen that appeared in the previous step returns.
7. Click [Install].
The [Authenticate] dialog box appears.
To select where to install the file, click [Change Install Location...].
Under Mac OS X 10.3.x - 10.4.x, select where to install the file in the [Select a Destination] dialog
box.
8. Enter the administrator's user name and password, and then click [OK].
The confirmation screen appears.
9. Read the message on the confirmation screen, and then click [Continue Installation].
The printer driver is installed.
10. Click [Restart].
To complete the installation, the computer restarts.
Specifying the Printer Settings on a Macintosh
This section explains how to register a printer you want to use in [Printer List]. You can specify usable printers
with this registration.
Using the Printer via a USB Connection from a Macintosh
• Connect the printer to the USB port and switch it on in advance.
•
Printing with USB 2.0 is supported under Mac OS X 10.3.3 and later versions.
1. On the [Apple] menu, click [System Preferences...], and then click the [Print & Fax] in the
[System Preferences] dialog box.
The [Print & Fax] appears.
Under Mac OS X 10.3.x - 10.4.x, double-click the Printer Setup Utility icon in the [Utilities] folder in
the [Applications] folder.
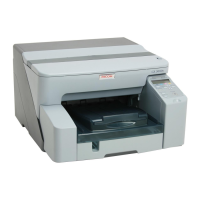
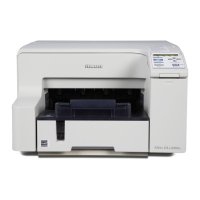
5. Using the Printer with a Macintosh
134
 Loading...