Does the envelope selector setting match?
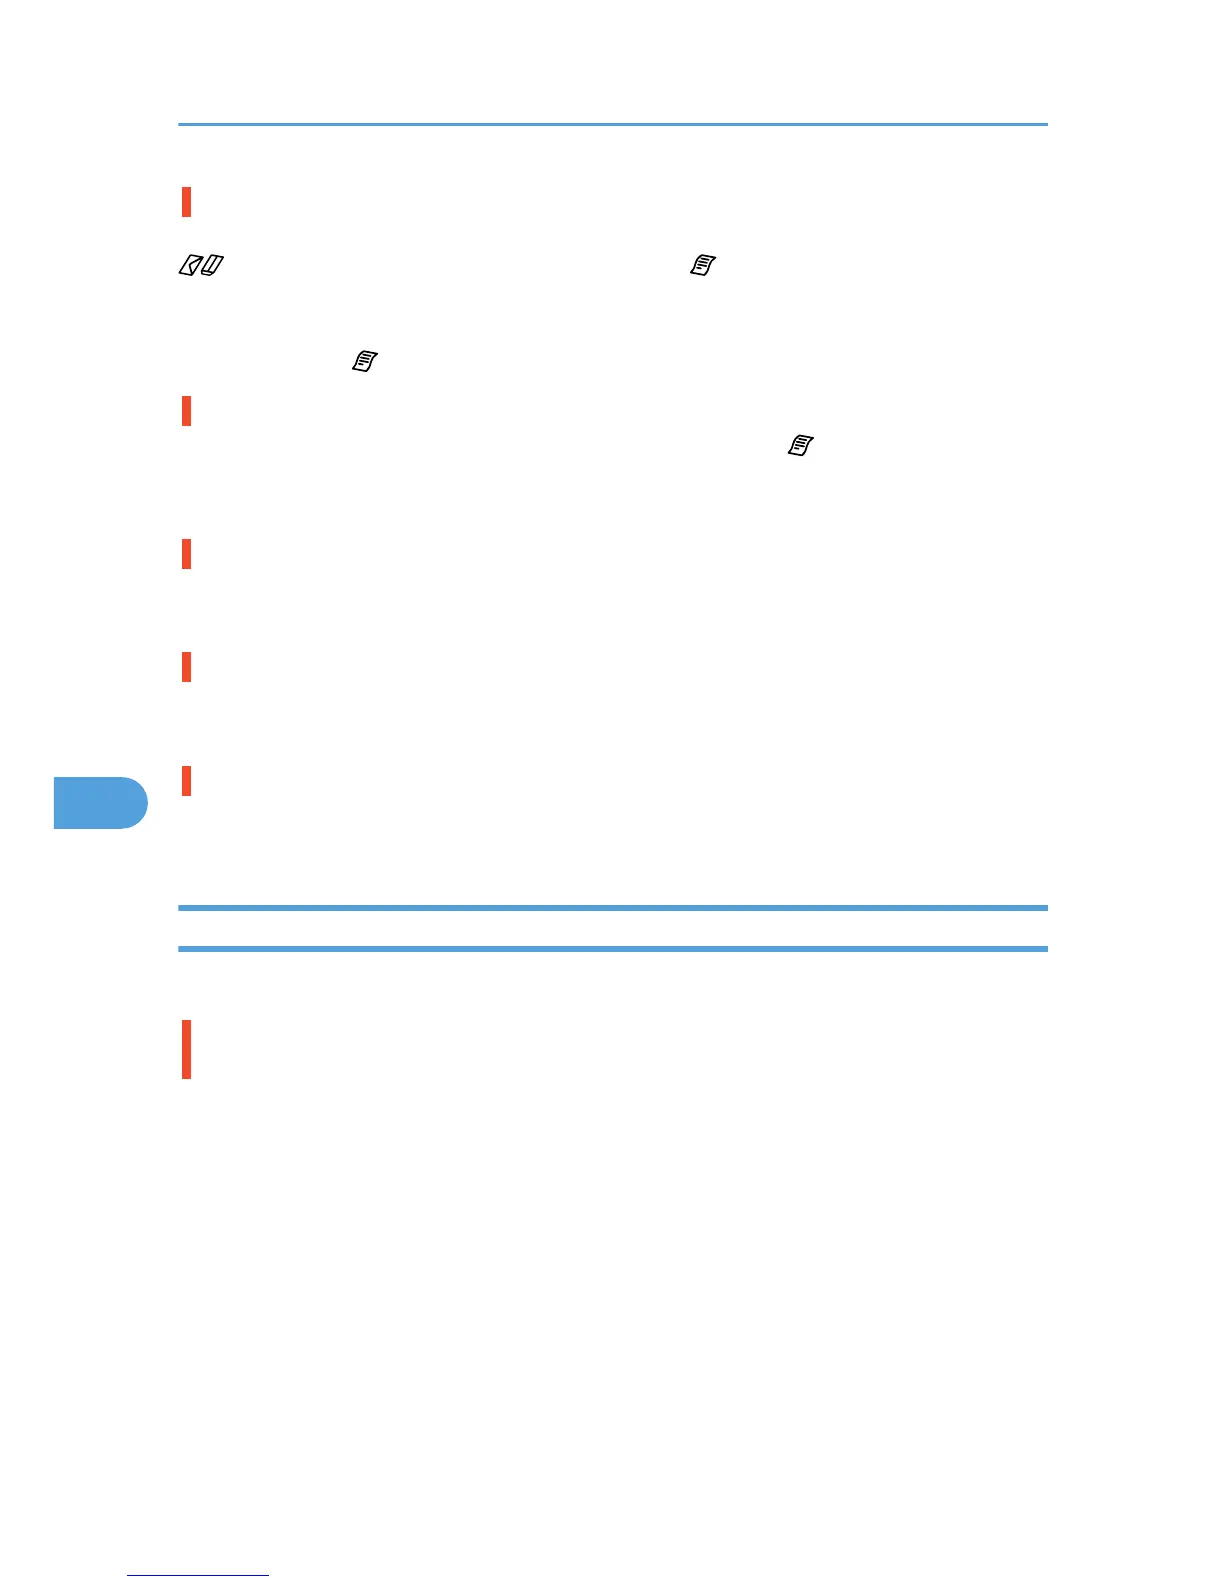
Set the envelope selector according to the type of paper. For envelopes, set the lever to the rear position
; for everything else, set the lever to the forward position . See p.279 "Envelope Selector Position
Mismatch".
Blurred or double lines indicate the print heads are incorrectly positioned. Resolve this by switching the
envelope selector to and then selecting [Head Position].
Have the print-heads been aligned?
When bidirectional printing is performed, switch the envelope selector to and select [Head Position]
to align the print heads. If the problem persists, print the nozzle check test pattern and clean the print-heads
as necessary. See p.166 "Head Position", p.160 "Nozzle Check" and p.162 "Head-cleaning".
Have you changed Printable area?
The problem may be solved by changing [Printable area:] in the printer properties dialog box. On the
[Printer Configuration] tab, set [Printable area:] to [Maximum].
Have you changed Print Quality?
In the [Print Quality] area, select the [Uni-directional printing only] check box. Note, however, that this will
slow printing down.
Is Binding Margins set correctly?
On the [Edit] tab, in the [Header/Footer/Adjust image position/Binding margins] dialog box, specify
[Adjust Image Position] correctly.
Other Problems
You may eliminate certain problems by changing the printer driver settings as described below:
Cannot print certain data properly when using a certain application, or cannot print image
data properly.
• In the [Print Quality] area, select [Quality priority], and then print.
• In the [Change User Settings] dialog box, on the [Image Adjustments] tab, under [Dithering], deselect
the [Use error diffusion] check box.
• Set [Spool format:] to [RAW] or [EMF] in the [Printer Configuration] tab.
• In the [Change User Settings] dialog box, on the [Image Adjustments] tab, under [Image processing
priority], deselect the [Adjust photos and images] and [Smooth low resolution images] check boxes.
• In the [Change User Settings] dialog box, on the [Misc.] tab, select the [Print as bitmap] check box.
• On the [Printer Configuration] tab, set [Adjust Color Density] to [Darker] or [Lighter], and then print.
• In the [Print Quality-User settings] dialog box, on the [Color Settings] tab, specify [Gray reproduction
(Text/Line Art):].
7. Troubleshooting
244
 Loading...

