Scanning Custom Size Originals
113
6
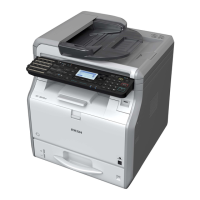
C Press [Custom Size].
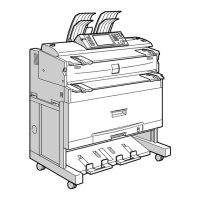
D Specify Original Size (X1 and Y1) using the number keys, and then press
the {q} key.
For example, set X1 to 300 mm and Y1 to 210 mm.
E Set Start Position (X2 and Y2) to 0 mm.
For example, set X2 and Y2 to 0 mm, and then press the {q} key.
F Specify Scan Area (X3 and Y3) using the number keys, and then press the
{q} key.
For example, set X3 to 300 mm and Y3 to 210 mm.
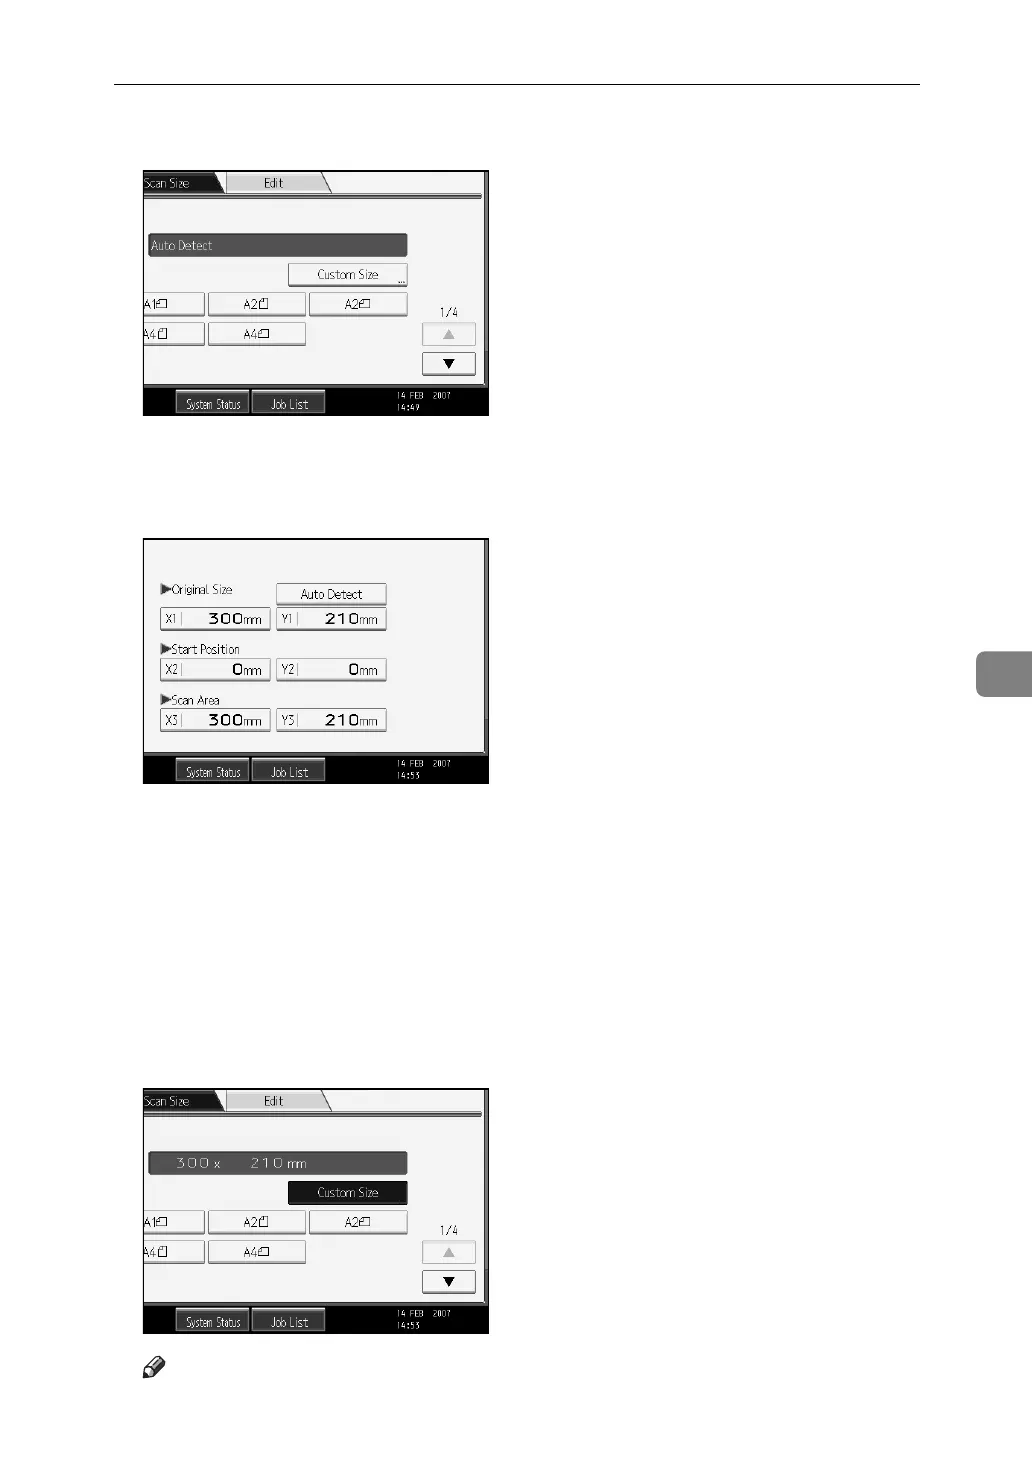
G Press [OK].
H Check the values of Scan Area (X3 and Y3) are displayed for [Custom Size],
and then press [OK].
Note
❒ You can specify original sizes (X1 and Y1) of 210 mm or larger.
 Loading...