AX10 Palletizing Solution
3.4.4. Mechanical and Electrical Installation
A minimum of two people is recommended to complete these steps.
CAUTION
The Solution should only be connected to a power source once all connections have been made
and completed.
WARNING
Install the robot before installing the linear axis controller.
Failure to do so can result in material damage and bodily injury.
Robot Installation
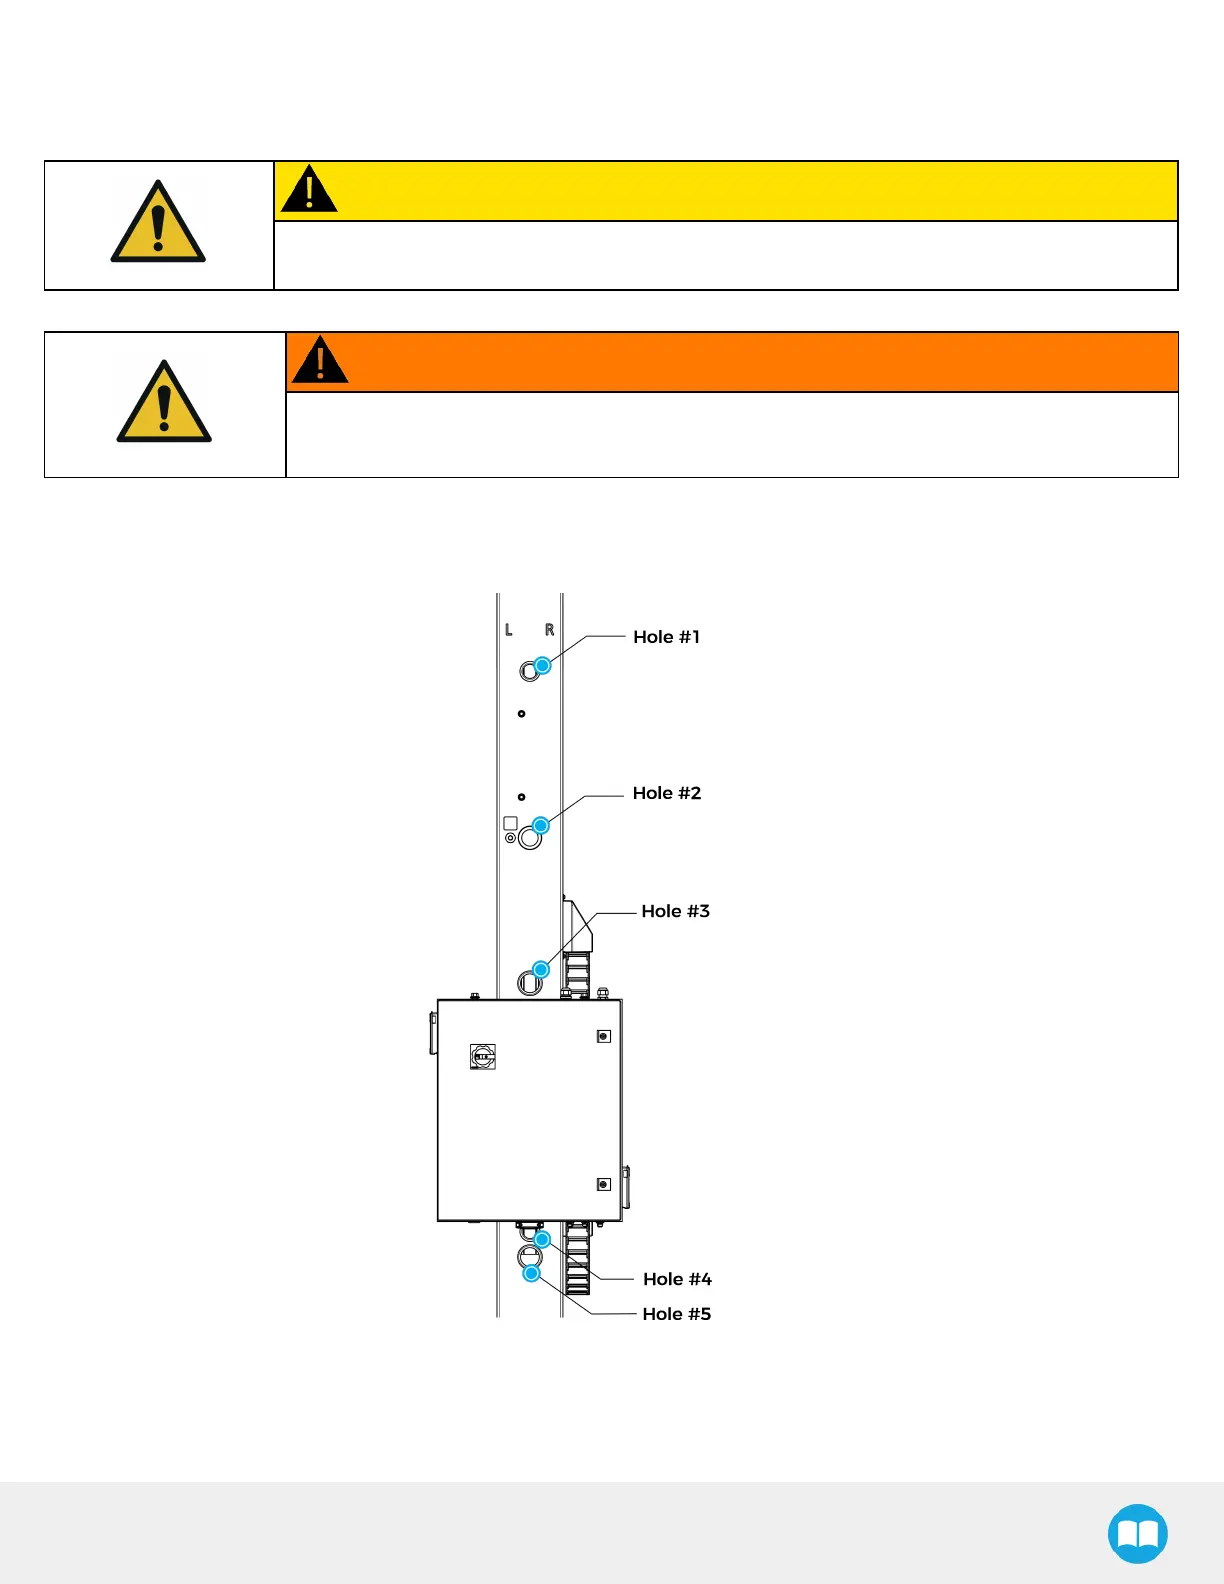
The figure below indicates the location of the column holes.
1. Place the robot on the robot base plate so its power cable is oriented towards the linear axis. Align properly with the two
dowel pins (already installed on the robot base), and secure the robot using four (4) M8 x 25 mm screws and Belleville
washers.
The required torque is 20 Nm.
37