Hints and Tips for Cutting
Setting the [PREFEED] menu item to “ENABLE” makes the machine automatically
feed out media and take it up again before cutting. This makes it unnecessary to run
out media to the rear of the machine before the operation.
P. 119, "Preventing Pulling of the Media with Undue Force When Performing Cutting Only"
The end of the cap for the blade holder may scrape or damage the printed surface.
If this happens, increase the amount of blade extension.
P. 116, " Adjusting the Cutting-in Amount"
Performing a Cutting Test
For high-quality cutting, then before you perform actual cutting, we recommend carrying out a cutting
test to check the cutting quality for the media. Before carrying out a cutting test, detach the media
clamps.
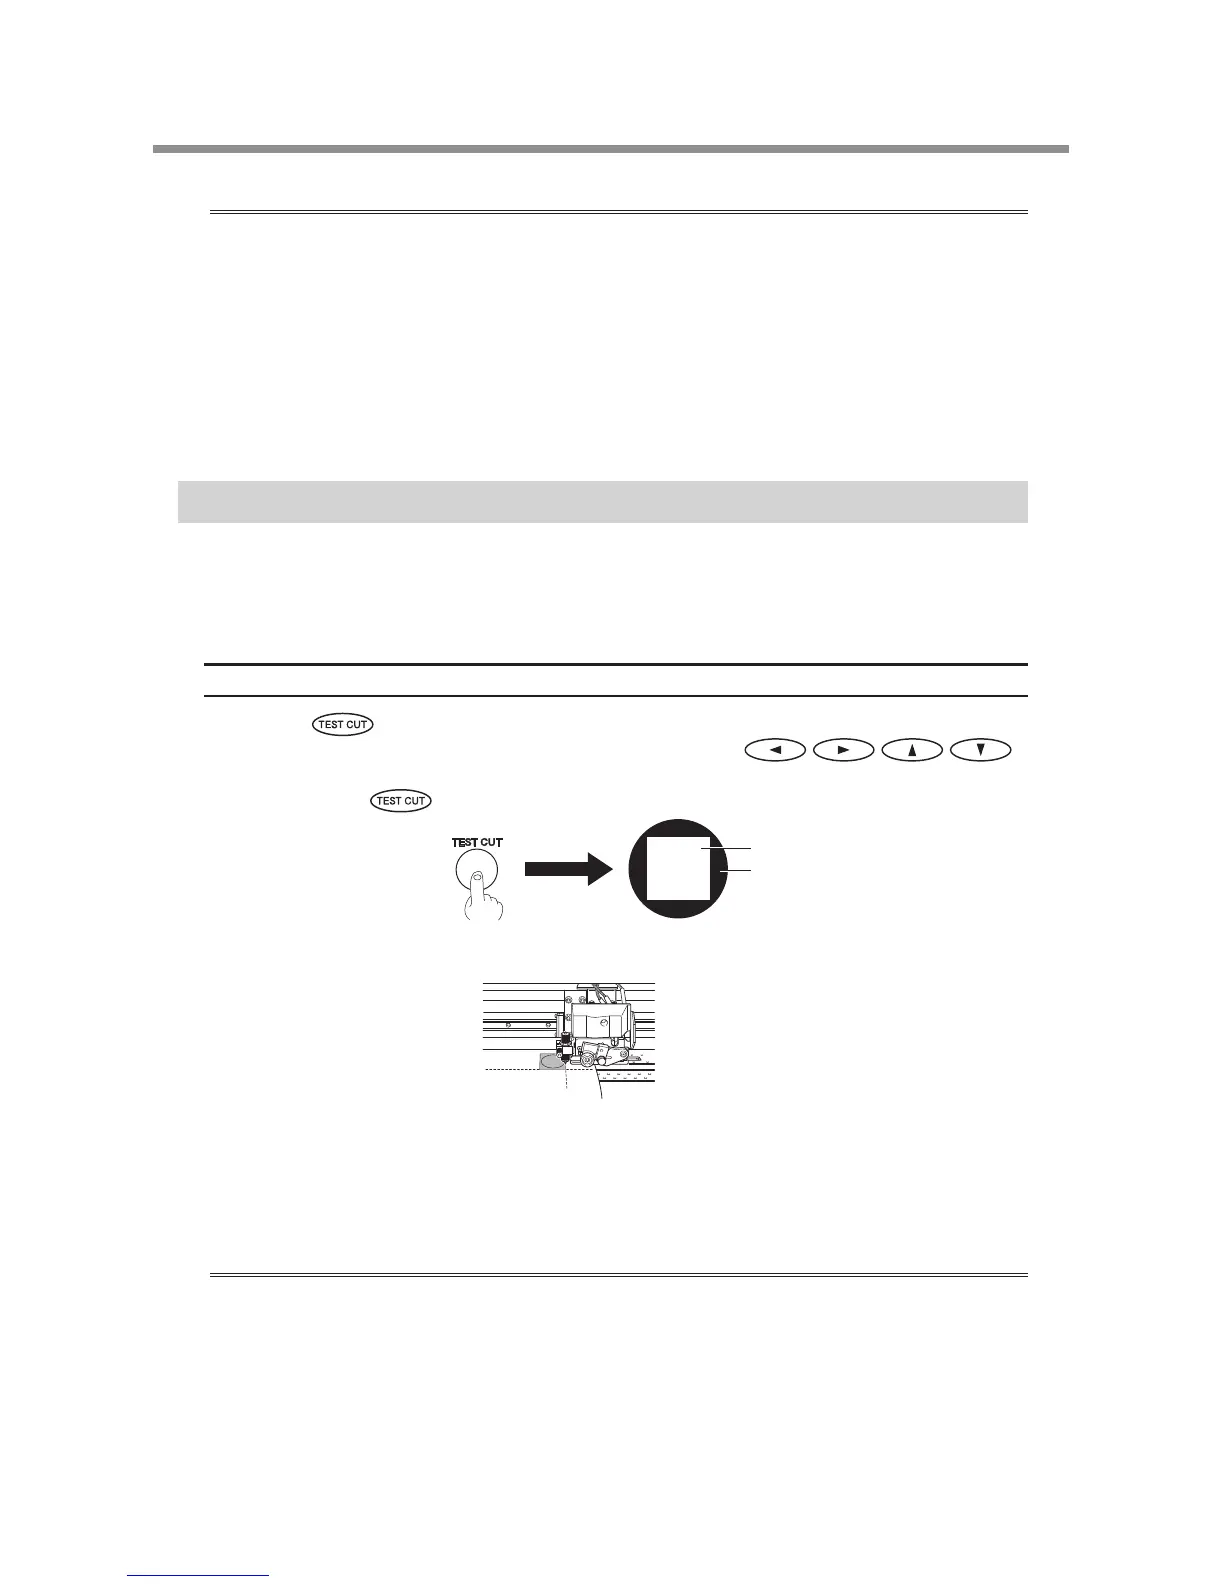
Performing a Cutting Test
Hold down for one second or longer to perform a cutting test.
You can perform the cutting test at any location you want by using
to move the cutting carriage. The front cover may be left open during movement, but be sure to close
it before you press
.
Peel off the cut shapes to verify the cutting quality, and make the setting for blade force.
If two shapes peel off together, make the setting for blade force.
When Cutting the Printed Surface
Hardened ink is thick. When cutting a printed surface, rst perform a cutting test on the actual surface
that has been printed.
P. 53, "Making the Setting for Blade Force," p. 116, " Adjusting the Cutting-in Amount"
Rectangle
Circle
 Loading...