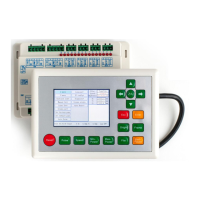
RDC6432G control system user manual V1.1
SHENZHEN RUIDA TECHNOLOGY
4.6 Dedicated/ General input interface INPUT
Power supply + 24V (output)
General input, for a remote laser shot control. When connected to
GND, it can perform laser pulse.
Dedicated input, protection signal input. If the machine needs to
be protected in a specific state (such as cover protection), the
protection signal is input from this pin. This pin can be enabled
and disabled. When the pin is disabled, the signal will not be
queried by the mainboard. If the pin is enabled, when the input is
high or the input port is floating, the machine is protected, Work
in progress will be suspended and the laser will be turned off.
Dedicated input, foot switch input port. The connection method
is: when the pedal is stepped on, input a low-voltage signal to the
port, when the pedal is released, disconnect the port or input a
high-voltage signal to the port; When the pedaling time is not less
than 100ms, if the current machine is idle, the work will be
started, if the current machine is in the working state, the work
will be suspended, if the current machine is in the suspended
state, the suspended work will be restarted, namely The function
of the foot switch is similar to the "start/pause" key on the
keyboard. If the time between the second stepping of the foot
switch and the first stepping is less than 100 milliseconds, the
second stepping action will be considered invalid by the
mainboard.
4.7 Three-axis limit input interface LIMIT
X/Y axis limit interface
U+,U axis moves to the limit at the maximum coordinate
U-,U axis moves to the limit at 0 coordinate
Y-,Y axis moves to the limit at 0 coordinate
X-,X axis moves to the limit at 0 coordinate