10
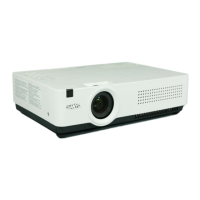
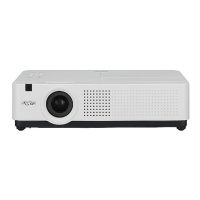
Part Names and Functions
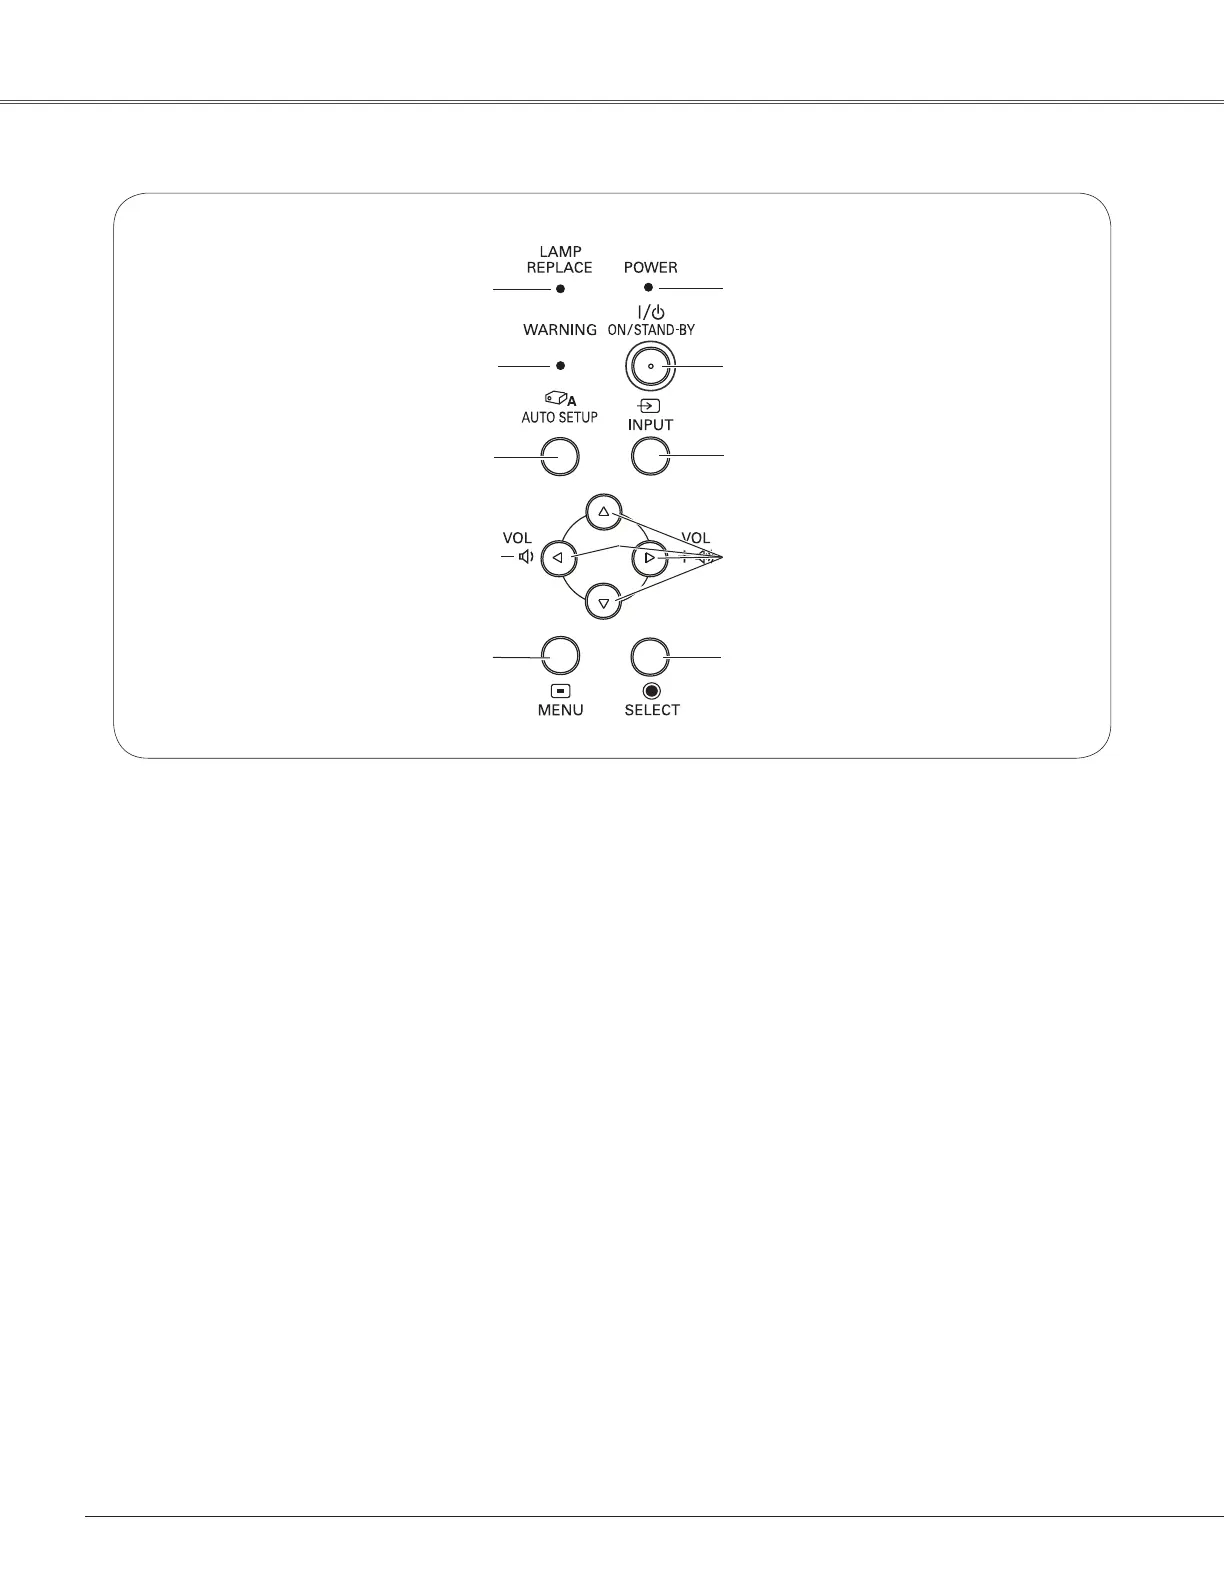
Top Control
⑨ LAMP REPLACE indicator
Lightsyellowwhentheprojectionlampreachesits
endoflife(pp.62,70).
⑧ WARNING indicator
–Lightsredwhentheprojectordetectsanabnormal
condition.
–Blinksredwhentheinternaltemperatureofthe
projectorexceedstheoperatingrange(pp.59,70).
④ ON/STAND–BY button
Turntheprojectoronoroff(pp.18-20).
⑤ POWER indicator
–Lightsredwhentheprojectorisinstand-bymode.
–Lightsgreenduringoperations.
–BlinksgreeninthePowermanagementmode
(p.51).
③ INPUT button
Selectaninputsource(pp.27-28,37-38).
⑥ MENU button
OpenorclosetheOn-ScreenMenu(p.21).
② POINT
▲▼◄►
(VOLUME +/–) buttons
–SelectanitemoradjustthevalueintheOn-Screen
Menu(p.21).
–PantheimageintheDigitalzoom+/-mode(p.36).
–Adjustthevolumelevel(Point◄►buttons)(p.24).
⑦ AUTO SETUP button
Execute the setting of Auto setup (includes InputExecutethesettingofAutosetup(includesInput
search,AutoPCadj.andAutoKeystonefunctions)
inthesettingmenu. (pp.23, 45).(pp.23,45).
① SELECT button
–Executetheselecteditem(p.21).
–ExpandorcompresstheimageintheDigitalzoom
mode(p.36).
①
②
③
④
⑤
⑥
⑦
⑧
⑨
 Loading...