40
ASSEMBLY AND INSTALLATION
3
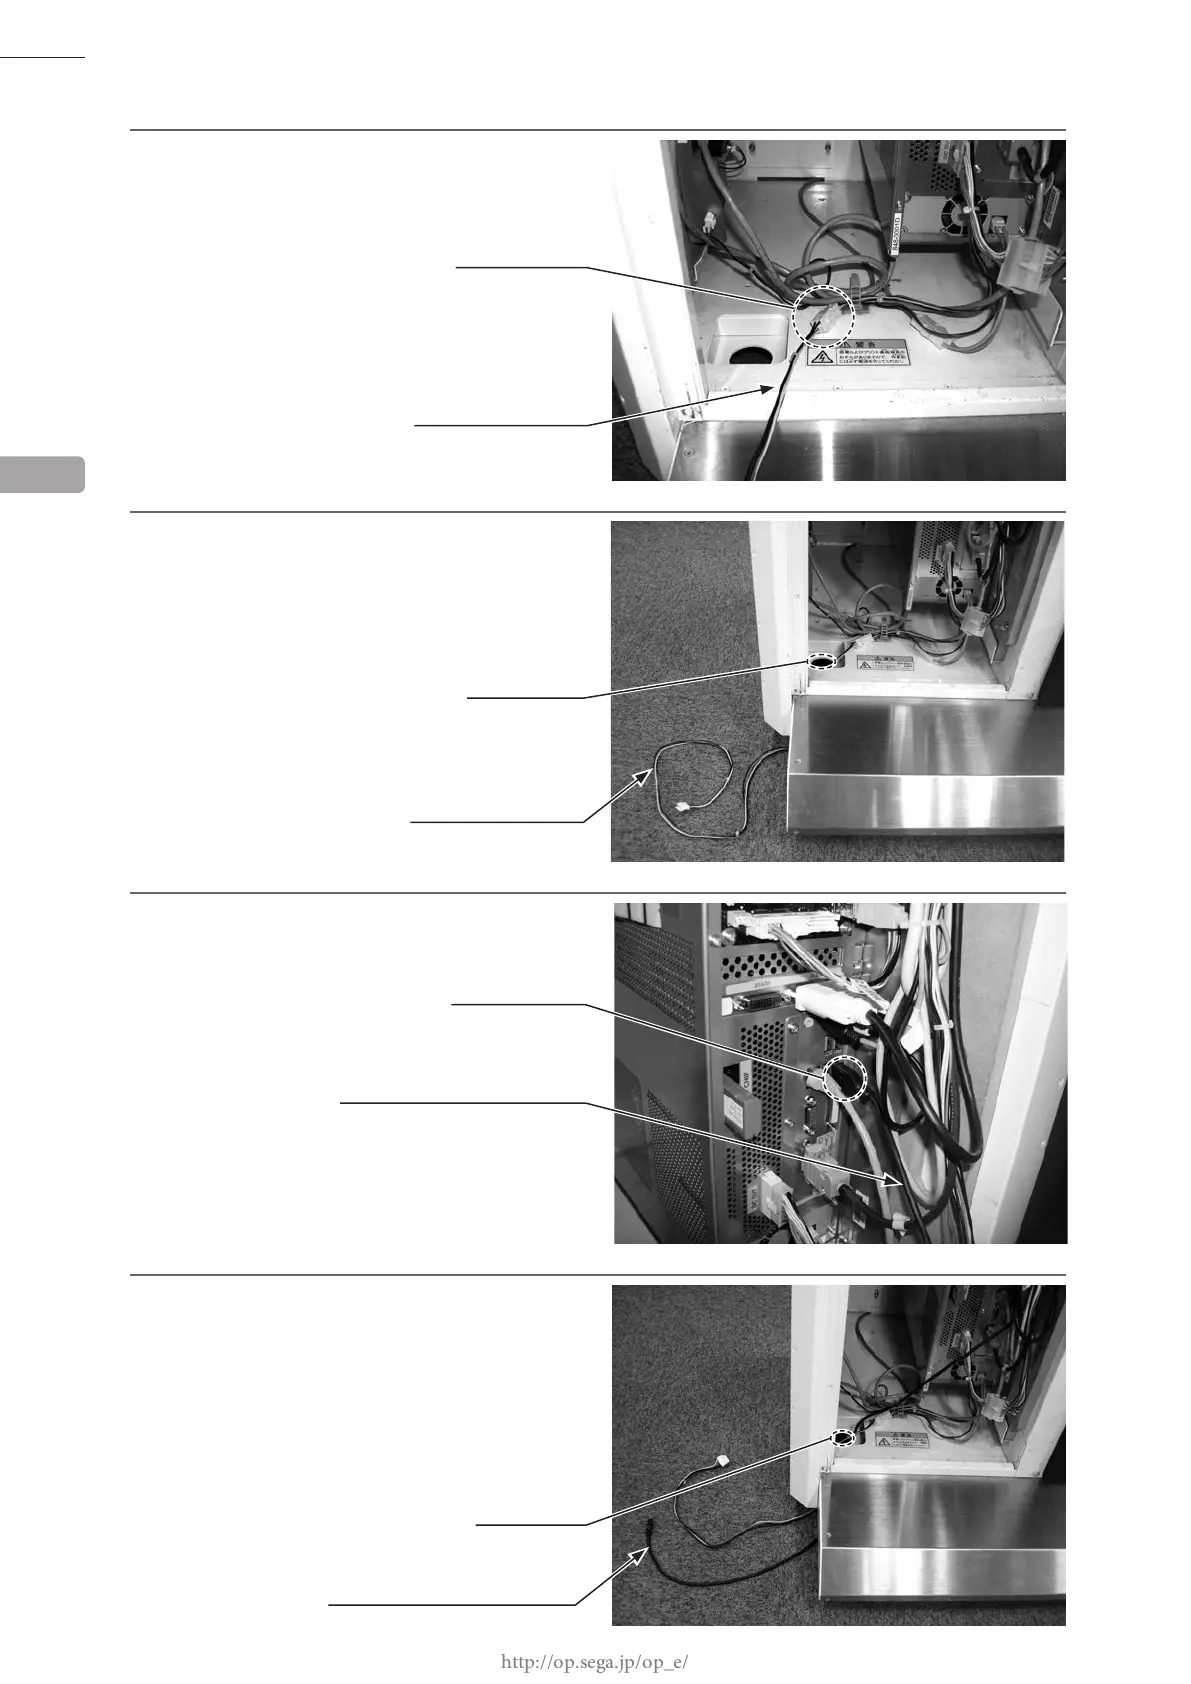
Connect the 1 connector of installation cable.
4
Thread the installation cable connector
through the round hole in the base of
the cabinet so that it extends outside.
5
Connect the 1 connector of the supplied USB
cable for the installation to the Nu's USB port.
6
Thread the opposite connector of the USB
cable for installation through the round hole
in the base of the cabinet so that it extends
outside.
6
CONNECTOR (1)
INSTALLATION CABLE
YL4P
INSTALLATION CABLE
ROUND HOLE
USB CABLE FOR INSTALLATION
CONNECTOR (1)
USB A
USB CABLE FOR INSTALLATION
ROUND HOLE
 Loading...