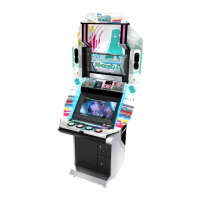
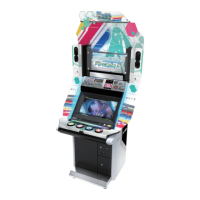
ASSEMBLY AND INSTALLATION
41
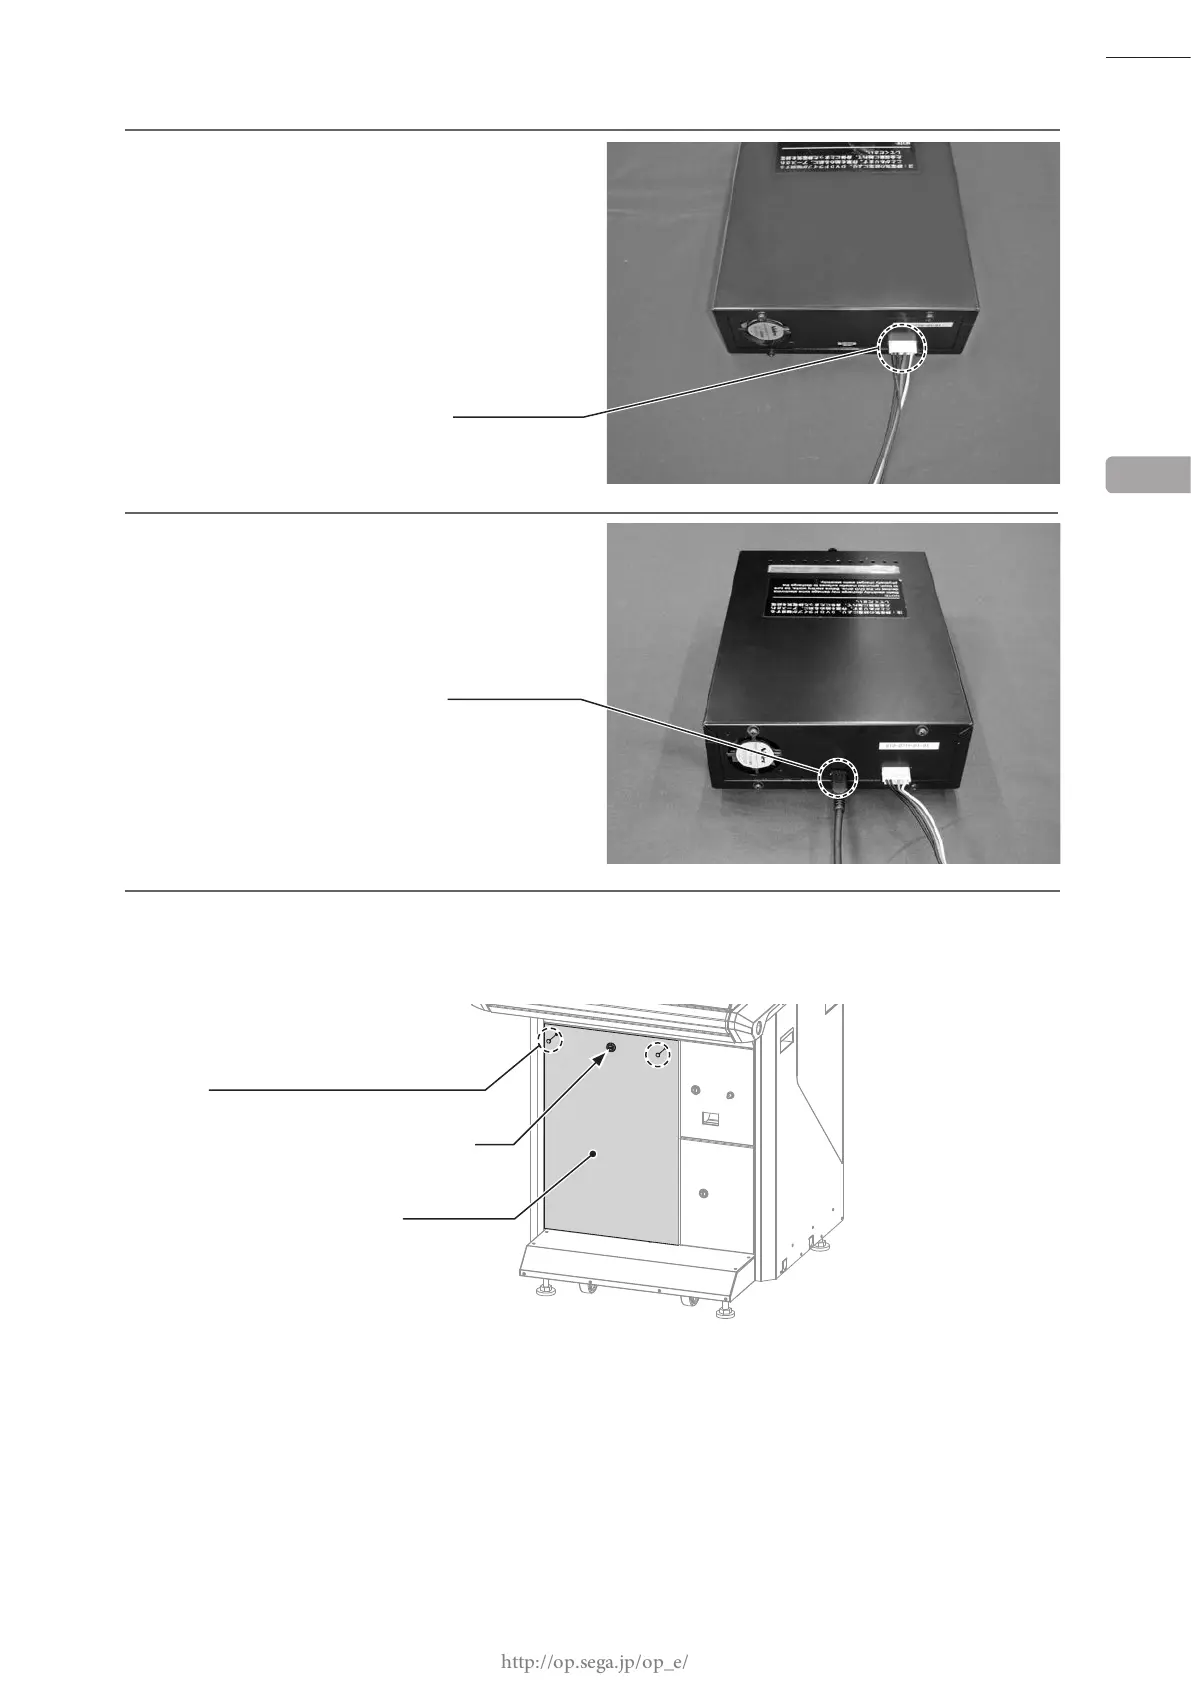
7
Connect the installation cable connector
extended outside the cabinet in Step 4 to the
rear of the DVD drive.
8
Connect the connector of the USB cable for
installation extended outside the cabinet in
Step 6 to the rear of the DVD drive.
9
Attach the front door. Lock the front door with the master key, and secure it with 2 tamperproof screws.
When doing this, ensure that cables do not become caught in the door.
6
NH6P
CONNECTOR (1)
TAMPERPROOF SCREW (2), chrome
FRONT DOOR
Lock
CONNECTOR (1)
USB MINI B
M4 x 8
 Loading...