Charging and Refueling 丨 149
• When inserting the charging gun, ensure that the
locking device can return to its normal position. If
the locking device of the charging gun
malfunctions, do not insert the charging gun into
the vehicle's charging socket.
• When inserting or removing the charging gun, do
so at a uniform speed. Do not tilt or shake the
charging gun.
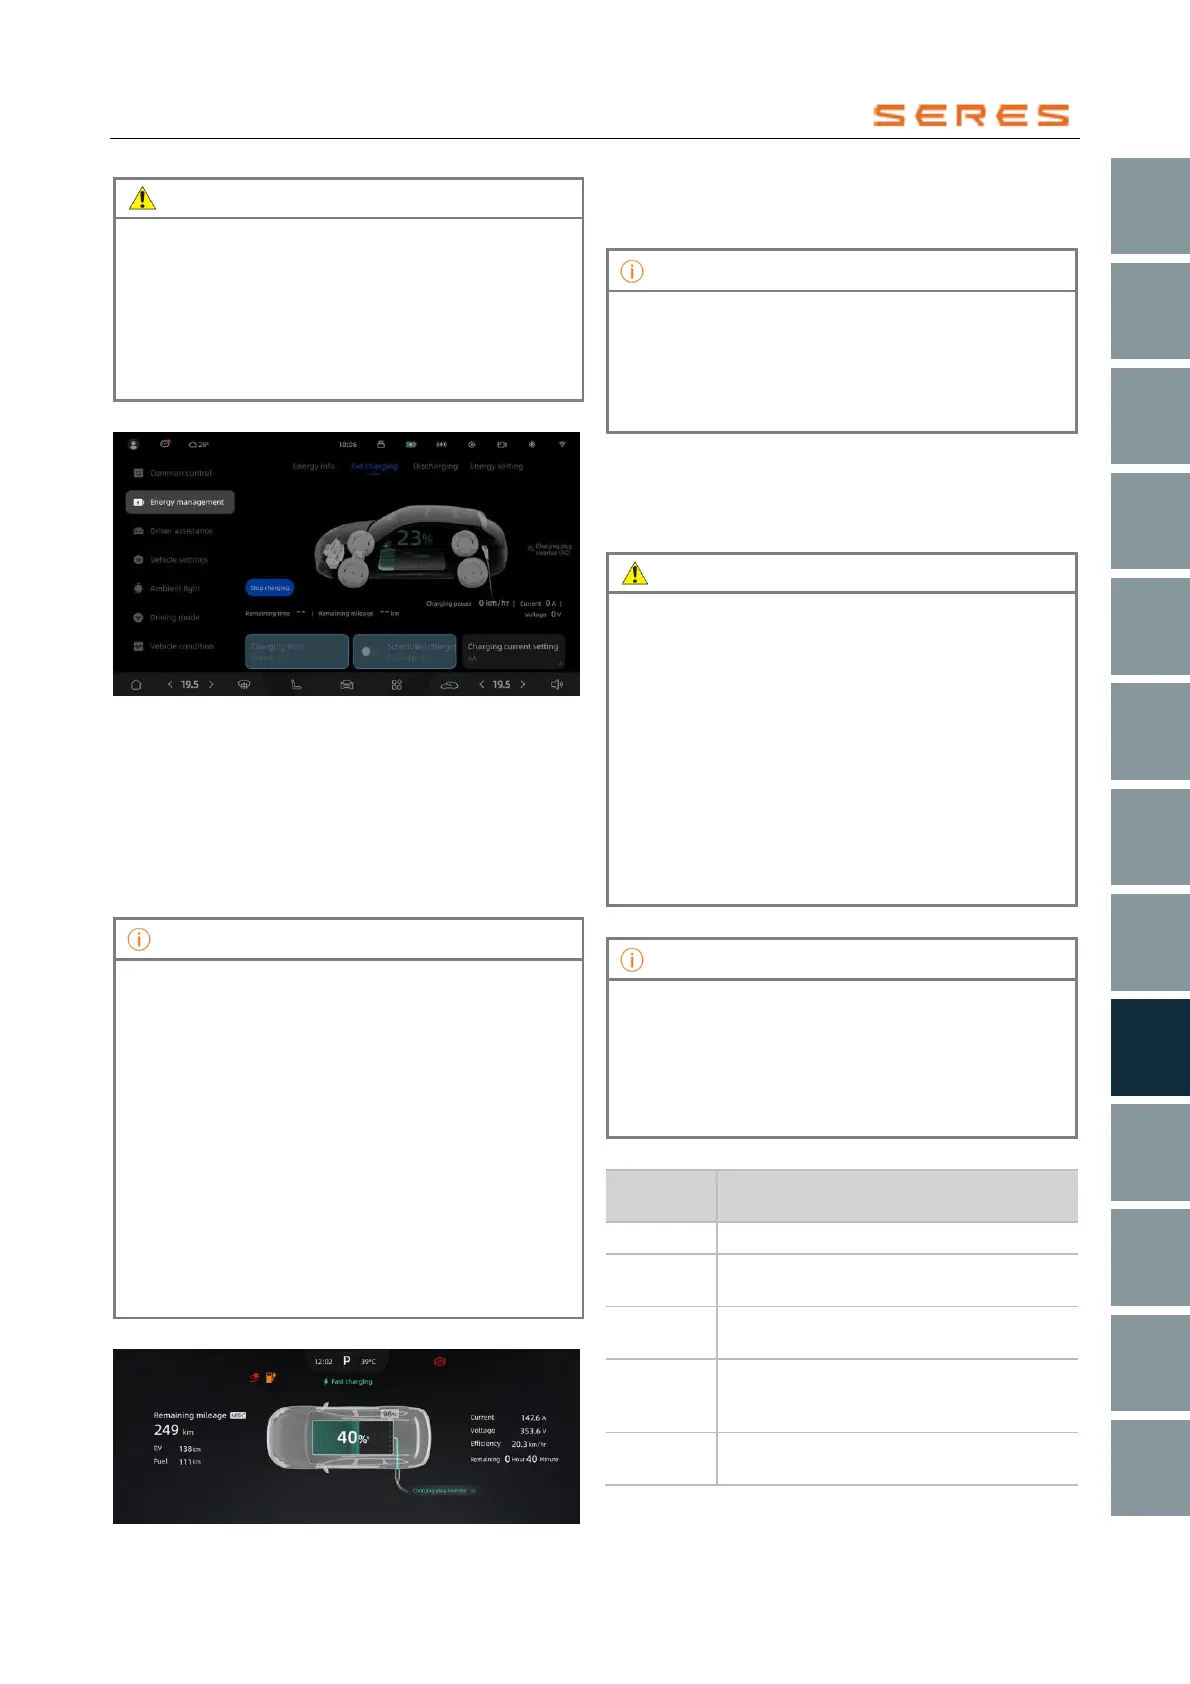
Charging Settings
* The image is for reference only; please refer to the actual
product
Charging Limit: Click on the charging limit, and you can
drag the slider of the custom charging limit to your desired
range. When the charging limit is reached, charging will
automatically stop.
Scheduled Charging: Click on scheduled charging, set the
start and end times. After setting is completed, when the
start time is reached, the vehicle will automatically start
charging.
• You can customize the charging range from 50%
to 100%. For daily use, it is recommended to set it
between 50% and 90%, and for long-distance
travel, it is recommended to set it between 90%
and 100%. Charging speeds are slower above
90%, so it is advisable to allocate sufficient
charging time.
• During the charging process, scheduled charging
cannot be initiated. If you wish to activate it, you
must first end the charging session.
• If you want to use the scheduled charging feature,
please insert the charging gun before the
scheduled time begins, as failure to do so may
result in unsuccessful scheduled charging.
• Scheduled charging is only applicable to AC
charging scenarios.
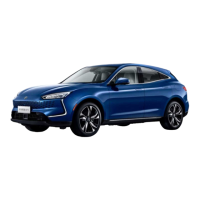
Charging Status
* The image is for reference only; please refer to the actual
product
When charging is complete, the charging port indicator
light will be green and continuously lit, and the instrument
display screen will show charging completion information.
• In case of a charging failure during the charging
process, the left side of the instrument display
screen will show a charging failure prompt.
• If power is restored and, after multiple attempts to
restart charging, a charging failure prompt
persists, please contact the dealer immediately.
Charging Time
Charging time may vary based on factors such as charging
limits, outside temperature, battery usage time, etc. You
can check the charging status on the central control
screen.
• When the battery reaches the set charging limit,
charging will stop.
• If the temperature is too high or too low, some of
the charging current may be used to lower or raise
the temperature of the power battery, which may
extend the charging time.
• In low-temperature environments, the power
battery may experience a decrease in charging
efficiency or an inability to charge. In such cases,
when you connect the charging equipment to the
vehicle's charging port for charging, the system
will automatically heat the power battery to an
appropriate temperature for charging to proceed
automatically.
To extend the lifespan of the power battery, the
vehicle's anti-floating charge system allows charging
when the remaining power of the power battery is below
97% and charges up to 100%. Charging is not allowed
when the remaining power is between 97% and 100%.
When floating charging occurs, the charging port
indicator light displays blue.
Charging Port Indicator Light
Each bar represents 20% battery level,
indicating the current battery level or
completion of charging
Each bar represents 20% battery level,
indicating the vehicle is currently charging