5-20
SCANNER/INTERNET FAX►ENTERING DESTINATIONS
ENTERING AN ADDRESS MANUALLY
1
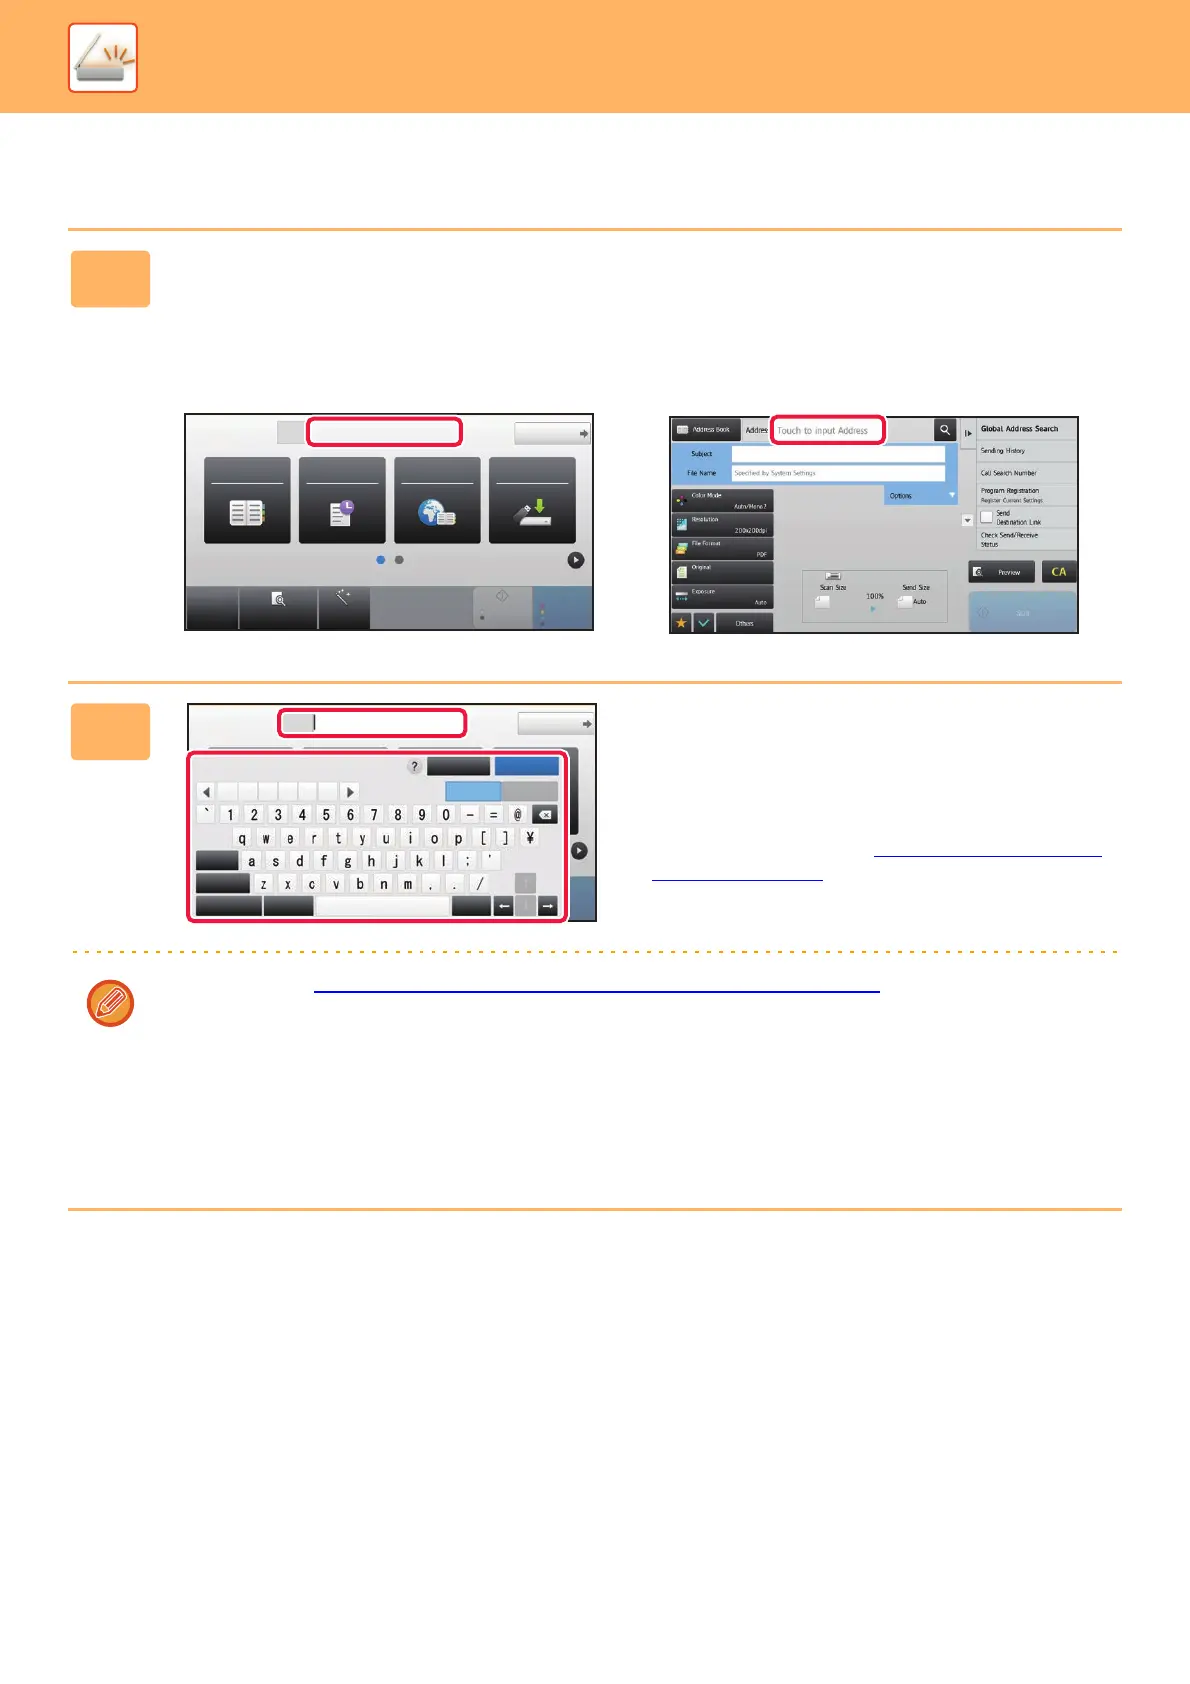
In the base screen of a mode, tap [Text Box].
On the base screen of Internet Fax, tap [Text Box] to display the screen you want to select the address type. Tap either
the [Internet Fax] or [Direct SMTP] key.
In easy mode, only the e-mail addresses can be entered.
In Easy mode In Normal mode
2
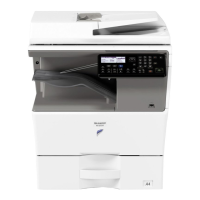
Enter the destination address on the
soft keyboard that appears.
• In data entry mode, select the mode of the destination,
and enter the destination address.
• For Scan to Network Folder mode, the network folder
entry screen appears. See "SPECIFYING A NETWORK
FOLDER (page 5-21)".
• After entering the destination address, tap the [OK] key to
close the soft keyboard.
To enter text, see "NAMES AND FUNCTIONS OF SOFT KEYBOARD KEYS (page 1-116)" in the "BEFORE USING
THE MACHINE".
• You can select [Bcc] if [Image Send Settings] → [Scan Settings] → [Default Settings] → [Bcc Setting] → [Enable Bcc]
is enabled in [System Settings].
• In Internet Fax mode, the transmission confirmation request setting screen will appear if [System Settings] - [Image
Send Settings] → [Internet Fax Settings] → [Send Setting] → [I-Fax Reception Report On/Off Setting] is enabled. To
request confirmation, tap the [Set] key. To cancel, tap the [Cancel] key. (When Direct SMTP is used, transmission
confirmation is not performed.)
CA
Preview Auto Set
Original
Address E-mail Address
Detail
B/W
Start
Color
Start
Address Book
Global
Address Search
Scan to HDD/
USB
Sending History
8½x11
Original
Address
Detail
Color
Start
SpaceFile Format AltGrKeyboard Select
Shift
Caps
Characters Symbols
Cancel OK
.com .net .org
.co.jp
.biz
.ne.jp
8½x11