33
Description of Parts
6. MS Filter Unit
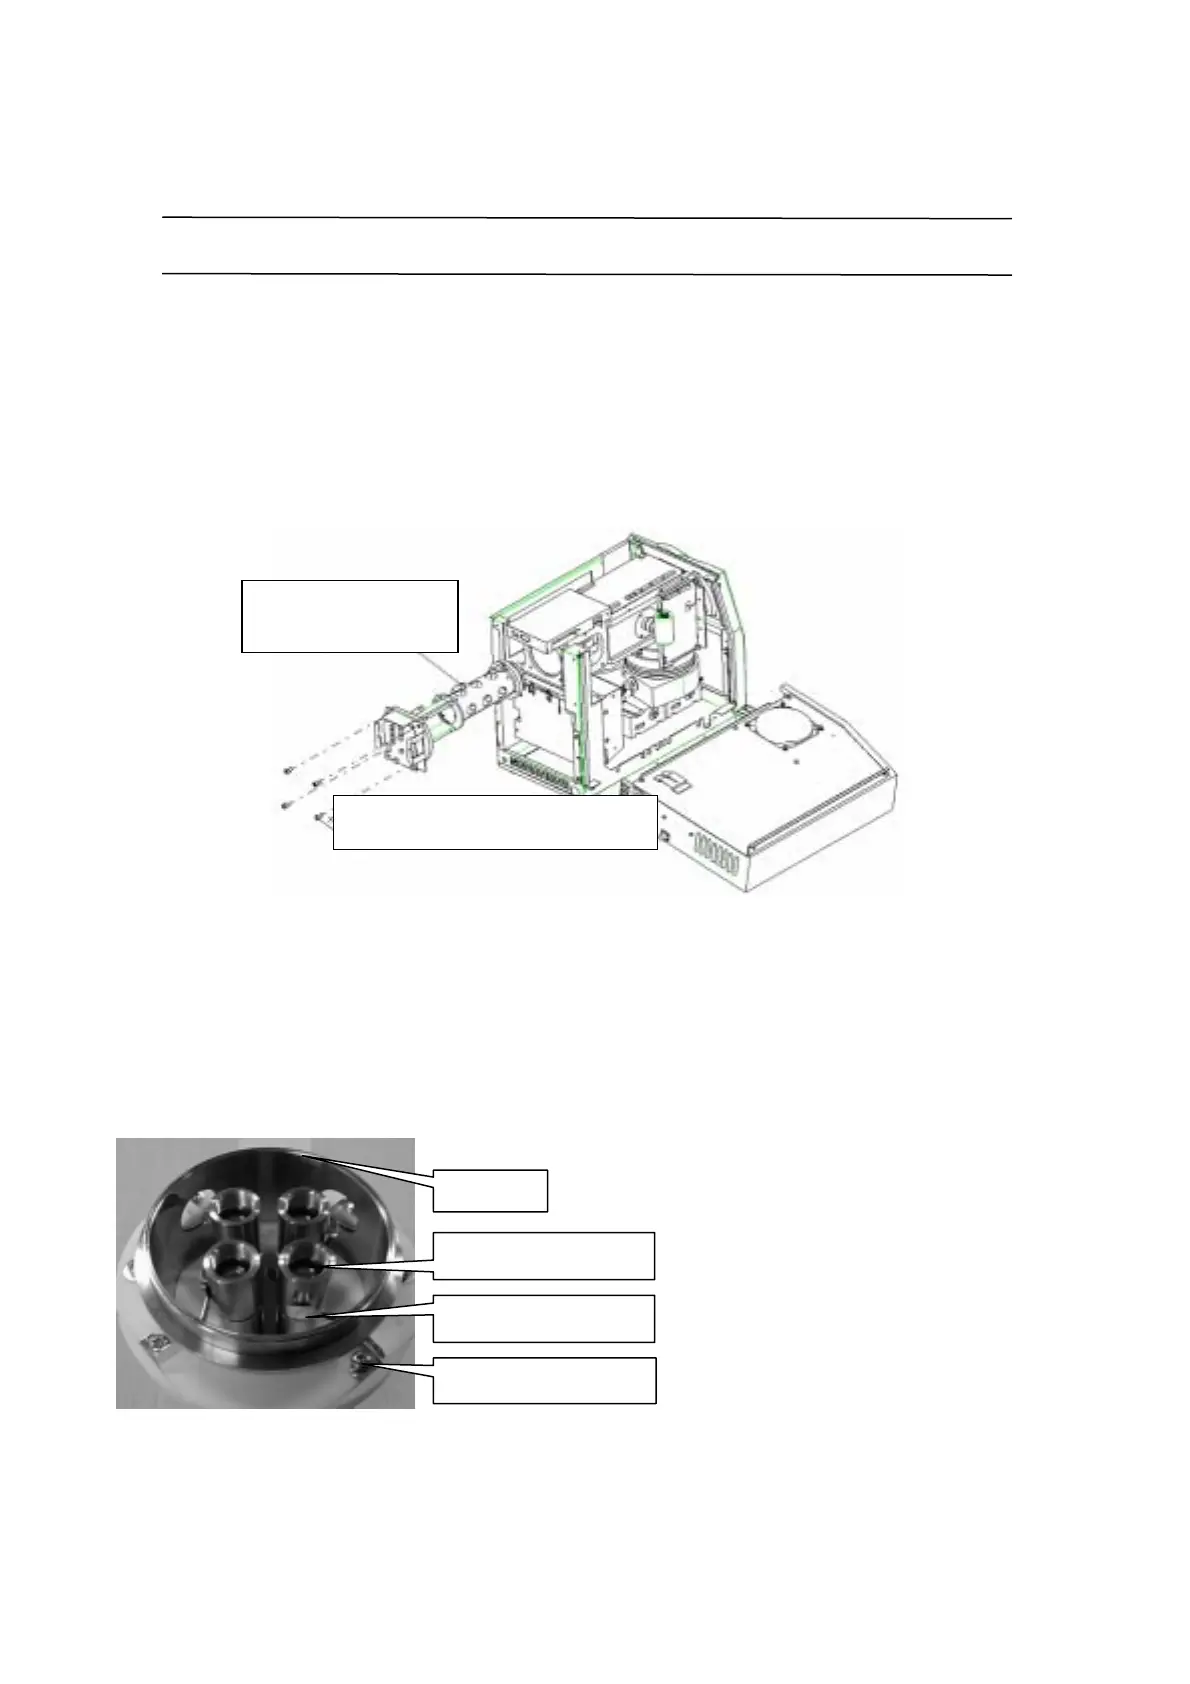
MS filter removal procedure
1. Turn off the power. Disconnect the power connector.
2. Remove the DET Assy. (Remove three cables and four screws.)
3. Remove the rear panel. Remove the DIFF PCB unit cover.
4. Disconnect the three connector-terminals from the DIFF PCB.
Caution: The PCB is sensitive to static electricity. Touch the chassis before starting
work.
5. Remove the four MS FILTER Assy fixing screws.
6. Pull the MS FILTER Assy to the rear.
It is hard to move initially; rotate it slightly in each direction before pulling it out.
Take care not to scratch the O-ring faces on the flange and housing.
Pre-rod maintenance
Removing the lens permits pre-rod
maintenance from the front panel. If
the pre-rod is burned by the ions,
loosen the pre-rod fixing screws and
rotate the pre-rod 90
M
to clean it.
Pre-rod contact terminal
Pre-rod fixing screw
Contact terminal removal
Sleeve
MSFILTER ASSY
225-10410-91
Bolt, SUS with hole M 6X25 X4
022-27108
 Loading...