5
1. Installation
Day 1
1. Checking Installation Conditions
2. Unpacking, Assembly, Installation
3. Environment Settings, Start-up
4. Leak Check, Auto-tuning
Day 2
5. Auto-tuning
6. Qualitative Analysis (SCAN Mode)
Day 3
7. Quantitative Analysis (SIM Mode)
8. S/N Measurements(EI mode)
Day 4
9. Batch Processing, Report Printing, QA/QC
10. Maintenance
Day 5
11.
S/N Measurements(CI MODE) OPTION
Day 6
12.
S/N Measurements(NCI MODE) OPTION
Day 7
13.
DI check (OPTION)
The schedule above is a basic guide only. Follow it flexibly, according to the customer's
situation and the progress of the installation work. The schedule above is for a standard
installation; it does not include inspection with customer's samples or instruction on analysis.
(Inspection with customer's samples and instruction on analysis require extra days for
installation.)
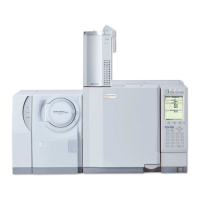
This section describes the entire installation process. Refer to the Installation Manual
(225-00816) supplied for details about assembling the instrument during installation.
 Loading...

