34
7. Running
[Before running]
Before running the controller, check the mounting and wiring carefully, referring to
“3. Mounting to control panel” (p.8) and “4. Wiring connection” (p.10) .
Check that settings are applicable for the users’ conditions, referring to “5. Setup” (p.14).
7.1 How to set the program.
Set the following items, referring to “6. Operations” (p.21)
(1) Program pattern number (p.24)
(2) Pattern (Step SV/Time) setting mode (p.25)
Set the following items if necessary.
(3) Alarm/Time signal setting mode (p.27)
(4) PID parameter setting mode (p.28)
(5) Wait parameter setting mode (p.29)
(6) Auxiliary function setting mode 1 (p.31)
(7) Auxiliary function setting mode 2 (Refer to “5. Setup”) (p.14)
7.2 How to perform the program control.
Follow the procedures below in carrying out the program control.
(1) Select a program pattern number.
Select a desired program pattern number to perform program control by pressing
the key in the program standby mode.
Each time the key is pressed, the program pattern number is switched.
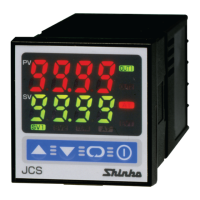
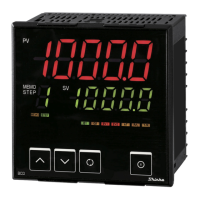
[Indication when Program pattern 1 is selected ]
PTN display : Selected program pattern
number
PV display : Current actual temperature
STEP display : Unlit
SV display : Unlit
All indicators : Unlit
(2) Perform the program control.
Press the key.
The program control of the selected program pattern number will be started.
The program control can also be started by connecting (Contact closed) input
terminals 14 and 17 instead of pressing the key.
The program control cannot be performed if pattern end output is turned on.
Press the key to turn the pattern end output off, then press the key.
[Control action when the program control starts]
Program control starts with the form selected from the Program control start form
selection.
PTN
PV
Actual temp.
STEP
SV