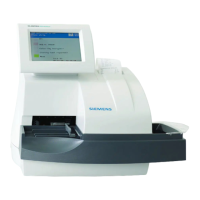
System Overview 15
Display and power panel
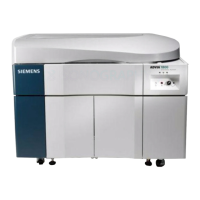
Figure 1-3. Power panel
1 READY lamp lights when the instrument is
ready.
2 START lamp lights when analysis is being
performed.
3 ALARM lamp lights when a problem occurs.
4 SYSTEM RESET button resets the computer
controlling the instrument (not normally used).
5 EMERGENCY STOP button is pressed to stop
the instrument in an emergency.
WARNING
If the system was stopped using the Emergency
Stop button, you must perform a Weekly wash
(WASH2) prior to processing samples.
6 OPERATE/STANDBY switch turns the analyzer
power ON (OPERATE) or OFF (STANDBY).
7 POWER lamp lights when the analyzer power is
Analyzer back view
1 Printer Power Cord (to separate power
source)
2 PC Power Cord
3 Monitor Power Cord
4 Main Power Switch (powers the entire
instrument)
5 Power Strip
6 To Power Source
7 External Water Supply
8 Fuse Panel
9 Temperature Regulator
10 Drain
11 LAS Interface Cables
12 URH Power Cable
Figure 1-4. Analyzer rear view
 Loading...