40 |
Waypoints, Routes & Tracks | GN70/MX610/MX612 Operator and Installation Manual
6. Rotate the knob to highlight the left (or right) arrow key and press the center of the knob to
shift the cursor to the digit you wish to change, then press the ENT key.
7. Change the number by using the combination of the rotary knob and virtual numeric keypad,
then press the ENT key. Do this for each digit you want to change.
8. When all the digits are entered, highlight the OK button then press the ENT key to finish
entry.
9. Other items like the symbol color, waypoint name or other options can also be accessed in
this screen. The alarm radius and depth can be entered in the options dialog box.
10. Scroll to SAVE button and press the ENT key to save the information.
¼ Note: Pressing the center area of the rotary knob is the same action as pressing the ENT key.
Waypoint Alarm Settings
You can set an alarm radius for each individual waypoint you create.
1. In waypoint menu table, highlight waypoint title tab and press center of knob.
2. From Edit Waypoint menu, scroll to Alarm Radius section, highlight field and press ENT key.
3. With virtual keypad, use the cursor to change each digit. Range 00 to 99. Click the SAVE but-
ton.
¼ Note: The waypoint radius alarm must be toggled ON in the alarm panel to activate an alarm
when your vessel comes within the defined radius.
Deleting waypoints
You can delete waypoints using the Delete All menu command or you can delete a specific
group of waypoints with Delete all by symbol in the menu dialog box.
¼ Note: Waypoints that are used in an active route will not be deleted.
Routes
A route is a series waypoints arranged in the order that you want to navigate them.
The route can be created from the Route’s panel described below:.
Creating a new Route
1. Press the MENU key to bring up the quick menu.
2. Scroll to “Wpt/Rte/Trk...” and press the ENT key.
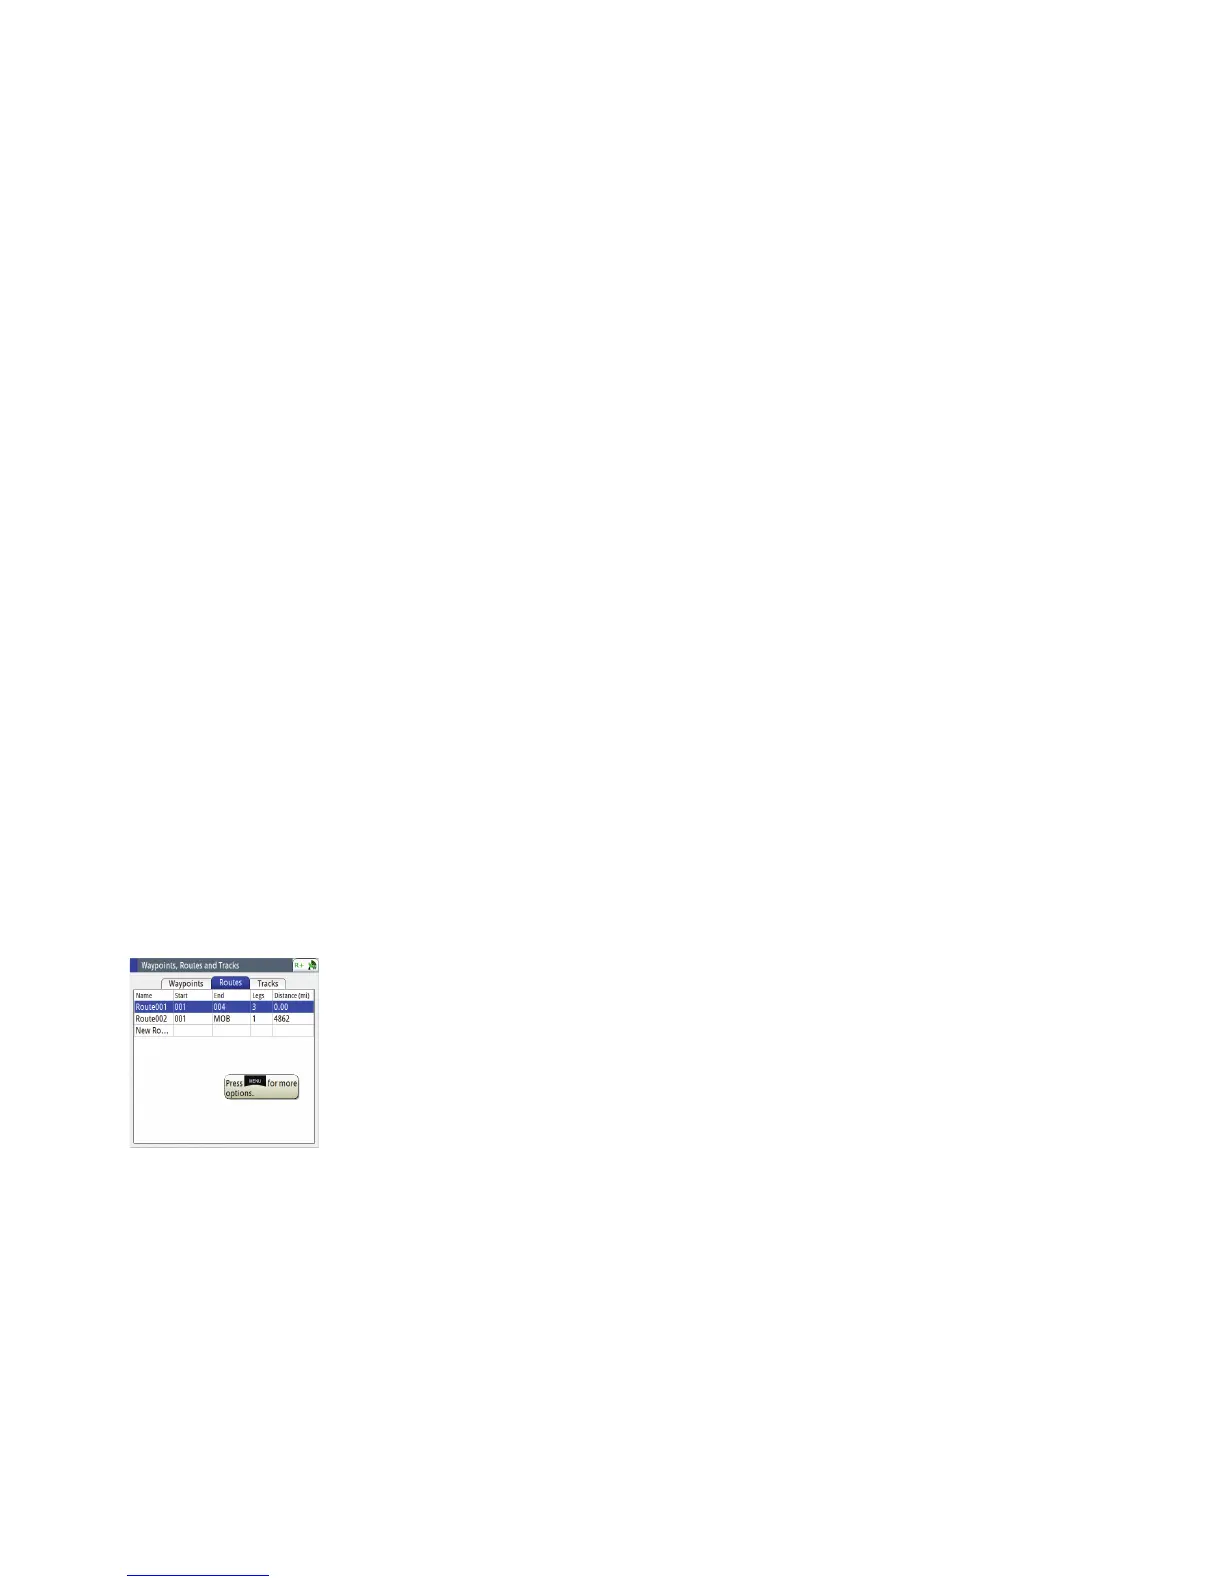
3. Press the PAGE key to select the Routes tab.
4. Press the MENU key to bring up the dialog box. This step will allow you to edit, make new
route, delete all or find a route.
5. Select New, and highlight create using route list option, press ENT key.
6. Turn the rotary knob to highlight new route field.
7. Use virtual keypad to type in the route name if necessary. Press rotary knob to enable/disable
display option.
8. Display will go to the PLOT screen showing your present position and the route point.
9. Highlight the Save button and press the ENT key (or highlight the Cancel button if you want
to cancel the entry).
Adding Waypoint(s) to a Route
Waypoint(s) can be added to an existing route by using the procedure below: .
1. Press the MENU key to bring up the quick menu.
2. Highlight the Wpt,/Rte/Trk... menu.
3. Press the ENT key.
4. Press the PAGE key to tab to Routes.
5. Highlight the route you wish to modify.
6. Press the ENT key.
7. Using the rotary knob, move the highlight to the route table.
8. Press the ENT key.