DDuuaalliittyy RReemmoottee
CCoonnnneeccttiinngg DDuuaalliittyy SSEE ttoo tthhee CCoommppuutteerr
Duality SE is the first analogue console to feature an IP address. This allows any standard personal computer (Mac
or PC) to connect to your console.
To do this you will need to establish a small local Network. Refer to Section 4 of the Duality Installation Guide -
see Section 8 of this manual or the separate document supplied with your console - for further information.
Connecting to Duality SE
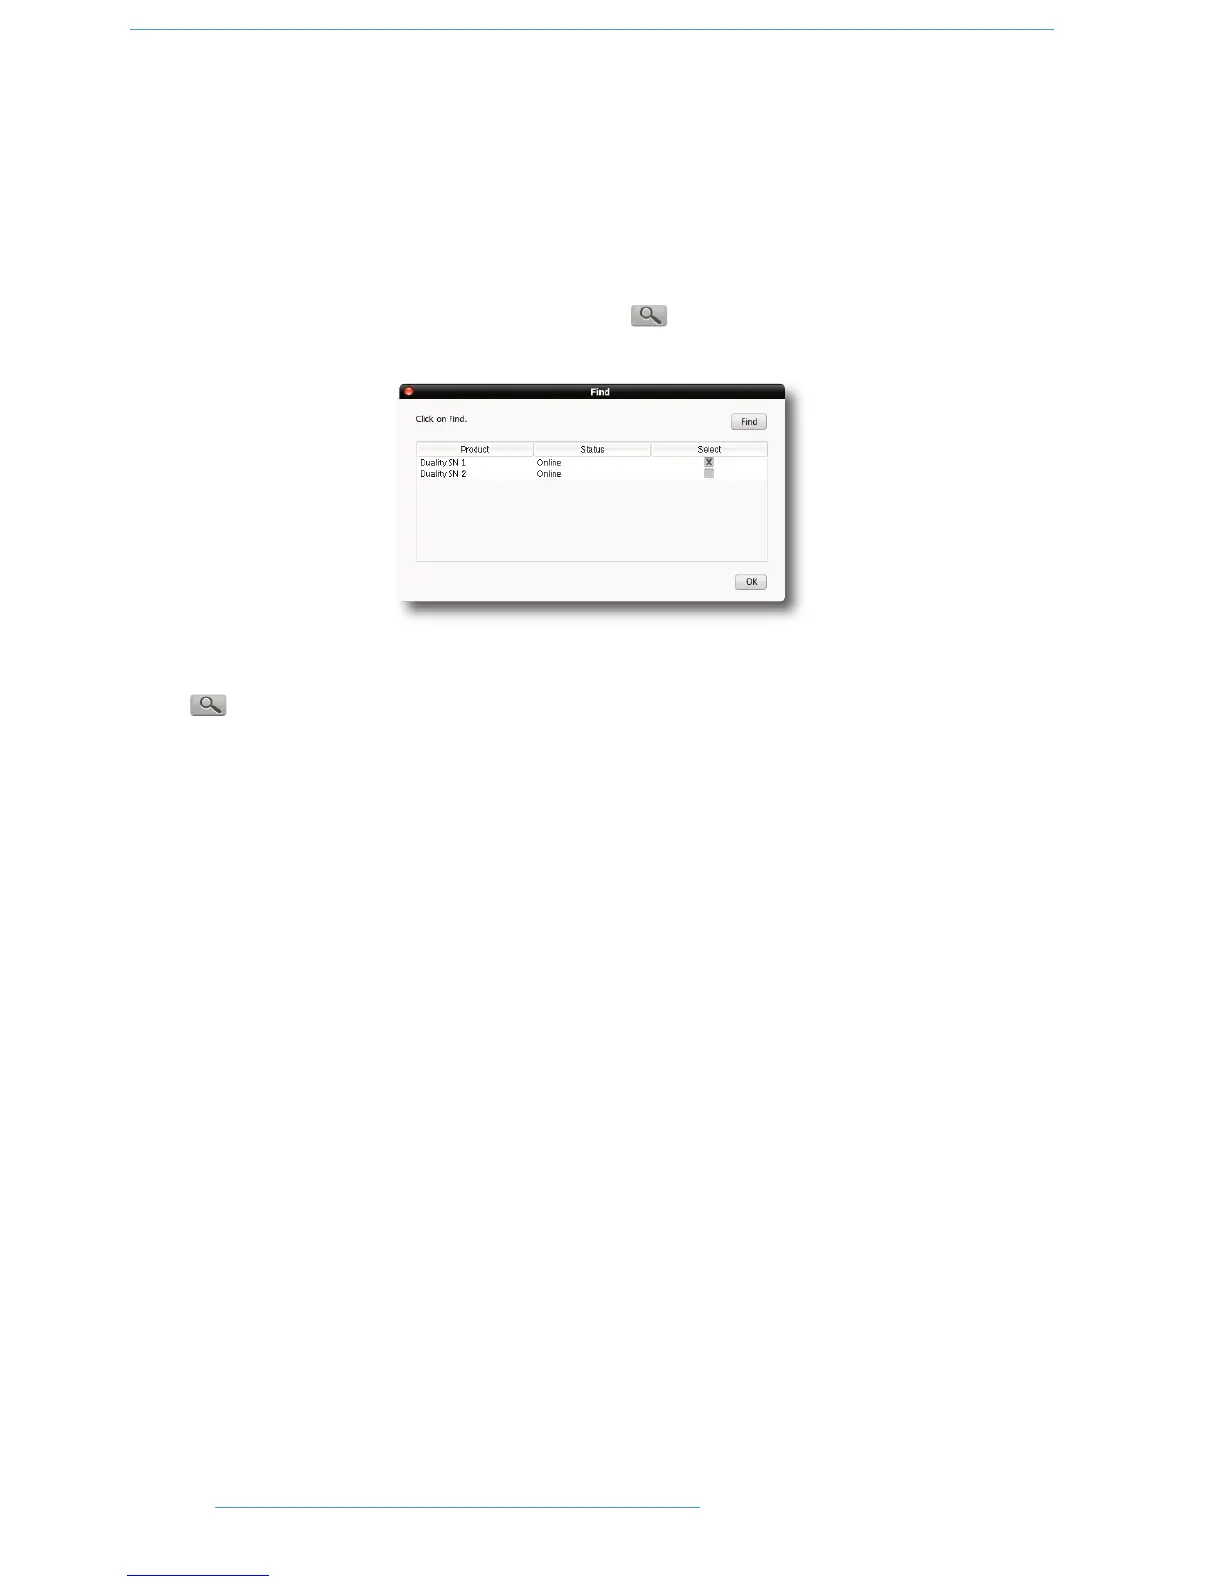
If this is the first time the remote has been used, click on the symbol – you will then be presented with pop-
up displaying the available consoles’ serial numbers:
Click on the Select checkbox for your console and press OK. When you launch the Duality Remote subsequently
it will automatically search and connect to the selected console. To change the console you are connected to click
on the symbol again and select a different console.
Any existing data stored on your console should now be visible in the remote. The currently selected Project and
Title will be displayed at the bottom of the remote, along with the consoles serial number and the available disk
space.
The following tabs will be visible:
PROJECTS:
This shows a traditional “tree” file structure and architecture listing Projects stored on the console. On the right
of the display you can also enter Project and Title information as well as session notes.
MIXES:
A list of Mixes associated with the currently selected Title.
TOTAL RECALL:
A list of Total Recall data stored for the currently selected Title.
CHANS 1-24, 25-48 etc.:
These fields allow you to enter names for the TFT Channel displays on the console and also assign Eyeconix images.
EXTERNALS:
Allows you to rename the Ext A and B sources. These will appear on your consoles monitor selection.
ABOUT:
This contains some additional information and functions.
66--22 DDuuaalliittyy SSEE OOppeerraattoorr’’ss MMaannuuaall